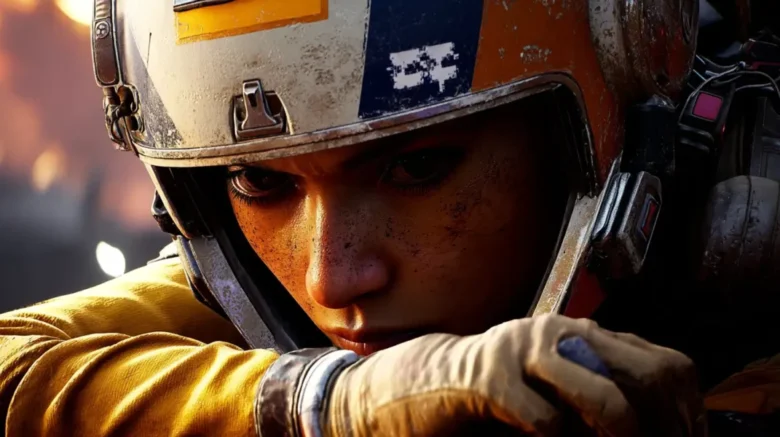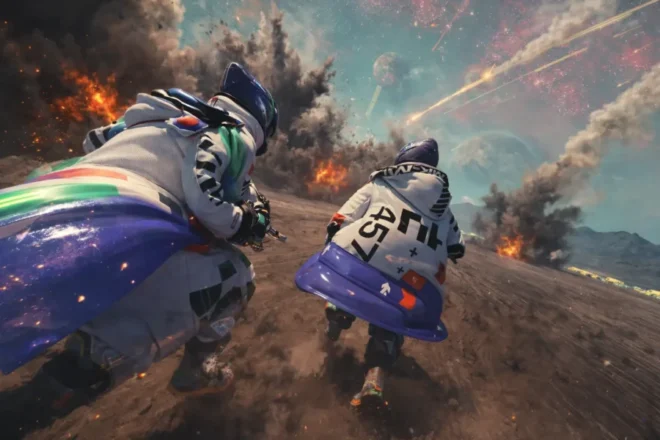
The Arc Raiders Shared Watch Event Guide covers everything you need to complete the game’s first PvE-focused live event. Learn how the merit system works, how many merits are required to unlock all 21 rewards, and the fastest ways to earn progression by fighting ARC enemies. This guide also breaks down the full Shared Watch rewards track—including the Blue Glow and Grey Yellow Slugger variants—the Vulpine “Huntsman” set, Cold Snap mechanics, and key Patch 1.15.0 changes so you don’t miss a single reward before the event ends.
The Trophy Display in ARC Raiders is one of the game’s most important long-term progression systems. Introduced with the Headwinds update, it’s a permanent, account-wide project focused on hunting Arc Machines, collecting their components, and converting that effort into guaranteed, lasting rewards. Unlike seasonal challenges or limited events, the Trophy Display is designed to be completed over time, at your own pace.
In this guide, we’ll cover:
- How the Trophy Display works and how its five stages are structured
- All stage requirements and where to reliably obtain each material
- Which enemies, maps, and events matter most for efficient progression
- How condition-gated bosses like Queens and Matriarchs affect completion timing
- Optimal farming strategies to avoid wasted runs and inventory bottlenecks
- What rewards you earn at each stage, including the completion payout

Dive deeper into the article to find a special promo code for a discount to save on all your boosts.
TL;DR — Arc Raiders Trophy Display
- The Trophy Display is a permanent progression project with no expiration and is not impacted by Expedition resets.
- It consists of five main stages plus a final completion reward.
- Donations are tracked per requirement line; items are consumed immediately upon submission.
- Once donated, progress is saved permanently, even if you fail or die in later runs.
- Stages 4–5 focus on “condition-gated” bosses like Queens and Matriarchs.
- Reactor farming now favors full boss kills rather than armor-stripping.
- Rewards include blueprints, weapons, cosmetics, and a large 300,000 coin payout.

What Is the Trophy Display in Arc Raiders

The Trophy Display was introduced with the Headwinds update as a long-term objective for players who want structured progression beyond standard Expeditions.
Following the 1.13.0 patch, it has been officially confirmed that this system has no fixed end date and will not be reset during Expedition wipes. At its core, the system is simple:
- Hunt Arc Machines and related enemies.
- Collect specific Arc materials.
- Donate those materials to the Trophy Display.
- Unlock rewards and move to the next stage.
What makes the Trophy Display stand out is that rewards are permanent account-bound unlocks, not temporary items.
How Trophy Display Stages Work
The Trophy Display is split into five stages, unlocked sequentially. Each stage comprises four separate donations. Each donation line grants a reward immediately; finishing all 4/4 lines completes the stage and unlocks that stage’s full set of rewards.
Once donated, progress is saved permanently; you won’t lose credit for submitted items even if you fail or die in subsequent Expeditions.
Difficulty ramps up steadily:
- Early stages focus on common Arc enemies and mechanical zones.
- Mid stages introduce tougher variants and specific map drops.
- Stages 4–5 are “condition-gated,” meaning they require specific map events (like Harvesters or Matriarchs) to be active.
Because of inventory constraints, smart stash management is essential. It is recommended to prioritize storing “bottleneck” items (Reactors, Modules, Geiger Counters) first, while backfilling common drops (Bolts, Pods) only when you are ready to complete a requirement.

ARC Raiders Trophy Display Stages and Requirements

Below is a full breakdown of all Trophy Display stages, including what you need and where those items come from.
Stage Requirements Overview
| Stage | Key items | How to obtain |
| Roaming Threats (1/5) | Rusted Bolts ×3 | Industrial / Mechanical zones |
| Pop Trigger ×15 | Arc Pop robots | |
| Tick Pod ×15 | Arc Tick robots | |
| Surveyor Vault ×5 | Arc Surveyors or Couriers | |
| Soaring Menaces (2/5) | Spotter Relay ×10 | Arc Spotters near Bombardiers |
| Expired Respirator ×3 | Medical Zones | |
| Wasp Driver ×20 | Arc Wasp robots | |
| Hornet Driver ×15 | Arc Hornet robots | |
| Ferocious Foes (3/5) | Arc Performance Steel ×10 | Tougher Arc enemies (mid/late-tier machines) |
| Shredder Gyro ×5 | Arc Shredders (Stella Montis) | |
| Leaper Pulse Unit ×10 | Arc Leapers | |
| Bastion Cell ×5 | Arc Bastions | |
| Dominant Dangers (4/5) | Arc Synthetic Resin ×10 | Tough Arc enemies (tougher variants) |
| Magnetic Accelerator ×10 | Crafted or recycled (consistent via recycling loop) | |
| Rocketeer Driver ×8 | Arc Rocketeers | |
| Queen Reactor ×3 | Arc Queen (Harvester event) | |
| Imposing Behemoths (5/5) | Exodus Modules ×5 | Vendor or recycling Epic items (via crafting/recycling station) |
| Geiger Counter ×3 | Random drop (containers + scavenging in Stella Montis) | |
| Bombardier Cell ×8 | Arc Bombardiers | |
| Matriarch Reactor ×3 | Arc Matriarch event |
Trophy Display Rewards by Stage

Every stage grants guaranteed rewards. Each donation line grants a reward immediately; completing all 4 lines unlocks the full set of rewards listed below.
Rewards Breakdown
| Stage | Rewards |
| Roaming Threats (1/5) | Mod Components ×10, Power Rods ×3, Raider Tokens ×10, Light Gun Parts Blueprint |
| Soaring Menaces (2/5) | Vita Spray ×3, Photoelectric Cloak ×3, Raider Tokens ×20, Vita Shot Blueprint |
| Ferocious Foes (3/5) | Kinetic Converter mod, Anvil Splitter ×3, Raider Tokens ×30, Shotgun Silencer Blueprint |
| Dominant Dangers (4/5) | Bobcat SMG, Wolfpack Grenades ×5, Raider Tokens ×40, Bobcat Blueprint |
| Imposing Behemoths (5/5) | Snap Hooks ×2, Aphelion Battle Rifle, Raider Tokens ×50, Snap Hook Blueprint |
| Final Completion | Howl emote, Jupiter (Legendary weapon), Acoustic Guitar (Legendary Quick Use), Energy Clips ×5, 300,000 Coins |

Best Maps for Trophy Display Farming
- Buried City – High Arc concentration, good for mid-stage materials.
- Stella Montis – Essential for Shredders, Geiger Counters, and late-game farming.
- Spaceport – Solid mix of common Arc enemies and containers.
Trophy Display Farming Tips

The Trophy Display is a marathon, not a sprint. Smart planning saves more time than speedrunning.
- Full-Kill Commitment: Recent updates have lowered the chance of obtaining Queen and Matriarch Reactors from armor pieces. To ensure a drop, you should commit to a full kill rather than the “strip and dip” method.
- Monitor Map Conditions: Stages 4 and 5 are calendar-dependent. Check the deployment screen for the Harvester (Queen) or Matriarch conditions before queuing. If the condition isn’t active, pivot that run to stockpiling non-gated requirements instead of forcing the boss stage.
- Manage Stash Pressure: Don’t hoard common items like Rusted Bolts early on. Use your limited stash space for high-value bottlenecks like Exodus Modules and Reactors.
- Solo vs. Squad: Solo runs are generally safer for stealth routing and extracting rare materials. However, squads are highly recommended when committing to full boss kills (Queens/Matriarchs) under contested conditions.
- No Reset Pressure: Do not rush to finish before a patch or Expedition reset. The rewards and progress are permanent, so focus on high-extraction success rates and managing your inventory space rather than risky speedruns.

Final Thoughts on the Arc Raiders Trophy Display
Promo code: Dina_Blog
Use this discount as my thank you for your attention!
The Trophy Display is designed for players who value planning, consistency, and smart routing over raw speed. Because Stages 4–5 are gated by real-time map rotations and “full kill” boss requirements, your progress will naturally slow down toward the end.
There’s no rush and no penalty for waiting. The real challenge is managing your inventory while waiting for the right map conditions to strike. Once completed, the Legendary Jupiter and the massive coin payout make the long-term grind well worth the effort.
Author
Epiccarry: best wow boost and coaching services
Frequently Asked Questions
What is the Trophy Display in Arc Raiders?
The Trophy Display is a permanent, account-wide progression project where players hunt Arc Machines, collect specific components, and donate them to unlock guaranteed rewards. Unlike random drops or seasonal challenges, it provides structured, long-term progression with clearly defined goals and rewards.
Is the Trophy Display a limited-time or seasonal event?
No. The Trophy Display has no expiration date and is not tied to any season or limited-time event. Players can progress through it whenever they choose, making it ideal for long-term play rather than short grind windows.
Does the Trophy Display reset with Expedition wipes?
No. Trophy Display progress and unlocked rewards are not affected by Expedition resets. Once items are donated or rewards are earned, that progress remains permanently tied to your account.
How many stages does the Trophy Display have?
The Trophy Display consists of five main stages, each with its own set of material requirements, followed by a final completion reward that unlocks after all stages are finished.
How do Trophy Display donations work?
Each stage is made up of four separate donation requirements. Items are consumed immediately when donated, and each completed donation line grants its reward instantly rather than waiting for full stage completion.
Do you have to complete all donations at once?
No. Donation progress is saved per requirement line, allowing you to complete stages gradually across multiple runs. Once a donation is made, it remains completed even if you fail or die in later expeditions.
What are condition-gated stages in the Trophy Display?
Condition-gated stages require specific map events to be active before certain materials can be obtained. In the Trophy Display, this primarily affects Stages 4 and 5, which depend on Queen and Matriarch events.
Can you force Queen or Matriarch spawns for Trophy Display progress?
No. Queen and Matriarch encounters are tied to real-time map conditions that rotate on a schedule. Players must wait for these conditions to appear in the deployment screen before attempting to farm the required components.
What is the best way to farm Queen and Matriarch Reactors?
Recent updates have reduced the reliability of obtaining Reactors through armor-stripping. Committing to a full boss kill is now the most consistent method for securing Reactor drops, especially during contested events.
Can you pre-farm Trophy Display materials?
Yes. All Trophy Display materials can be collected in advance and stored in your stash. Pre-farming is especially valuable for rare, condition-gated, or high-risk items that may not be available every session.
Which Trophy Display items should you prioritize storing first?
High-value bottleneck items such as Reactors, Exodus Modules, and Geiger Counters should be prioritized. Common drops like Rusted Bolts or Pods are easier to farm later and take up valuable stash space if hoarded early.
What are the best maps for Trophy Display farming?
Buried City offers dense Arc enemy spawns useful for mid-stage requirements, Stella Montis is essential for late-game materials and Geiger Counters, and Spaceport provides a balanced mix of enemies and containers for general farming.
Is it better to farm the Trophy Display solo or in a squad?
Solo runs are typically safer for stealth-based routing and extracting valuable materials. Squads, however, are more effective when committing to full boss kills during Queen or Matriarch events, especially in contested zones.
What rewards do you get from completing the Trophy Display?
Rewards include blueprints, mods, consumables, Raider Tokens, rare weapons, cosmetics, and a final completion package that grants Legendary items along with a 300,000 coin payout.
Is the Trophy Display worth completing?
Yes. Because the Trophy Display offers permanent, account-bound unlocks, completing it provides long-term value. The combination of blueprints, rare weapons, and Legendary rewards makes it one of the most rewarding progression systems in Arc Raiders.
Comments