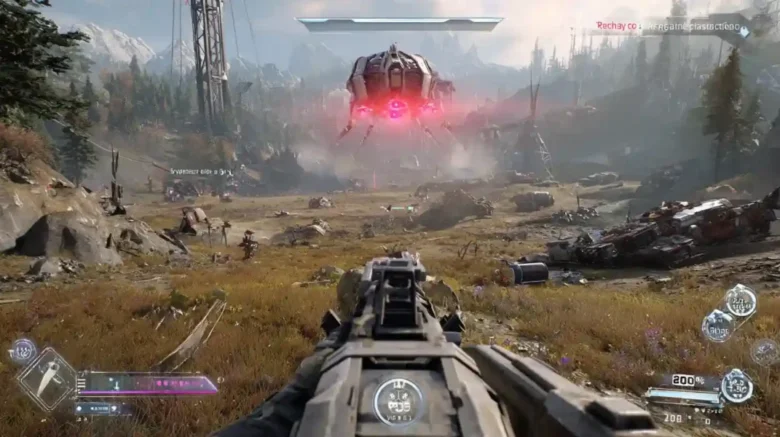
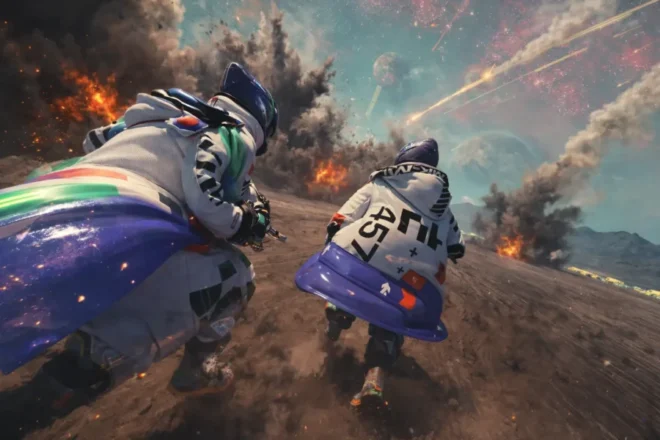
The Arc Raiders Shared Watch Event Guide covers everything you need to complete the game’s first PvE-focused live event. Learn how the merit system works, how many merits are required to unlock all 21 rewards, and the fastest ways to earn progression by fighting ARC enemies. This guide also breaks down the full Shared Watch rewards track—including the Blue Glow and Grey Yellow Slugger variants—the Vulpine “Huntsman” set, Cold Snap mechanics, and key Patch 1.15.0 changes so you don’t miss a single reward before the event ends.
The surface of Solace is no place for the unprepared. In Arc Raiders, survival depends on more than aim or luck — it depends on knowing your enemy. The Automated Robotic Combatants (ARC) dominate every ruined valley and settlement, their patterns as lethal as their firepower. This guide compiles everything Raiders need to identify, counter, and exploit each ARC threat for maximum efficiency and reward.
In this guide, you’ll learn about:
- ARC Encounter Fundamentals — detection, alert states, and engagement rules
- Ammo Effectiveness — choosing the right type for each armored target
- Map Conditions — Night Raids, Electromagnetic Storms, and environmental effects
- ARC Enemy Types — behaviors, weak points, and loot for every unit and boss
- Advanced Combat Tactics — EMPs, utilities, Blaze grenades, and farming tricks
- Loot & Team Strategy — crafting resources and coordinated ARC takedowns
- Weekly Trials — score multipliers, leaderboard strategy, and efficient grinds
Dive deeper into the article to find a special promocode for a discount to cut on all your boosts.
ARC Encounter Fundamentals — Detection, Ammo, Map Conditions
Before examining individual units, it is crucial to understand the universal principles that govern most ARC encounters. Mastering these fundamentals will elevate gameplay from reactive scrambling to proactive dominance.
The Golden Rule: Avoidance Over Engagement
The single most important rule when encountering the ARC is this: unless there is a specific, unavoidable reason to fight, they should be avoided. The primary gameplay loop revolves around scavenging loot and successfully extracting. Engaging the ARC often works directly against this goal. The noise of a firefight is a dinner bell for enemy squads and other raiders, turning a manageable PvE encounter into a deadly PvP ambush while you are distracted and expending precious resources.
Alert States & Audio/Visual Cues
Actively avoiding unnecessary encounters requires understanding how the ARC perceive their environment.
- Audio and Visual Cues: Every ARC has a distinctive audio cue for its movements and attacks. Listening carefully can help identify the type and number of enemies ahead. Visually, their optical sensors communicate their status.
- Indicator Lights & Alert States:
| Color | State | Threat Level | Recommended Action |
| Blue/White | Patrol | Low | Avoid or observe from a distance. |
| Yellow/Orange | Alerted | Moderate | Freeze, hide, and wait for it to pass. |
| Red | Attack | High | Eliminate quickly or disengage immediately. |

Ammo Effectiveness vs ARC & Players

Understanding how different ammo types perform against the ARC is vital for efficient and resource-conscious combat.
| Ammo Type | ARC Effectiveness | Player Effectiveness | Notes |
| Light | Low | High (unshielded) | Best for Ticks & Pops. Light ammo is ineffective against ARC armor. |
| Medium | Moderate | Moderate | Medium ammo is a reliable all-rounder if you must pick one. |
| Heavy | High | High (shielded) | The premier choice for all armored ARC units. |
A quick note: While not widely available, future energy weapons may alter these dynamics, but for now, physical projectiles are the standard.
Arc Raiders Map Conditions (Night Raid, EM Storm)
Major Arc Raiders map conditions increase both the danger and potential rewards of a raid. These conditions are time-based and rotate on a real-time schedule, affecting the entire map. ARC patrols adapt to these conditions — Night Raids boost their numbers, while Electromagnetic Storms sometimes cause interference, briefly delaying detection scans.
Effectiveness ratings are relative to armored ARC unless stated.
| Condition | Effect on ARC | Vs. Players |
| Night Raid | Increased ARC presence/aggression | Higher loot quality; 2× Trials points (major condition) |
| Electromagnetic Storm | Electronic systems unstable | 2× Trials points (major condition); visibility/targeting quirks |
| Hidden Bunkers / Seasonal | Localized event spawns | Conditional rewards; route adjustments |
Arc Raiders Enemy Guide — All ARC Types & Weaknesses

Not all ARC machines are hostile—ARC Probes/Couriers are loot objects rather than enemies. Standard patrols appear static per raid instance and generally stay cleared once handled. However, spawner-based threats are exceptions that can repopulate an area. Understanding Arc Raiders ARC weaknesses is the core of this section.
| Entity | Mid-raid respawn? | Notes |
| Spotter Drones | Yes | ~20–30s respawn while Bombardier lives |
| Bombardier | Reported | Community reports ~minutes between re-appearances |
| Standard Patrols | Generally no | Static per instance; specials/events can override |
What follows is a detailed breakdown of each enemy type.
Note: All ARC drop ARC Alloy and frequently ARC Powercells; this guide will focus on their unique component drops.

Light Ground Units
Tick
- Threat Level: Low
- Behavior: A small, agile spider-like robot that hides inside buildings on walls, in corners, or on ceilings, waiting to ambush. When a Raider gets close, it will leap at their head, latching on to deal continuous damage before detonating.
- Strategy: A single melee strike is enough to kill it. It is best to eliminate Ticks before they can initiate their leaping attack.
- Loot: Tick Pods.
Pop
- Threat Level: Low
- Behavior: A small, unarmored rolling suicide drone that emits a high-pitched whine as it approaches. It rolls rapidly towards a target, beeping with increasing frequency before detonating for massive AoE damage.
- Strategy: A single melee hit will destroy a Pop. Crucially, if it is destroyed by player damage before it can complete its self-detonation sequence, the resulting explosion is harmless.
- Loot: Pop Trigger, Crude Explosives.
Fireball
- Threat Level: Moderate
- Behavior: A slightly larger, armored rolling bot equipped with dual flamethrowers. The Fireball rolls towards its target, pauses, and then opens its front panels to blast a circle of flames.
- Strategy: The optimal time to strike is when it opens its chassis to attack, exposing its unarmored core for maximum damage. It is crucial to maintain distance, as it explodes upon death.
- Loot: Fireball Burner.
Static Defenses

Turret & Sentinel
- Threat Level: Moderate to High
- Behavior: Stationary ARC that provide area denial. Sentinels are their long-range sniper equivalents, identifiable by a laser that targets players before firing a heavy, piercing single shot.
- Strategy: Use cover to your advantage. Be aware that the Sentinel’s laser and loud report act as a beacon, alerting other players to your position once the laser turns red.
- A small capsule on the gun housing is a weak point—precision hits disable it fast.
- Loot: Sentinel Cores.

Aerial Drones
Snitch
- Threat Level: High (by proxy)
- Behavior: A fragile recon drone whose primary function is to alert other ARC. Its scanning radar will mark a Raider’s position. Left unchecked, a Snitch typically pulls in Wasps and a Hornet.
- Strategy: This is a high-priority target. Its weak points are the three fragile panels that resemble three wiper blades. Destroy these to bring it down quickly.
- Loot: Snitch Scanner.
Wasp
- Threat Level: Low (Moderate in groups)
- Behavior: A fast-moving scout drone that adopts erratic flight patterns and fires its machine gun in steady bursts.
- Strategy: The most efficient way to eliminate a Wasp is by destroying two thrusters on its chassis, which may be referred to as blade thrusters. Targeting the main body is less effective.
- Loot: Wasp Drivers.
Hornet
- Threat Level: Moderate
- Behavior: The tougher, armored version of the Wasp. Hornet fires a slow-moving stun projectile that follows a predictable dart’s path and can temporarily disable a Raider’s weapons and movement.
- Strategy: Its front thrusters are armored. The key is to target the unarmored rear two thrusters to bring it down quickly.
- Loot: Hornet Driver.

Heavy ARC Units

These units often require heavy firepower to take down effectively.
Surveyor (Robot)
- Threat Level: Low (Durable)
- Behavior: A large, durable rolling sphere that patrols the map. When it is aware of a Raider’s presence, it will attempt to flee. When damaged, it will shed smaller armored plates.
- Strategy: Heavy ammo is highly recommended. Damaging the unit will cause smaller, lootable armored plates to fall off. The main objective is to destroy the core.
- Loot: Robot Part/Surveyor Vault.
Leaper (Bison)
- Threat Level: High
- Behavior: An aggressive, highly mobile spider-like robot with lethal close-range attacks. It closes long distances by launching itself at targets, dealing significant direct damage and knocking players down. It follows this with a powerful shockwave attack.
- Strategy: When a Leaper lands, it is briefly vulnerable. Aim for its glowing “eye” or its exposed leg joints. Destroying all the leg plates on the same leg can hinder its movement.
- Loot: Leap/Bison Driver.
Bastion
- Threat Level: High
- Behavior: The Bastion moves slowly, but it’s a massive walking fortress equipped with a devastating minigun, often accompanied by Wasp or Hornet escorts. Its front plating is nearly impenetrable, making frontal assaults extremely dangerous.
- Strategy: Take out its escorts first. Use cover and teamwork to flank this enemy. One player can draw aggro while others attack its weak points. The primary targets are the glowing yellow kneecaps and the yellow back cylinder. As the Bastion moves, try to stay behind it.
- Loot: Bastion Parts/Cells.
Rocketeer
- Threat Level: Extreme
- Behavior: One of the most dangerous mid-tier ARC, this flying machine fires guided rockets from extreme ranges, inflicting heavy damage. A distinct lock-on warning sound precedes a rocket launch.
- Strategy: Constant movement is key to break the lock. Engage from cover and aim for the small glowing core underneath the drone or its rotors. All four thrusters are armored; heavy ammo or explosives are the reliable way to drop it.
- Loot: Rocketeer drivers, Rare Circuitry, and heavy gun parts.
Bombardier
- Threat Level: High
- Behavior: An artillery unit always accompanied by two Spotter Drones. The Spotter Drones relentlessly follow and mark a Raider’s position. The Bombardier then fires a high-explosive rocket at that location. Be warned: if you get too close, it will emit a powerful defensive shockwave blast.
- Strategy: Prioritize destroying the Spotter Drones first. They will respawn every 20-30 seconds, so the window to attack the main unit is brief.
- Loot: Spotter Relays (from drones), Bombardier Cell, and rocket ammo.
Apex Predator: The Queen
- Threat Level: Extreme (Boss)
- Behavior: Currently the strongest ARC, this massive boss is found guarding the Harvester event. Her known attack patterns include devastating barrages from her Queen heavy launchers, a powerful sweeping laser, and brutal close-range area denial attacks like a crushing ground slam and a disruptive EMP pulse.
- Strategy: The main fight requires a coordinated team. Take out any minions first. To reveal her primary weak spot on her head, a team must inflict a stagger by focusing fire on the joints of her legs.
- Recommended Loadouts: Heavy ammo weapons, explosives, and stun utilities excel here.
- Loot: The Queen drops the best Harvester loot, including a rare chance at the Queen Reactor.

Advanced Combat — Utilities, EMP, Smoke, Lure/Scanner
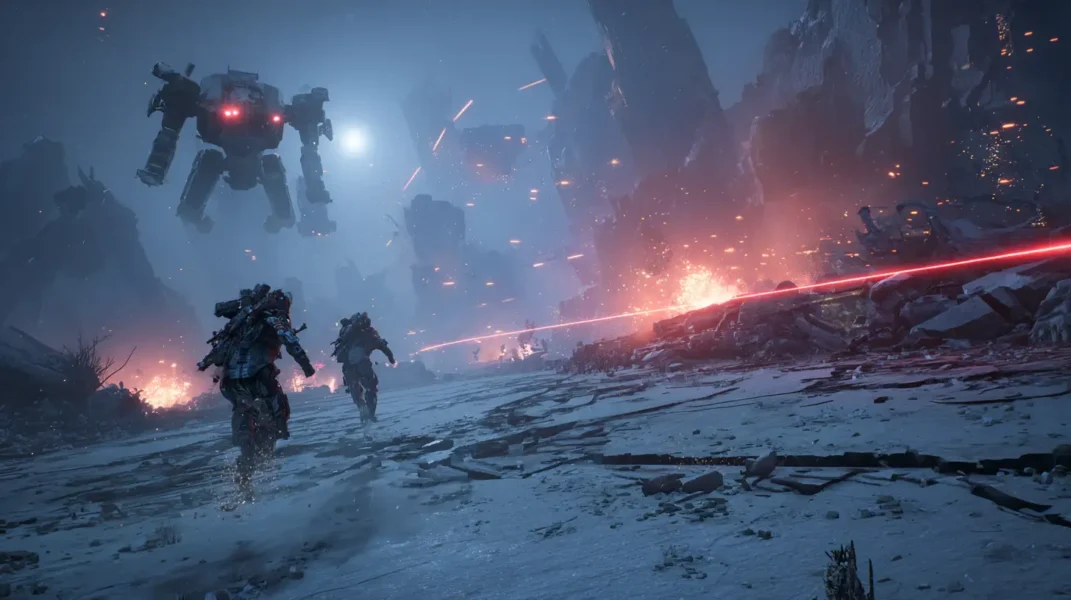
Mastering the art of destruction goes beyond simply shooting weak spots. Smart weapon choices and creative use of gear provide a definitive edge.
Exploiting Key Weaknesses:
- Leaper: A well-placed Blaze Grenade can be devastating. A direct hit on its central “eyeball” can inflict massive burn damage, potentially crippling it in a single application.
- Bombardier Farming: The Bombardier presents a unique and lucrative opportunity. It will continue to spawn Spotter Drones until the main unit is destroyed. A patient Raider can farm these drones for their valuable Spotter Relays for a significant profit.
Damage & Utility Pairing
| Tool | Primary Use | Targets |
| Energy weapons | Component deletion | Wasps, Hornets, Leaper joints |
| Heavy/AP rifles | Armor break/core access | Bastion, Bombardier, Rocketeer |
| EMP grenade | Hard disable/drop | Drones, Turrets, Rocketeer |
| Smoke grenade | Breaks LOS/lock-on | Rocketeer, snipers; revive/retreat cover |
| Lure + Scanner | Redirect ARC pressure | PvP third-party setups |
EMP effects instantly disable electronic ARC, while smoke grenades break line-of-sight and cancel most lock-ons, notably from Rocketeers. The Lure and Scanner combo remains a viable PvP pressure tool with enough scanners.
As new ARC variants and experimental weapons are introduced, these interactions may evolve. Always test weapon effectiveness after major patches.
ARC Loot & Team Strategy — High-Value Drops & Crafting

Defeated ARC units are a vital source of mid-raid resources, and engaging them as a team has its benefits. Analyzing Arc Raiders loot drops is key to efficient farming.
| ARC | Notable Extras |
| Bastion / Sentinel tier | ARC Circuitry, Motion Cores, Advanced ARC Powercells |
| Queen (Harvester) | Chance at Queen Reactor; Advanced Cells; high-value mats |
- Coordinate Fire for Maximum Impact: When in a squad, synchronized attacks are exponentially more effective. Employing a simple “3-2-1” countdown to focus fire ensures an enemy is neutralized as quickly as possible.
- Maximize Post-Combat Gains: Large ARC enemies like the Bastion offer significant rewards. Their wreckage breaks into multiple, distinct pieces; meticulously search every available loot point.
- Turn Salvage into Survival: ARC Powercells can be consumed directly to partially replenish a damaged shield in an emergency or used with the “In-Round Crafting” perk to create a full Shield Recharger.

Weekly Trials — Scoring Rules, 2× Map Conditions, Fast Grinds
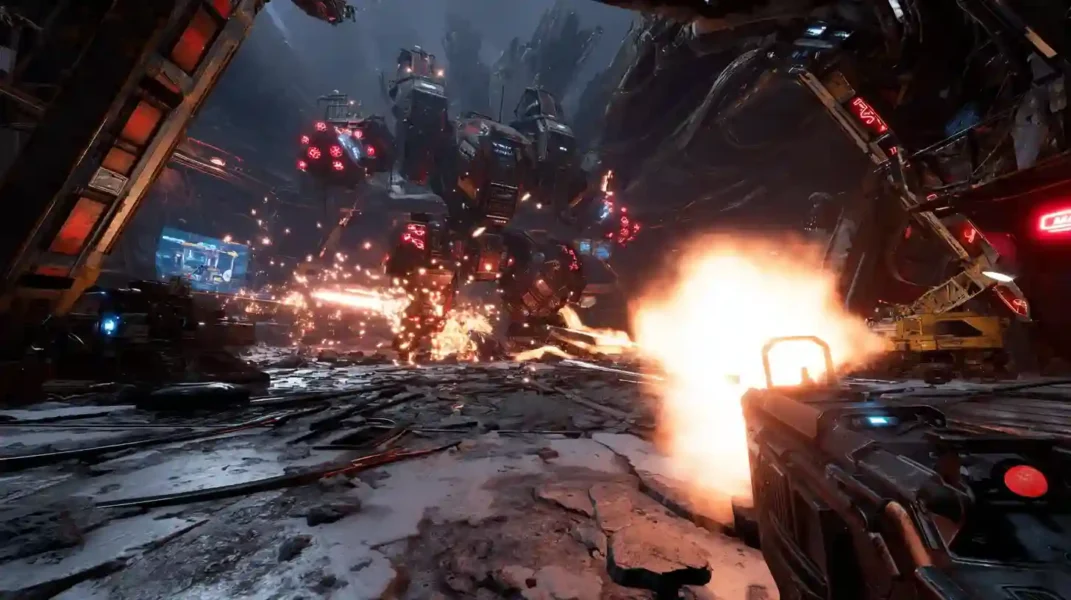
Once a Raider reaches level 15, the Weekly Trial system offers a new competitive challenge focused on ARC encounters, connecting combat mastery with leaderboard relevance.
- Core Mechanics: Players are placed on a 100-person leaderboard. The total score is a cumulative total of the single best performance in each of five categories throughout the week, and you must successfully extract for a new personal best to count. Many combat objectives, like “Damage Leapers,” count group-wide contributions, incentivizing team play.
- The Golden Rule: The 2x Points Multiplier: Major Map Conditions (Night Raid, Electromagnetic Storm) apply a 2× score multiplier to Trials. Plan all Trial pushes during these windows for significant leaderboard gains.
Promo code: Dina_Blog
Use this discount as my thank you for your attention!
Fastest Trial Grinds
- Dual-Credit Objectives: Focus Leapers to gain progress for both “Damage Leaper” and “Damage ARC” trials simultaneously.
- Score Doubling: Prioritize Night Raids or Electromagnetic Storms. A Bombardier-heavy zone during a Night Raid is a goldmine for both ARC damage and high-value Spotter Relays.
- Density Farming: For gathering trials like “Harvest Plants”, learn high-density locations (e.g., Galleria Mall) and visit them during a 2x modifier.
- Extraction matters: scores only bank on successful extract, so budget time to leave.
Epiccarry: best wow boost and coaching services
Frequently Asked Questions
What are ARC enemies in Arc Raiders?
ARC enemies, or Automated Robotic Combatants, are the primary mechanical threat in Arc Raiders. They range from small ambush drones like Ticks to towering bosses such as the Queen found in Harvester events. Each ARC type has its own movement logic, sensory detection range, and distinct weak points. Learning how they behave—especially how they transition between patrol, alert, and attack states—is essential to surviving raids and maximizing loot efficiency.
How do you defeat all ARC enemies in Arc Raiders?
Beating every ARC enemy comes down to targeting precision and weapon pairing. Small units such as Pops and Ticks fall to quick melee or light ammo, while heavily armored enemies like Bastions or Rocketeers require sustained heavy weapon fire. Always aim for glowing components, thrusters, or exposed mechanical joints. When possible, use EMP grenades to disable multiple targets or Blaze Grenades to burn down weak spots like the Leaper’s “eye.” Avoid prolonged engagements—ARC reinforcements arrive quickly once the alarm triggers.
What is the best ammo type against ARC armor?
Heavy ammo is the most efficient choice for armored ARC units. It pierces plating, staggers large enemies, and deals massive damage to critical points. Medium ammo works as a balanced fallback for general use, while light ammo is suitable only for soft targets like Pops or Ticks. Heavy ammunition also synergizes with armor-breaking weapons like AP rifles or machine cannons, making it essential for tackling Bombardiers, Bastions, or Rocketeers.
What do ARC Power Cells do in Arc Raiders?
ARC Power Cells serve as both loot and emergency survival tools. They drop frequently from mid- and high-tier ARC enemies and can be consumed on the spot to restore part of a Raider’s shield capacity. Alternatively, they can be combined with other materials using the In-Round Crafting perk to make full Shield Rechargers. Advanced Power Cells, dropped by the Queen or Sentinel-tier ARC, are valuable for high-end crafting and late-game trade purposes.
Where can I find ARC Alloy and Scrap Metal?
ARC Alloy and Scrap Metal are universal drops obtained by dismantling or looting destroyed ARC units. Light drones drop smaller amounts, while heavy mechs such as the Bastion and Bombardier yield larger quantities. Alloy is typically used in equipment and gadget upgrades, while Scrap Metal is useful for bulk crafting and mission repair stations. Focusing on heavily fortified zones and Night Raids increases drop consistency due to higher ARC density.
What are Energy Weapons and EMP effects in Arc Raiders?
Energy weapons use plasma or magnetic discharge to damage internal circuits, bypassing armor in ways conventional ammo cannot. They are particularly effective against enemies with visible weak components, like Hornets, Wasps, and Leapers. EMP effects—from grenades or ability-based tools—instantly disable drones, turrets, and some flying units like Rocketeers. A properly timed EMP can turn a dangerous skirmish into an easy clean-up while conserving ammunition.
Which ARC enemies have rear thruster weak points?
Rear thruster weak points appear on flying ARC units, including the Wasp, Hornet, and Rocketeer. Destroying these thrusters destabilizes flight patterns, often forcing enemies to crash or lose aim. Thrusters glow faintly when powered and are typically unarmored from behind, making them ideal for sharpshooters using scoped weapons. Learning to prioritize these spots saves ammo and prevents air superiority threats from overwhelming ground positions.
Why does the Bastion move slowly in Arc Raiders?
The Bastion is a mobile fortress—its immense armor and heavy weapon load make it deliberately slow-moving. This slow pace is deceptive; it compensates with unmatched firepower from its minigun array and devastating area control. Raiders should focus on teamwork: one player draws its fire while others flank. The kneecaps and rear cylinder glow yellow when vulnerable, signaling a chance to deal massive structural damage. Always stay mobile and use terrain to your advantage.
What loot drops from the Queen in Arc Raiders?
The Queen, encountered during the Harvester Event, drops the game’s most valuable loot. Her table includes Queen Reactors, Advanced ARC Power Cells, Alloy, and rare crafting components. Defeating her requires coordinated fire to stagger her by targeting her leg joints, revealing the head core for critical damage. Because of the fight’s difficulty and time commitment, many squads plan entire sessions around farming her limited spawn rotation.
Do ARC enemies respawn during a raid?
Not all ARC units respawn. Standard patrols remain cleared once defeated, but special entities like the Bombardier and Spotter Drones are exceptions. Spotters will reappear every 20–30 seconds while their main Bombardier unit survives, effectively extending the battle. Certain seasonal or event-based maps may also contain ARC spawners, reintroducing light drones after specific intervals. Keeping track of respawn cycles helps avoid getting surrounded during long engagements.
How do alert states work for ARC enemies?
ARC detection operates on a three-tier alert system—Patrol (Blue/White), Alerted (Yellow/Orange), and Attack (Red). When in patrol mode, enemies follow pre-set paths. Sudden noise or line-of-sight exposure raises their alertness to yellow, prompting them to search. Red indicates full combat engagement. Understanding this system lets players reset encounters by breaking visual contact or using smoke grenades to interrupt line-of-sight, saving both health and ammunition.
How do Arc Raiders map conditions affect ARC behavior?
Map conditions such as Night Raid and Electromagnetic Storm dynamically alter raid difficulty. Night Raids double ARC patrol numbers and aggression but also increase loot and Trials points. EM Storms disrupt electronic sensors, creating windows where detection and lock-ons fail. Hidden or Seasonal Bunkers appear under these conditions, spawning limited-time events that can reward specialized loot. Strategic timing around these rotations maximizes progression and efficiency.
What is the best way to farm Bombardiers and Spotter Drones?
The Bombardier is a valuable target due to its Spotter Drone respawn loop. Keeping the Bombardier alive allows its drones to continuously spawn, each dropping Spotter Relays used in crafting and scoring. Players often choose open areas for easier visibility during this method. However, prolonged farming increases the risk of third-party raids, so secure perimeters before committing to this loop.
How can I avoid PvP ambushes while fighting ARC enemies?
The sound of gunfire attracts nearby raiders. To prevent ambushes, engage ARC targets quietly and efficiently. Use suppressed or single-shot weapons, limit grenade use, and avoid staying too long in high-visibility areas. When combat noise is unavoidable, prepare escape routes and use smoke grenades to cover retreat. Remember that other players hear Rocketeer lock-ons and Sentinel shots from long distances, so awareness is key to survival.
What are the best grenades to use against ARC units?
Each grenade type has a specialized role:
- EMP Grenades: Disable drones, turrets, and Rocketeers instantly.
- Blaze Grenades: Apply burn damage ideal for Leapers and light ARC.
- Smoke Grenades: Block visibility, break lock-ons, and enable safe revives.
- Lure + Scanner Combo: Redirect ARC aggression toward other players during PvP zones.
Balancing utility grenades with explosive ones ensures versatility across solo and squad encounters.
What are the Weaknesses of the Rocketeer in Arc Raiders?
The Rocketeer is lethal but predictable. Its core beneath the fuselage and rotor thrusters are prime weak points. Striking them with heavy or explosive ammo forces it to lose altitude and crash. It also announces its attacks with a distinct lock-on tone—take cover immediately when you hear it. Using smoke or EMP can cancel a missile launch outright, making these utilities invaluable during long-range fights.
How does the Weekly Trials system work?
Weekly Trials unlock at level 15 and offer rotating competitive objectives across ARC combat categories. Players are ranked on a 100-player leaderboard, with each category tracking the best individual performance per week. To record a valid score, Raiders must extract successfully after meeting the objective. Categories such as “Damage ARC” and “Damage Leaper” count total contribution, encouraging cooperative strategies.
How do I earn double points in Arc Raiders Weekly Trials?
During major map conditions like Night Raid or Electromagnetic Storm, Trials automatically apply a 2× points multiplier. Completing damage or collection objectives under these conditions significantly boosts leaderboard rank. Advanced players often plan their weekly grind around these windows to optimize both time and loot returns.
What is the best strategy for team fights against heavy ARC units?
Team coordination is crucial. Assign one Raider to draw aggro while others target exposed points. Use countdown communication (“3-2-1-fire”) for synchronized bursts. Combine EMP disables with heavy ammo focus fire to maximize core exposure. After the kill, search every segment of the wreck—large enemies like Bastions and Rocketeers break into multiple lootable sections.
How can new players beat every ARC enemy efficiently?
New Raiders should begin by mastering stealth and ammo economy. Focus first on Ticks, Pops, and Fireballs to learn detection ranges. Gradually transition to larger ARC units using EMP grenades, heavy ammo, and flanking tactics. Keep mobile, avoid unnecessary noise, and remember that surviving and extracting are more important than clearing every enemy. Progress comes from efficiency, not aggression.
Comments


