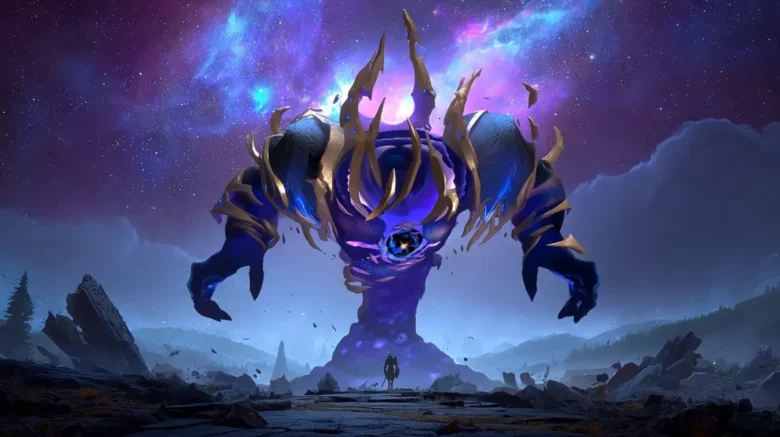
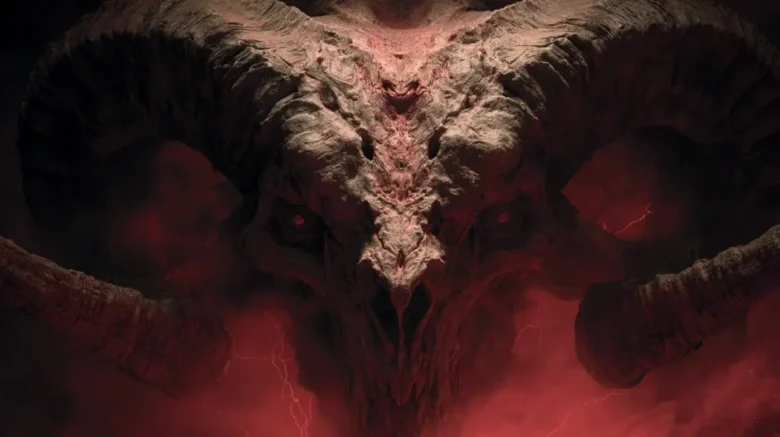
With the Renegades expansion, Destiny 2: Renegades introduces Equilibrium—a mechanically dense dungeon set on Venus that emphasizes multi-realm coordination, Shadow-based buff management, and mandatory interrupt execution. Unlike earlier dungeons, Equilibrium is built around sustained pressure rather than burst damage, punishing mismanaged phases and poor timing.
This guide provides a full mechanical breakdown of the Equilibrium dungeon, covering encounter flow, difficulty scaling, optimal loadouts, and reward acquisition paths for standard clears, high-delta feats, and efficient farming.
In This Guide, We’ll Cover:
- How Equilibrium difficulty scales with fireteam size, power delta, and Feat modifiers
- The Shadow Hierarchy system, including Shadow Novice, Apprentice, and Master interactions
- A step-by-step breakdown of all three encounters, including wipe conditions and challenge requirements
- Optimal strategies for managing multi-realm mechanics and interrupt windows
- Recommended class builds and loadouts for solo, group, and high-difficulty runs
- How encounter-based farming works and which rewards are tied to full completions
- All Exotic, Catalyst, and rare drop acquisition paths, including secret encounters

Difficulty and Scaling Context
Equilibrium scales its difficulty based on fireteam size (1–3 players) and the active Feat modifiers.
- Power Delta: Standard normal mode features a 0 power delta. Utilizing the Feat System allows players to increase this to +20 (Master) or simulate the contest mode experience at -40 by equipping “Cutthroat Combat.”
- Feat Stacking: Modifiers like “Token Limit” or “Phase Limits” stack. While equipping three +20 delta feats significantly improves the loot table, these improvements are probability-based rather than guaranteed.
- Not Swap Modifier: In high-tier play, changing gear that alters base stat values triggers an immediate drain of all ability and super energy. Stat parity across all loadouts is required to avoid this penalty.
Core Mechanic: The Shadow Hierarchy
Success requires players to build gathering Shadow energy to progress through three distinct tiers:
- Shadow Novice Buff: Replaces the grenade with a darkness pulse used to break immune shields on Apprentices.
- Shadow Apprentice Buff: Required to interact with wall panels, generators, and grounding pylons.
- Shadow Master Ability: Unlocks the Shadow Master ability, allowing players to “Compel” Shadow in the final fight. This manages the boss’s health threshold risk versus time extension.

Encounter 1: The Temple Grounds

The objective of the first encounter is to clear Imperium forces and lower the Harvester ship’s shields.
Falcon Circuit & Shadow Buff Acquisition
After the first wave of Call to Arms, players must lure a shielded Nameless Apprentice to a satellite array. Activating the terminal during the enemy’s white “Taken Blast” animation powers the array and opens the perimeter track.
A high-mobility guardian must pilot a Falcon vehicle through Shadow energy pools to fill the meter.
- Falcon Durability: Falcons can be destroyed by turrets. If a vehicle is destroyed, it resets the circuit progress, forcing the player to grab a replacement from the track entrance.
- Wipe Condition: The pilot has a “Creeping Shadows” timer. If they fail to drive through Shadow pools every few seconds, the pilot will die. If the buff is not recovered by a teammate, it can result in a fireteam wipe.
Apprentice Phase: Shield Breaks, Drop Pods & Safe Zones
Upon reaching Tier 1, the pilot returns to the arena to strip shields from the six Nameless Apprentices. Each time an Apprentice dies, they drop a pool to refresh the Shadow Novice buff. Guardians should avoid the center of the arena during this phase, as Walker drop pods will frequently land there, causing instant death.
Encounter Challenge: Mounted Execution
The challenge dictates that all nameless Apprentices spawn and must be defeated exclusively using Falcon vehicle fire. Accidental kills via standard weapons or grenades fail the challenge.
Transition 1: The Imperial Carrier
Boarding the Harvester transports the team to the ship proper. This section involves navigating vents and jumping across a gap between ships at near-light speed. Momentum will pull guardians to the right; utilizing an Eager Edge sword or a Grapple grenade is the correct route to ensure safety.
- Collectible #1: Under the floor in the corner of the first hyperspace window.
- Secret Chest #1: In the rafters of the hallway containing three fuses.

Encounter 2: Harrow, Dredgen Apprentice

The Harrow encounter is a melee-focused battle. Harrow utilizes Void and Melee damage; equipping corresponding resistance mods is optimal for survival.
Side Room Mechanics & Harrow’s Decree
Players must enter side rooms to kill “Lackey” enemies for energy. A player receiving “Harrow’s Decree” is being hunted; stopping movement allows Harrow to teleport for a lethal Void strike. Once the Shadow Apprentice buff is reached, players must hit three panels in each of the three outer rooms to unlock the middle room.
Damage Phase and Shield Traps
To initiate the damage phase, players shoot ceiling fuses to open floor pits.
- Bait Harrow: Lead the boss into a pit to remove 33% of his shield.
- Efficiency Tip: Hitting Harrow with a Shadow power ability as he jumps out of the pit removes an additional 17% of the shield.
- Enrage: There is no hard enrage; the mechanics loop until the boss is defeated or enters final stand, where he flees through a wall for a final corridor chase.
Encounter Challenge: Absolute Suppression
Guardians must bait Harrow into his unique blight attack and stun him using the Shadow grenade every single time it occurs throughout the fight.
Encounter 3: Dredgen Seir (Emperor of Shadows)
The final encounter requires coordinated movement between the physical realm and the ascendant realm. To begin the DPS window, 10 Taken Orbs must be destroyed (5 per realm).
Mirror Dimension Mechanics & Blistered Shadows
In the physical realm, use the Shadow Novice buff to break shields on kneeling apprentices to reveal orbs. When the Dark timer (Lure of the Dark) expires, the team teleports to the alternate dimension. Here, players encounter “Blistered Shadows”:
- Kill Shadows: Fast, but increases the “White Threshold” on Seir’s health bar. Passing this mark during DPS ends the phase prematurely.
- Compel Shadows: Using the Shadow master ability grants more time on the dark timer without penalizing the damage threshold.
Damage Phase and Execution
The final boss is damaged in the physical realm. Most fireteams complete Seir in two to three damage phases, depending on White Threshold management.
- Interruption: Seir channels a lethal lightning attack; players must shoot his hands to break the channel.
- Grounding: Failure to pass the health threshold causes the floor to remain electrified. A player with the Tier 2 buff must interact with corner pylons to ground the Arc energy. Pylons reset at the start of every new phase.
Encounter Challenge: Synchronized Destruction
Fireteams must destroy a Shadow orb on the Center Totem within 15 seconds of every realm swap. This requires de-protecting an orb in the current realm before the teleport occurs so it is ready for immediate destruction upon arrival in the next.

Optimal Meta and Loadouts

The Praxic Blade is the centerpiece of Equilibrium. It is required for specific puzzles and, when combined with the “Kinetic Synthesis” artifact mod, provides an infinite ammo loop for boss damage.
- Warlock: Getaway Artist Prismatic is the standard for solo or group sustain.
- Titan: Cuirass of the Falling Star is the preferred big game hunter setup for burst damage.
- Hunter: Celestial Nighthawk is ideal for precision, while Fortune’s Favor provides superior overshield neutral play for melee phases.
Loot and Rewards
The Equilibrium loot table is encounter-farmable, allowing players to replay specific sections for targeted gear.
- Exotic Weapon: Heirloom is a guaranteed drop in contest mode, but RNG in standard play.
- Catalysts: The Heirloom Catalyst and the “Energy Conduit” (for the Praxic Blade) are obtained by solving three internal puzzles and defeating the secret “Shade of Seir” boss.
- Dark Saber Crystal: This rare RNG drop is tied to a full dungeon completion from start to finish in a single session.
Epiccarry: best wow boost and coaching services
Frequently Asked Questions
What is the Equilibrium dungeon in Destiny 2?
Equilibrium is a three-encounter dungeon introduced with the Renegades expansion. It is built around shadow-based progression mechanics, multi-realm coordination, and strict execution checks, particularly interrupts. Unlike earlier dungeons, Equilibrium emphasizes sustained pressure and mechanical consistency over burst damage or brute-force strategies.
How do you access the Equilibrium dungeon?
Equilibrium becomes available after progressing far enough into the Renegades content to unlock dungeon access. Once unlocked, it can be launched directly and supports solo play or fireteams of up to three players, with mechanics and enemy density scaling accordingly.
What power level is required for the Equilibrium dungeon?
On standard difficulty, Equilibrium runs at a 0 power delta, meaning player power is not capped below enemies. Additional challenge can be added using Feat modifiers, raising difficulty to +20 or simulating contest mode at a -40 delta for endgame-focused players.
How does difficulty scaling work in Equilibrium?
Difficulty scales through a combination of fireteam size and Feat modifiers. Multiple Feats can be equipped simultaneously, increasing enemy durability, damage, or encounter restrictions. While higher difficulty improves loot quality chances, Tier 5 rewards are still governed by probability rather than guarantees.
What is the Shadow Hierarchy system?
The Shadow Hierarchy is the dungeon’s core progression system. Players must build shadow energy to unlock higher tiers of interaction, with each tier granting access to additional mechanics. Failing to manage shadow tiers correctly often results in stalled progression or wipe conditions.
How do you reach Shadow Novice in Equilibrium?
Shadow Novice is obtained by collecting shadow energy, most commonly through the Falcon Circuit in the first encounter. This tier replaces the grenade ability with a darkness pulse that is required to break immune shields on specific enemies and reveal progression mechanics.
What does Shadow Apprentice allow you to do?
Shadow Apprentice enables interaction with advanced dungeon objects, including wall panels, generators, moving platforms, and grounding pylons. Many encounters cannot progress without at least one player holding this buff, making it a critical mid-tier requirement.
What is Shadow Master used for?
Shadow Master unlocks the ability to Compel high-tier shadows during the final encounter. This interaction extends timer windows without increasing the boss’s damage threshold, making it essential for solo attempts, flawless runs, and high-difficulty Feat configurations.
What causes wipes in the first Equilibrium encounter?
Common wipe causes include failing the Falcon Circuit timer, losing the Shadow Novice buff during the apprentice phase, or standing in unsafe zones when Walker drop pods land. Poor positioning and missed refresh pools are the primary sources of failure.
How does Harrow’s Decree work in the second encounter?
Harrow’s Decree marks a player as the boss’s target. If the marked player stops moving, Harrow will teleport directly to them and perform a lethal Void melee attack. Constant movement and spatial awareness are mandatory until the mark expires.
Is there a hard enrage timer on Harrow?
Harrow does not have a traditional hard enrage. Instead, the encounter loops through its mechanics until the boss is defeated. However, repeated mistakes compound pressure and can quickly overwhelm a fireteam, especially at higher difficulty deltas.
How many damage phases does Dredgen Seir usually take?
Most coordinated fireteams defeat Dredgen Seir in two to three damage phases. Runs with poor White Threshold management or excessive Blistered Shadow kills often require additional phases, significantly increasing encounter length and risk.
What happens if you increase Seir’s White Threshold?
Raising the White Threshold shortens the available damage window. If the threshold is reached during DPS, the phase ends immediately, forcing players to repeat the realm mechanics and increasing overall encounter difficulty.
What is the best weapon to use in the Equilibrium dungeon?
The Praxic Blade is central to Equilibrium’s mechanics. It is required for puzzle interactions and, when combined with the Kinetic Synthesis artifact mod, allows sustained damage through infinite ammo loops during boss encounters.
Can you farm loot in the Equilibrium dungeon?
Yes. Equilibrium is fully encounter-farmable, allowing players to repeat individual encounters for targeted weapons and armor. Exotic drops such as Heirloom remain RNG-based outside contest mode, while catalysts and secret rewards require full completion and hidden encounters.