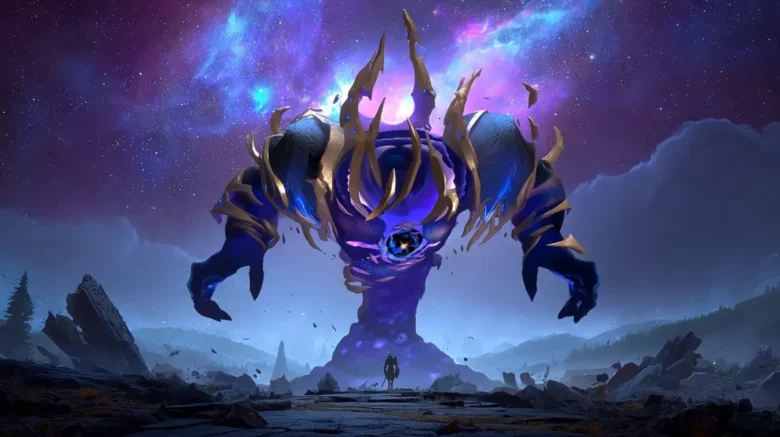
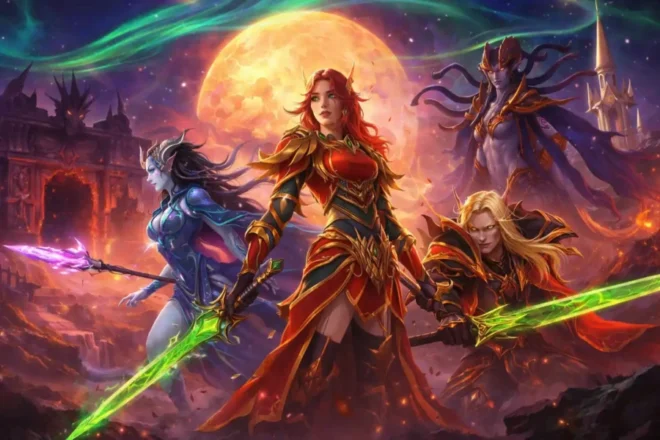
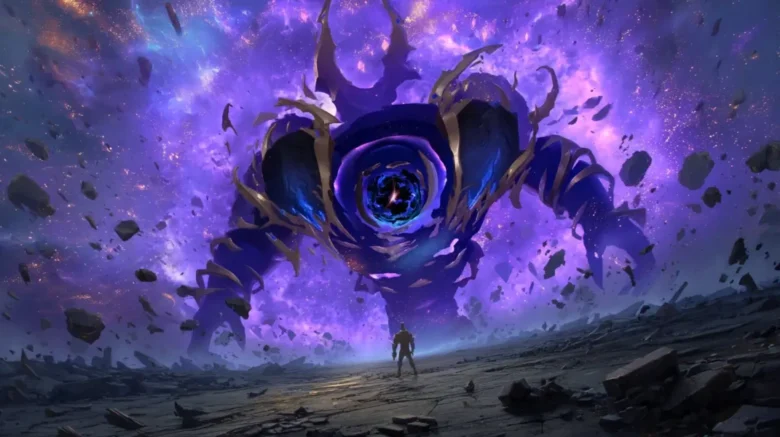
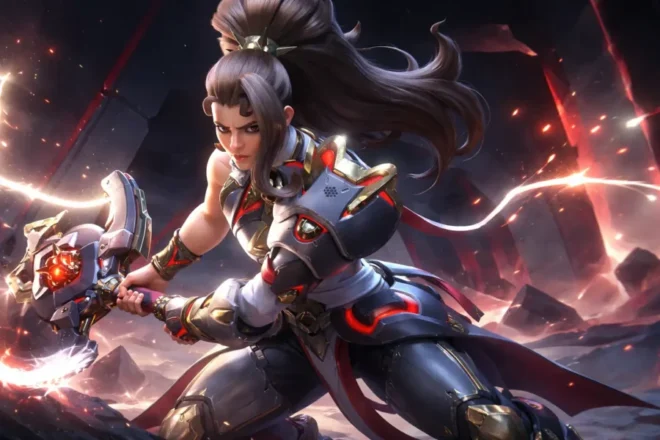
As WoW Classic Mists of Pandaria Phase 3 is released, the coming of new content brings fresh hope to Azeroth’s defenders. The Throne of Thunder raid is widely regarded as one of the premier instances in World of Warcraft history, offering a significant step up in complexity, atmosphere, and loot compared to the previous tier.
The resurrected Thunder King, Emperor Lei Shen, has returned to the Thunder Throne. Supported by the Zandalari trolls, he seeks to reclaim his dominion. It is up to the Alliance and Horde to storm the citadel and ensure the Thunder King’s death.
In this guide, we will cover:
- Logistics: Entrance, modes, and faction reputation.
- New Systems: Thunderforging and raid members’ gear progression.
- Difficulty: A 10-man tier list for early encounters.
- Strategies: Detailed strategy guides for the first 7 bosses.

Throne of Thunder Raid Overview & Logistics
Location & Entrance
The entrance to the raid instance is located on the northwest coast of the Isle of Thunder. To assault Lei Shen’s throne, players must first establish a foothold on the island near the Shado-Pan Garrison.
Factions & Rewards
Advancing through the instance yields reputation with the Shado-Pan Assault.
- Rewards: This faction offers powerful 522 ilvl gear, which is an excellent starting point for players seeking Agility, Strength, or Intellect upgrades.
- Note: Reputation comes exclusively from killing bosses inside the raid, not dailies. Because Shado-Pan Assault reputation only comes from boss kills, some players opt for a MoP Shado-Pan Assault Boost to speed up access to key 522 items—especially trinkets and weapons early in the tier.
- Bonus Roll: Don’t forget to buy your bonus roll currency (Mogu Rune of Fate) before entering the Thunder raid.
Modes & Lockouts
| Mode | Group Size | Item Level | Lockout Type | Notes |
| LFR (Raid Finder) | 25 | 502 ilvl | Separate LFR lockout | Four wings; queueable via LFR tool. |
| Normal Mode | 10 / 25 | 522 ilvl (528 TF) | Shared lockout with Heroic | Entry-level progression difficulty. |
| Heroic Mode | 10 / 25 | 535 ilvl (541 TF) | Shared lockout with Normal | Stronger mechanics; optimized comps recommended. |
| Ra-den (Heroic Only) | 10 / 25 | 541 ilvl | Requires Heroic Lei Shen kill | Limited-attempt boss in original MoP. |
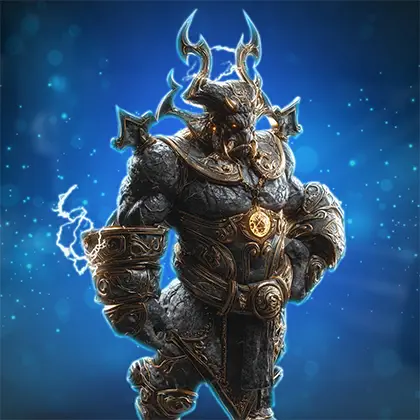
Part 1: Throne of Thunder Gearing, Thunderforged Loot & Preparation
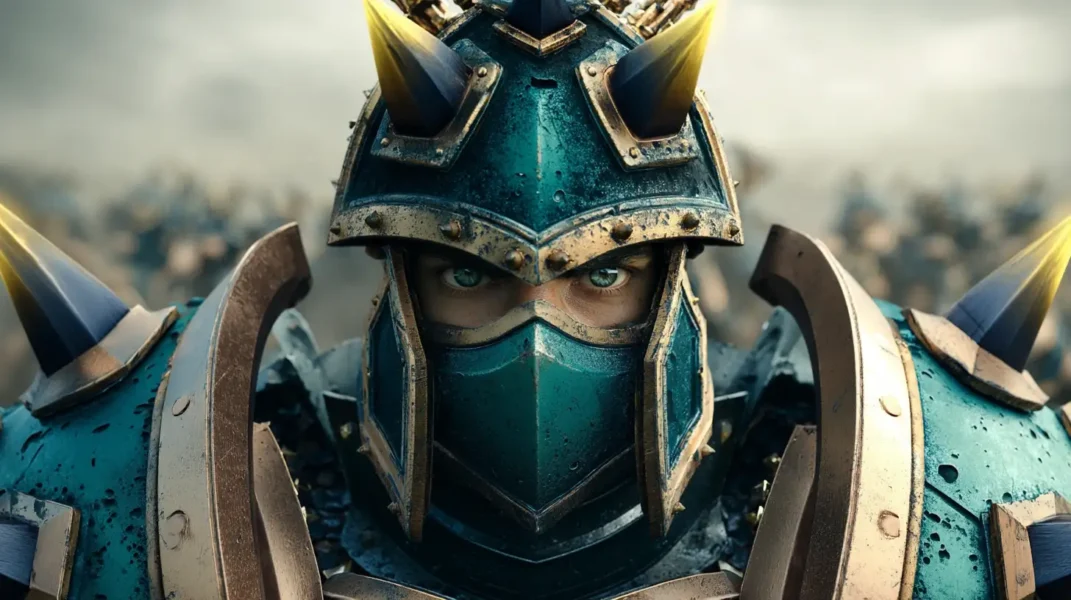
Thunderforging & Upgrade Interaction
The most significant change in this Pandaria expansion tier is Thunderforging. Dropped loot has a chance to be “Thunderforged,” granting it +6 item levels over the base version.
- Normal: 522 ilvl (528 Thunderforged).
- Heroic: 535 ilvl (541 Thunderforged).
| Item Type | Base ilvl | Max Upgraded ilvl | Thunderforged ilvl | Upgradeable? | Notes |
| Normal Gear | 522 | 528 (+6 via upgrades) | 528 | ✔ Yes | Fully upgraded = same ilvl as Thunderforged. |
| Heroic Gear | 535 | 541 (+6 via upgrades) | 541 | ✔ Yes | Same rule as Normal. |
| Thunderforged Items | 528 / 541 | — | 528 / 541 | ✖ No | Cannot be upgraded in MoP Classic. |
| Tier 15 Set Pieces | 522 / 535 | — | — | ✖ No | Cannot be Thunderforged or upgraded. |
| Shado-Pan Assault Gear | 522 | — | — | ✖ No | Static ilvl; purchased via rep. |
The MoP Classic Twist:
Thunderforged items cannot be upgraded. However, standard items can be upgraded twice (2 upgrades of +3 ilvl each = +6 total). This means a fully upgraded standard piece matches a Thunderforged piece in item level. Do not auto-equip items without checking stat weights; Thunderforging is primarily a currency saver rather than a permanent power gap.
- Important Note: Tier pieces and Shado-Pan Assault gear cannot be Thunderforged or upgraded, making high-ilvl off-pieces valuable.
Raid Preparation: Consumables & Costs
Upgrading newly acquired items and equipping them with high-quality gems and enchants can get expensive early in the tier, especially for players gearing multiple specs. Many players simply buy WoW MoP Classic Gold services to avoid the early-tier gold pinch.
Legendary Meta Gems

Completing the Phase 3 Wrathion questline unlocks Legendary Meta Gems, granting players immense power.
- Courageous (Healer): Chance for 0 mana cost spells. Very strong for all healers; plan major healing windows around the proc.
- Sinister (Caster): Massive Haste proc. Great for pure DPS; niche for Disc/Resto Shaman damage builds.
- Indomitable (Tank): Chance to gain physical damage reduction when hit.
- Capacitive (Melee): Accumulates charges to deal extra lightning damage.
| Meta Gem | Effect Summary | Best Roles / Specs | Notes |
| Courageous Primal Diamond | Chance for a spell to cost 0 mana for 4 sec | All healers | Extremely high throughput value; plan healing CDs around it. |
| Sinister Primal Diamond | High-Haste proc | Casters (Mage, Warlock, Shadow Priest) | Also decent for hybrid DPS builds (Disc Priest, Ele Shaman). |
| Capacitive Primal Diamond | Attacks build charges that release lightning damage | Melee DPS (Rogue, Feral, Enhance, Warrior, Monk) | Scales well with high APM classes. |
| Indomitable Primal Diamond | Reduces incoming physical damage | Tanks (Prot Paladin, Brewmaster, Guardian, Prot Warrior, Blood DK) | Best survivability gem of the tier. |
Tier 15 Snapshot
- Healers: The Resto Druid 2-set (Efflorescence targets) and Holy Paladin 4-set (Beacon transfer) are extremely strong. Others may break set for Thunderforged stats if the itemization is better.
- Tanks/DPS: Tier 15 stats are a massive jump. Generally, aim for your 2-set and 4-set bonuses early, but consult class discords or sims to see when high-ilvl Thunderforged off-pieces should replace weaker tier pieces.
Because gearing in early Throne of Thunder can be slow—especially if you’re chasing specific Thunderforged items or set bonuses—many players use a MoP Gear boost to secure key upgrades faster and smooth out early progression.
Essential Addons & Macros
- DBM / BigWigs: Mandatory for timers.
- GTFO: The floor is lava.
- WeakAuras: Foji’s Pack (highly recommended for Ji-Kun nests and Durumu marks).
- Macros:
- /tar Direhorn Spirit (Horridon)
- /click ExtraActionButton1 (Use for Tortos Shells & Council Soul Fragment)
Part 2: Throne of Thunder 10-Man Difficulty Tier List (Normal & Heroic)

This list assumes an average guild making their first attempt at the Throne of Thunder during the early weeks. If your team is still gearing or rebuilding a roster, a MoP Throne of Thunder Boost can help secure early kills and smooth out progression walls—especially on bosses like Horridon, Megaera, and Dark Animus.
Tier 1: Free (Week 1 Kill)
- Jin’rokh: Simple mechanics define this single phase fight.
Tier 2: Medium (Week 2-3)
- Ji-Kun: Trivialized by WeakAuras handling nest assignments.
- Tortos: An AoE check. Manageable if you respect the bats.
- Iron Qon & Primordius: Approachable. While they appear later in the raid, Iron Qon is a multi-phase elemental fight with increasing raid damage, and Primordius is a forgiving mutation/puddle boss once your raid understands the evolution buffs.
- Council of Elders: Brutal first minute, but difficulty drops sharply after the first kill.
Tier 3: Hard (Month 1)
- Horridon: The “pug killer.” Punishes missed interrupts and slow add management.
- Durumu: A coordination nightmare. One person failing the maze can easily wipe the raid.
Tier 4: Guild Breakers
- Megaera: A raw throughput check in the Forgotten Depths.
- Twin Consorts: The Twin Empyreans require complex positioning and are a wall for many.
- Dark Animus: A puzzle boss where one mistake wipes the raid.
Tier 5: The End Boss
- Lei Shen: A true challenge atop the Pinnacle of Storms. Expect weeks of progression.

Part 3: Throne of Thunder Trash & Boss Strategies (Bosses 1–7)
Trash Highlights
- The Wind Bridge: Located between Boss 1 and 2. With skies long, dark, and stormy, high winds blow you off the ledge. Use Warlock Gateways or move in short bursts between safe spots. Do not sprint blindly into the wind.
- Gastropods (Snails): Before Megaera. These one-shot if they touch you. Keep them snared and never run past them carelessly.
Boss 1: Jin’rokh the Breaker
The Gatekeeper
Jin’rokh was granted his power by the Thunder King and now guards the entrance. This fight revolves around utilizing the conductive pools.
The Core Mechanic: Conductive Water
Jin’rokh hurls the tank at a statue, creating a pool.
- The Buff: Standing inside grants +40% damage/healing.
- The Danger: If Nature damage hits the pool, it electrifies, killing everyone inside.
Key Strategies
- Focused Lightning: Targets a ranged player. Run to the outer bronze grates. Never kite an orb into the pool or an existing fissure.
- Static Wound (Tank): Stacks on the tank. If melee hit, deals raid damage. Swap immediately on application.
- Lightning Storm: Soft enrage. When the pool fills the quadrant, the boss casts a storm. Leave the pool and focus on dodging lightning’s power (Frogger style). Most groups aim to kill him by the 4th storm.
- Heroic Ionization: Dispel mechanic. Players must step out of the water, get dispelled, and run back in. Pre-immunity (Cloak/AMS) works to prevent application.
Boss 2: Horridon

The Endurance Test
An arena battle with four gates. You must keep the main path clear of adds. Priority: Dinomancer > Special Adds > Small Adds.
The Gate System
When a Dinomancer reaches 50%, it drops an Orb. Click it to force Horridon to smash the gate (applying a stacking Cracked Shell damage taken debuff).
- Farraki (Sand): Interrupt Blazing Sunlight. Avoid Sand Traps. Dispel: Magic.
- Gurubashi (Poison): Interrupt Venom Bolt Volley (Critical). Dispel: Poison.
- Drakkari (Frost): Kite Frozen Orbs away (they kill on touch). Dispel: Disease.
- Amani (Fire): Kill Warbears, then the Shaman. Snipe Lightning Nova Totems instantly. Dispel: Curse.
Boss Mechanics
- Triple Puncture: Tank swap mechanic. Swap every ~9 stacks. Note: The Orb of Control does not reset stacks; you must manage the swap timing.
- Heroic Direhorn Spirit: Fixates a player (visible only to them). Use the macro to target and knock it back. If it touches you, you die.
Final Phase: War-God Jalak
After Gate 4, Jalak jumps down. Lust here. Kill Jalak immediately to stop his shout (raid damage ramp), then burn Horridon while managing tank stacks.
Boss 3: Council of Elders
The Multi-Target Check
Four bosses active at once. Gara’jal possesses them in a hateful act that empowers their abilities. Breaking the empowerment requires dealing 25% of that boss’s HP. Critically: If an empowered boss reaches 100 energy, they cast Dark Power, wiping the raid.
The Strategy: Kill Sul First
Sul the Sandcrawler creates Quicksand. When empowered, he casts Sandstorm, turning Quicksand into massive “Living Sand” adds.
- Plan: Focus fire Sul immediately. Ignore other empowerments if possible to kill Sul before he casts Sandstorm. Once Sul is dead, the fight is easy.
Other Mechanics
- Malakk (Frost): Heroic Frostbite hits hard. On Normal you stack, but on Heroic it is often safer to solo-soak with cooldowns.
- Mar’li (Priest): Interrupts are key. On Heroic, keep Twisted Fate adds apart.
- Kazra’jin (Charge): Reflects damage when empowered. Healers need big CDs here; DPS must watch their own health.
- Soul Fragment (Heroic only): Pass this debuff using the Extra Action Button (Melee -> Ranged -> Healer -> Melee). Do not pass to tanks.
Boss 4: Tortos

The Arcade Game
A stationary boss. Kick turtles, dodge rocks.
Key Mechanics
- Kick Shell: Killing a spinning turtle leaves a shell. Kick this through the boss to interrupt Furious Stone Breath (lethal cast). This also applies Shell Concussion (boss takes +damage). Save burst for this window.
- Rockfall: Blue circles ramp up as the fight goes on. Do not stand in them.
- Bats: Tanks need to stay above 350k HP or the bats drain life/heal. Keep the bat tank topped. Position bats in front of the boss so kicked shells hit them too.
Heroic Crystal Shell
Tortos casts Quake Stomp (100% max HP damage).
- Survival: Hit Humming Crystals to gain a shield. Healers must pump targets with this buff to cap the shield at 75% HP before the stomp occurs.

Boss 5: Megaera
The Throughput Check
A multi-headed hydra located in the Forgotten Depths.
The Golden Rule: You must alternate which head is killed. When one head dies, the surviving active head heals to full.
Mechanics
- Rampage: Massive raid damage when a head dies. Rotate raid CDs (Devo/Hymn/Link) for every single Rampage. You will typically do this 7 times.
- Back-of-Room: Heads you don’t kill cast abilities.
- Frost (Blue): Fires an ice beam—kite it away.
- Fire (Red): Applies a DoT. Dispel near ice patches to clear them.
- Venom (Green): Drops poison bombs—run away. On later kills this ramps into Acid Rain, heavy ticking raid damage.
- Arcane (Heroic): Spawns Nether Wyrm adds.
Strategy: Kill Green (Venom) last to minimize Acid Rain. Recommended Order: Frost -> Fire -> Frost -> Fire -> Frost -> Poison -> Frost.
Boss 6: Ji-Kun

The Platformer
A stationary boss with add nests above and below.
Nests & Flight
Assign teams (3 DPS + 1 Healer) to grab Feathers and fly to nests to kill eggs/hatchlings.
- Primal Nutriment: Intercept the food Ji-Kun throws for a massive damage buff.
Main Platform
- Quills: Raid-wide channel. Stack up and use defensives.
- Down Draft: Pushback mechanic. Run toward the boss/center to avoid being blown off.
- Tanking: Swap on Talon Rake. Nest Guardians (adds) hit hard; give them to the off-tank.
- Heroic: Feathers only have 3 charges. Do not use a feather to fly down (just jump and glide). Save charges for flying up.

Boss 7: Durumu the Forgotten
The Coordination Test
Guarding the halls of flesh shaping, Durumu is a rigorous dance of looping phases: Main, Light Spectrum, and Maze.
Phase 1: Main Phase
- Hard Stare: Tank swap (Healing reduction + DoT).
- Force of Will: Frontal knockback (instant death).
- Life Drain: Hungry Eye drains a player. Others must rotate standing in the beam to prevent the boss from healing. Rotate 2–3 players through the beam so one person doesn’t get instantly killed and Durumu doesn’t heal for a chunk of his health bar.
- Lingering Gaze: Purple puddles. Do not drop these where you need to run for the maze.

Phase 2: Light Spectrum (Colors)
Three beams (Red, Blue, Yellow) track players.
- Goal: Reveal/Kill 3 Red adds by sweeping the beam over them.
- Hazard: Revealing a Blue add deals massive damage and can quickly spiral into a wipe.
- Flash: At the start of the phase, the room briefly flashes, revealing the hidden add locations. Use this moment to place markers instantly.
- Heroic: If the Yellow (Tank) beam reveals the hidden Amber add, the raid must hard-swap and kill it instantly.
Phase 3: Disintegration Beam (The Maze)
Durumu channels a lethal laser and spins. The floor fills with purple void zones, leaving a small “safe path.”
- Strategy: Do not greed DPS. Focus 100% on moving through the maze. Getting touched by the beam or the purple floor is usually fatal.
Looking Ahead
Victory against Durumu opens the way to the Inner Sanctum. There you will face the Twin Empyreans, Iron Qon, and the Dark Animus. Finally, you must make your last stand against the Thunder King himself atop the Pinnacle of Storms to end his reign.
Good luck in Throne of Thunder in Mists of Pandaria Classic. May your loot be Thunderforged.
Epiccarry: best wow boost and coaching services
Frequently Asked Questions
What is Throne of Thunder in MoP Classic Phase 3?
Throne of Thunder is the main raid introduced in Mists of Pandaria Classic Phase 3, featuring 13 bosses culminating in the fight against Emperor Lei Shen. It offers some of the strongest gear of the expansion and introduces Thunderforging and Legendary Meta Gems.
How do I enter the Throne of Thunder raid in MoP Classic?
You access the raid on the Isle of Thunder, northwest coast. Players must establish a foothold on the island before reaching the raid entrance near the Shado-Pan Garrison.
What item level drops in Throne of Thunder Phase 3?
Normal mode drops 522 ilvl (528 if Thunderforged), while Heroic drops 535 ilvl (541 Thunderforged). Tier sets and Shado-Pan Assault vendor gear remain at 522 without upgrade options.
How does Thunderforging work in MoP Classic?
Items dropped by bosses have a chance to be Thunderforged, gaining +6 ilvl over their base version. Thunderforged gear cannot be upgraded, but standard items can, allowing them to match Thunderforged ilvl after both upgrades.
How do I earn Shado-Pan Assault reputation in MoP Classic?
Reputation comes only from killing Throne of Thunder raid bosses. There are no dailies or world quests. This makes weekly raid clears the sole method of increasing SPA reputation.
What gear does Shado-Pan Assault sell in Phase 3?
Shado-Pan Assault offers 522 ilvl items, including powerful trinkets, necks, and weapons early in the tier. These are crucial upgrades when preparing for Throne of Thunder progression.
How do Legendary Meta Gems work in MoP Classic Phase 3?
Completing Wrathion’s Phase 3 questline unlocks Legendary Meta Gems, each offering extremely strong procs for tanks, healers, melee, or casters. These gems significantly increase output and are considered mandatory for progression.
What is the easiest boss in Throne of Thunder for new raiders?
Jin’rokh the Breaker is the entry-level boss, widely considered the easiest fight in the tier. Proper pool management and lightning avoidance are the primary mechanics.
What are the hardest bosses in Throne of Thunder?
Guilds typically struggle with Megaera, Twin Consorts, Dark Animus, and finally Lei Shen, which remains one of the most demanding end bosses in WoW history.
Why is Horridon considered a difficult early boss?
Horridon is punishing due to add-heavy mechanics, strict interrupt requirements, and multiple simultaneous debuffs. Mismanagement of even one gate can quickly overwhelm the raid.
How do you handle the Durumu maze in MoP Classic?
During Durumu’s Disintegration Beam phase, players must follow the shifting “safe path” and avoid purple void zones. Prioritizing movement over DPS is crucial, as any mistake usually results in instant death.
How do I prepare my character for Throne of Thunder progression?
Players should secure Shado-Pan Assault gear, complete the Legendary Meta Gem questline, upgrade important items, and stock consumables. Addons like DBM, BigWigs, and WeakAuras are considered mandatory.
What raid size is recommended for Throne of Thunder in MoP Classic?
Both 10-man and 25-man versions exist, but mechanics differ slightly. Many guilds prefer 10-man early on for tighter coordination, while larger groups benefit from class utility options.
Can I use bonus rolls in Throne of Thunder?
Yes. Mogu Runes of Fate are the bonus roll currency for Phase 3. Players should purchase them weekly to maximize loot chances, especially early on when upgrades drastically increase raid power.
How long does it take to clear Throne of Thunder for an average guild?
Early in the tier, expect several weeks for full progression. The raid has multiple difficulty spikes—Horridon, Megaera, and Dark Animus—before the final climb toward Lei Shen.

