Heya Guardian. We’re finally pass through all those old dungeons, canonical raids, and ready to provide you the most important information among all the Destiny 2, and if you want to explore the game deeper, professional Destiny 2 boosting services can help with different activities. Ok, not the most important ever, but the most important for today. And the tale is about the destiny 2 warlords ruin dungeon guide.
It’s become a good tradition, to put all the important to the start, and all the less important to the end, so we’ll structure this guide from the end, to the start. So from this destiny 2 warlord’s ruin dungeon guide you’ll learn about:
- Loot table (maybe we’ll add the god rolls for all the exotic riffles later) but for today only loot table without god rolls.
- All the encounters for the warlord’s ruin dungeon.
- Tactics for all the bosses from the Destiny 2 warlords ruin dungeon guide.
- The best route to close it.
- The way to pass through a final boss to the final reward.
Also we’ll answer you the way in how you will enter the dungeon, and maybe, tell you about the plot. But as we told you before we’ll start from the most important things, and then move to the less important things. So prepare for the Tough battle with buried bloodline exotic sidearm first broken knight.
Warlord ruin Dungeon Loot Table

In the twisted corridors of the new Warlord’s Ruin Dungeon, guardians stumble upon treasures untold, each a legend in its own right, and if you’re chasing top-tier gear faster, fast Destiny 2 exotic items boost is often used by players to skip long farming sessions. The Buried Bloodline, a sidearm as enigmatic as the wailing grief that echoes through the dungeon halls, is a prize for those braving the first boss’s wrath. Swift and precise, its stability makes it a beacon in the chaos of battle.
| Name | Type | Way to Obtain | God Roll Suggestion | Informal Commentary |
| Buried Bloodline | Exotic Sidearm | Warlord’s Ruin Dungeon, Specific Encounter | High Stability and Range | Ideal for close encounters in Warlord’s Ruin, especially during the first boss fight or in high-damage phases. |
| Dragoncult Sickle | Legendary Sword | Random Drop from Dungeon Bosses | High Impact, Speed Boost | Useful for quick DPS and pushing through enemies, especially during raid-like encounters. |
| Naeem’s Lance | Legendary Sniper Rifle | Dungeon Encounters | High Range, Aim Assist | Perfect for picking off enemies from a distance, especially useful in tower defense or stand-your-ground scenarios. |
| Indebted Kindness | Legendary Sidearm | Dungeon Chests | Rapid Fire, High Reload Speed | Great for fast-paced fights, providing quick DPS and security during intense encounters. |
| Vengeful Whisper | Legendary Bow | Dungeon Bosses | High Accuracy, Draw Time | Effective for stealth and precision, especially in shadow or ambush situations. |
| Dark Age Titan Suit | Titan Armor | Dungeon Completion | High Resilience, Recovery | Provides excellent protection and buff during intense fights, suitable for holding ground or in tower defense. |
| Dark Age Hunter Suit | Hunter Armor | Dungeon Completion | High Mobility, Resilience | Ideal for agile combat, allowing quick movement and evasion, especially in encounters requiring rapid positioning. |
| Dark Age Warlock Suit | Warlock Armor | Dungeon Completion | High Recovery, Discipline | Enhances ability recharge rate, beneficial for prolonged engagements and supporting the team with buffs. |
| Zira’s Shell | Ghost Shell | Rare Drop from Final Boss | N/A | A unique cosmetic item that signifies the completion and mastery of the Warlord’s Ruin Dungeon. |
Trials of Osiris Boost
Trials Triumph – Flawless 7-0 Victory Boost!

Buried Bloodline

Buried Bloodline, a name that echoes through the halls of the Warlord’s Ruin dungeon, is no ordinary Exotic Sidearm. Crafted by the Scorn, it’s a relic steeped in vendetta and whispers of the old ways, a testament to battles fought and won.
Table of Characteristics:
- Manufacturer: Scorn
- Rarity Class: Exotic
- Weapon Type: Sidearm
- Min-Max Magazine: 9
- Ammunition Type: Special Ammo
- Damage Type: Void
- Affiliation: Guardians, Scorn
Perks:
- Hungering Quarrel: Fires double tracking bolts; leeches health from targets.
- Hard Launch: Optimized for speed; increases projectile speed, decreases stability.
- Flared Magwell: Fast reloading; slightly increases stability.
- Violent Reanimation: Multiple final blows grant Devour to the wielder.
- Hand-Laid Stock: Versatile stock; increases stability and handling speed.
Catalyst (Post-Upgrade):
- Splitvein Lineage: Weakens enemies on hit while Devour is active.
Warlord ruin Dungeon Entrance

- Visit Ikora First: Before anything else, pop over to Ikora in the Tower. She’s got your golden ticket – a quest called “Shadow of the Mountain.” It’s your key to kick things off.
- Set Your Course: Next up, fire up your Director, zero in on the EDZ, and launch Warlord’s Ruin. This is where your site connection to the dungeon begins.
Climbing to the Entrance:
- Location and Proceeding: You’re starting at the base of a mountain, right in the thick of the EDZ. Think of it like the starting line of an adventure race.
- Push to the Top: Now for the fun part – jump onto a tall rock, leap to a cliff, then a platform. It’s a bit of a parkour challenge, but hey, you’ve got this. Follow the path, and in several seconds, you’ll face the castle doors.
What Happens Next:
- At the Dungeon’s Doors: Once you’re at the fortress doors, it’s game time. What lies beyond is the real deal – bosses, challenges, the whole nine yards.
So, there you have it. Visit Ikora, get your quest, head to the EDZ, and start your mountain climb. It’s all about getting up that hill to the dungeon’s entrance. Gear up, get set, and let the adventure begin!
Team optimization for Warlords Ruin Dungeon

So, even when you want to start this warlords ruin dungeon, you have to optimize yourself and do the team optimization for Warlord’s Ruin Dungeon:
- Weapons Wise: Bring Osteo Striga or Riskrunner for mowing down Scorn and swarms of Taken. Don’t forget a Linear Fusion Rifle like Taipan-4FR for boss damage. Solar Rockets or Grenade Launchers? Yep, they’re good to go too.
- Roles and Classes: A Warlock dropping healing rifts or a Titan with barricades is clutch for keeping everyone on their feet.
- Power Levels:You’ll want to be around 1790, but be ready for baddies up to 1810, and if your level is not enough yet, efficient Destiny 2 power leveling service can significantly speed up your progress. Gear up with your best stuff.
- Coordination is Key: Voice chat isn’t just nice, it’s necessary. Stay connected and communicate. It’s a team effort, after all.
So, pack your best guns, balance your team roles, and make sure everyone’s on the same page. Teamwork makes the dream work, especially in a place like Warlord’s Ruin. Let’s get to it!
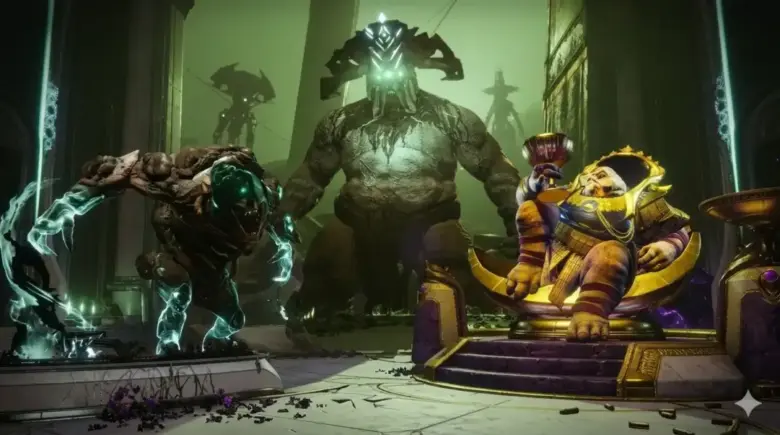
Rathil, First Broken Knight of Fikrul – The Scorned Challenger

Rathil, the First Broken Knight of Fikrul. This guy’s like the bouncer of the Warlord’s Ruin Dungeon, the first big bad you’ll lock horns with. Sent by Fikrul, this Scorn Chieftain has one job: to rally the troops, old Kings now turned Scorn, and he’s not messing around.
Key Mechanics:
- Main Weapon: Packs a Scorn Blaster that’s no joke.
- Abilities: Good old Scorn melee, as if the blaster wasn’t enough.
- Defensive Moves: He’s tough, like, really tough, with some initial immunity to keep things interesting.
- Summoning Skills: Rathil’s not shy about calling friends to the party – expect Hex Totems, more Scorn, and the odd Blighted Eye.
Wipe Mechanics Table warlord’s ruin guide:
| Skill | Wipe-o-Meter | Quick Take |
| Melee with a damage phase | Up Close Danger | Get too close, and it’s a knuckle sandwich deluxe. |
| Summon Hex Totem | High Risk | Ignore these, and you’re in for a world of hurt. |
| Summon Scorn | Serious Threat | He brings a crowd. Be ready to multitask. |
Buy Warlord’s Ruin Dungeon Boost
Grow with Gear and Season Pass XP!

Rathil’s like the opening act that’s trying too hard to be the headliner. He’s got all the moves and isn’t afraid to show them off. But don’t let the theatrics fool you; this chieftain means business. Your dance card will be full dodging blasts, breaking hexes, and keeping his minions in check. Take him down, and you’ve just passed the first real test of the start Warlord’s Ruin Dungeon guide.
Locus of Wailing Grief Tactics in season of Wish

Imagine an Ogre, but not just any Ogre – we’re talking about the Locus of Wailing Grief. This big, bad Taken boss in the Warlord’s Ruin Dungeon is like the stuff of nightmares. After its bosses skipped town, this beast ended up rolling with the Ahamkara Hefnd, causing all sorts of havoc. It’s a real mess for any fireteam that crosses its path.
Key Mechanics:
- Special Moves: It’s got a bag of tricks like Rotten Surge and Darkness Bolt, which are as fun as they sound (spoiler: not fun at all).
- Defense and Offense: This thing’s tough as nails with some teleporting tricks up its sleeve, and it loves to bring friends to the party – the Taken and Scorn kind.
- Strategy: Keep on your toes! This boss zaps around, throws a mean punch, and its freezing move is a real party killer.
Wipe Mechanics Table:
| Skill | Wipe-o-Meter | Quick Take |
| Rotten Surge | Off the Charts | Dodge or it’s lights out for everyone. |
| Darkness Bolt | Solid Risk | These bolts pack a punch; duck, dive, and heal! |
| Fist of Darkness | Instant Trouble | Too close? Say goodbye. Keep your distance! |
| Freezing Tempest | Total Nightmare | Get caught in this and it’s game over, team. |
Crota’s End Raid Boost
Crota’s End Awaits, Boost Your Way to Glory!

So, there you have it. The Locus of Wailing Grief isn’t just a boss – it’s an all-out, no-holds-barred, bring-your-best-game kind of challenge. You’ve got to dance around its attacks, shoot like your life depends on it (because it does), and maybe, just maybe, you’ll come out on top.
Hefnd’s Vengeance, Blighted Chimaera

So, you’ve battled your way through the Warlord’s Ruin Dungeon, and now you’re up against the big boss – Hefnd’s Vengeance, the Blighted Chimaera. This creature is like the final boss in a video game that’s had too much caffeine. It’s a monstrous avatar for the Ahamkara Hefnd, and let’s just say it’s not here to make friends.
Key Mechanics:
- Special Moves: Get ready for a wild mix of Eversion and Seeker Burst, and if you get too close, a nice Chimera Melee to the face.
- Defense and Offense: It’s tough as nails, levitates midair like it owns the place, and teleports just to keep things spicy.
- Summoning Skills: This boss loves company – it’ll summon Taken, Scorn, Blighted Eyes, and even a Blight just to mix things up.
Wipe Mechanics Table:
| Skill | Wipe-o-Meter | Quick Take |
| Eversion | Sky-High | Avoid or get wiped into another dimension. |
| Seeker Burst | Serious Threat | Keep moving or get ready to respawn. |
| Chimera Melee | Instant Trouble | Too close? It’s clobberin’ time for the boss. |
| Hex of Vengeful Corruption | Max Level | If this hits, it’s pretty much game over. |
Destiny 2 Boost & Carry
Achieve Greatness in Destiny 2, Get Boosted & Carried!

Hefnd’s Vengeance is like the final level of the dungeon that tests everything you’ve got. You need to dodge like you’re in a dance-off, shoot like your life depends on it, and keep an eye out for its friends.
Warlord ruin dungeon plot

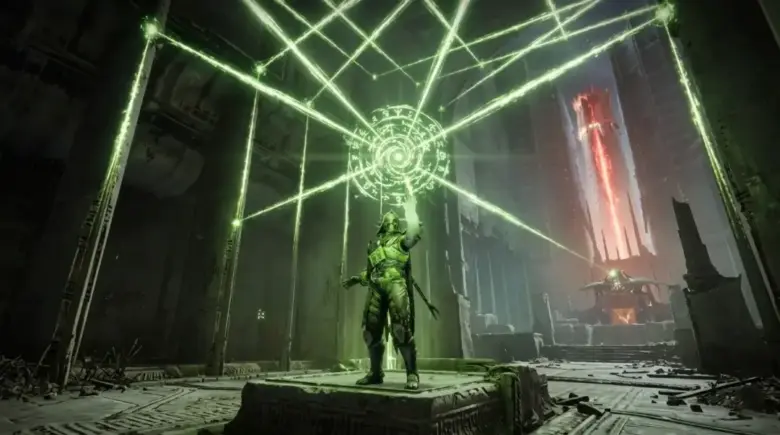
In Warlord’s Ruin Dungeon, you’re diving into a gritty tale set in a dark, old castle. Here, an Ahamkara, a sort of wish-granting dragon, teams up with a warlord named Naim. Things get messy when the House of Kings barges in, hungry for that dragon magic, leading to Naim biting the dust with one final, vengeful wish. You, along with Crow and Petra, jump into this wild ride, battling through scorn to uncover the truth, deal with the aftermath of that last wish, and make sure nobody else can stir up this kind of trouble again.
- The Location: We’re talking about a Dark Age castle, tucked away and full of secrets. This is where the tale unfolds.
- Key Players: In the spotlight, we’ve got an Ahamkara (those wish-granting dragons) and its buddy, the warlord Naim. They’re like an old-school dynamic duo.
The Twist:
- The Invasion: Things take a turn when the House of Kings crashes the party. They’re like, “Hey, we want in on this magic action,” but end up getting more than they bargained for.
- Tragic Outcome: Naim’s last breath was all about revenge. She’s like, “You mess with me, you get the horns,” and makes an imminent wish of vengeance.
The Guardian’s Quest:
- Starting the Journey: You, the Guardian, roll up with Crow and Petra, ready to dive into this mystery. The quest? Free the Ahamkara and uncover what’s hidden in the ruins.
- Visit Ikora: Before you begin, you gotta check in with Ikora. She’s got the intel and sets you on the right path.
Inside the Dungeon:
- First Encounter: You’re met with Rathil, a Scorn who’s kinda like the welcoming committee, but with more punching and less cake.
- Climb and Conquer: As you push through, you face all sorts of challenges, like navigating a maze and ascending the castle, all while dodging the blighted Chimera.
The Big Finish:
- Final Showdown: At the top, you meet Hefnd’s Vengeance. It’s the last boss, and this fight is where you secure your victory, though some players prefer using reliable Destiny 2 raid boost services to complete endgame content without unnecessary wipes.
- Wrapping It Up: After the dust settles, you’re like, “Let’s make sure this wild ride doesn’t happen again.” You lock down the Ahamkara’s bones, closing this chapter of the tale.
So there you have it. Warlord’s Ruin is a mix of revenge, magic, and some serious Dark Age drama. It’s a story that hooks you from the start and keeps you on your toes until the very end. And hey, if you want to dive deeper or join the community discussing this lore, just hit up your browser, find the right website, and you’re all set. Happy dungeon crawling!
Buy Warlord’s Ruin Dungeon Boost
Grow with Gear and Season Pass XP!
Conclusion

And that’s a wrap on our tour through the Warlord’s Ruin Dungeon. From the intricate data of loot tables to the adrenaline-pumping damage phases against formidable bosses like Rathil and the Blighted Chimaera, we’ve covered it all. Each encounter, a sign of the challenges and triumphs that await in the depths of this dark castle.
Remember, secure proceeding in this dungeon is key. You’ve got to plan your steps correctly, whether it’s leaping onto rocks to reach the castle or navigating the cages and Rays of doom. And let’s not forget about the loot – the coveted Buried Bloodline and other treasures that symbolize your victory over the chaos.
Destiny 2 Boost & Carry
Achieve Greatness in Destiny 2, Get Boosted & Carried!
As you journey through this guide, remember, each kill, each strategy, brings you closer to mastering the Warlord’s Ruin. Keep this guide handy, mark the date you first ventured into this epic dungeon, and make your way through the lore and battles that await.

Epiccarry: best wow boost and coaching services
Frequently Asked Questions
What is the Destiny 2 Warlords Ruin Dungeon?
It’s a challenging dungeon in Destiny 2, offering unique encounters, boss fights, and valuable loot.
What are the main encounters in the Warlord’s Ruin Dungeon?
The dungeon features various encounters, including boss battles and unique combat scenarios with your ray id at the damage phase.
What tactics should be used for the bosses in Warlords Ruin?
Each boss has specific strategies to defeat them, involving dodging attacks, targeting weak points, and using appropriate weapons.
What is the best route to complete the Warlord’s Ruin Dungeon?
The best route involves careful navigation through the dungeon, optimizing team strategies, and using effective weaponry.
How do I get past the final boss and claim the final reward?
Defeat the final boss using strategic combat, teamwork, and understanding its attack patterns to claim your reward.
How do I enter the Warlord’s Ruin Dungeon?
First, visit Ikora to start the quest “Shadow of the Mountain,” then proceed to the EDZ and follow the path to the dungeon entrance.
What loot can I expect from the Warlord’s Ruin Dungeon?
Expect items like Buried Bloodline (Exotic Sidearm), Dragoncult Sickle (Legendary Sword), and various legendary weapons and armor sets.
What are the key features of the Buried Bloodline Exotic Sidearm?
This weapon is known for its high stability and range, making it ideal for close encounters and high-damage phases.
What is the recommended power level and team composition for this dungeon?
A balanced team with a recommended power level around 1790-1810, including roles like Warlock and Titan, is ideal.
Who are the main bosses in the dungeon and their mechanics?
Key bosses include Rathil, the First Broken Knight, Locus of Wailing Grief, and Hefnd’s Vengeance, each with unique abilities and strategies required to defeat them.
What is the storyline of the Warlord’s Ruin Dungeon?
The plot revolves around a dark tale set in a castle, involving an Ahamkara and a warlord named Naim, and the Guardian’s quest to uncover the truth and prevent further chaos.
Are there any special mechanics or challenges in the dungeon?
Yes, there are various mechanics like parkour challenges, maze navigation, and unique boss mechanics.
How can I maximize my chances of success in this dungeon?
Use effective weapons, maintain good team coordination, understand boss mechanics, and follow the best routes and strategies outlined in the guide.