Overwatch’s new Hero Sub-Role system completely reshapes how Tanks, Damage, and Support heroes function. This guide breaks down every sub-category — from Ball Stalwart and Tank Bruiser to Flanker, Recon, Medic, and Tactician — explaining how their unique passives work, including excess ultimate charge, movement speed boosts, detecting enemies below half health through walls, reduced knockbacks, and enhanced survivability. Whether you want to gain more health, optimize your ultimate ability uptime, or fully understand how the new system impacts the meta, this comprehensive breakdown covers everything you need to master the Season 1 relaunch.
Dive deeper into the article to find a special promocode for a discount to cut on all your boosts.
Alright Battle-Brothers and Battle-Sisters! Gather ’round, grab your biggest, pointiest melee weapon, and let’s talk shop about the glorious Bulwark class in Space Marine 2, fresh off that rather impactful Patch 7.0. Whispers from the frontlines, echoed by the tactical displays in the Chapter Command, suggest the Bulwark is no longer just tough; it’s potentially significantly tougher – with estimations floating around a delightful 30% jump in effectiveness thanks to the shiny new Prestige ranks. That’s a whole lot more heresy to shove back into the abyss from both Tyranid enemies and Chaos forces! And the journey through those Prestige ranks? It feels less like a tedious march and more like a proper power ascent, a form of relic mastery, with each step offering tangible, meaningful boosts.
Before we buckle down and look at how to craft the perfect loadout to bring ruin to the xenos hordes, let’s nail down a couple of foundational bits: the magic behind the Bulwark’s storm shield and the essential climb through the Prestige ranks – a kind of perk tree progression.
Mastering the Shield: The Secret Ingredient is NOT Getting Shoved!
Okay, Battle-Brothers, let’s talk storm shield tech. It’s not just a hunk of metal to hide behind; it’s a tool of utter defiance! And a key piece of wisdom here is simple: knockback resistance is your shield’s best friend!
Think about it: You’re holding the line, storm shield raised, feeling particularly resolute. Then, along comes a nasty hit – maybe a Tyrant Guard’s charge or a concentrated burst of fire from a distant Heavy Gunner. Without any special resistance, that hit can send you stumbling backward, momentarily causing you to lose control, breaking your block and leaving you exposed like a particularly vulnerable little Grot. Not very Space Marine, is it?
But with knockback resistance active? Ah, that’s where the fun begins! That same powerful blow connects, and… nothing. You just stand there, a glorious, unmoving obstacle. That storm shield remains perfectly in place, shrugging off the impact and maintaining your defense against anything else the enemy throws at you, providing a significant defensive advantage.
Perks like Armored Advance are your ticket to this kind of steadfastness, often granting immunity to heavy hits and knockback while your armour remaining is intact. Visual examples of this difference are stark – one moment, a sniper shot sends a Bulwark reeling; the next, with Armored Advance active and armour remaining, the same shot hits the shield, and the Bulwark stays completely planted, ready to continue blocking without missing a beat or needing to reposition defensively.
Now, a crucial point to remember in the heat of battle: this powerful resistance usually depends on certain conditions being met, like having armour remaining. And it’s not a free pass to ignore everything! You’ll still need your lightning-fast perfectly timed parry for those glowy blue attacks and swift dodges for the glowing red ones. (Note: while a perfectly timed parry creates opportunities, the guide doesn’t currently detail if a perfectly timed parry deals damage directly for Bulwark, focus is on knockback immunity). But for everything else that just tries to push you around? Knockback resistance is a godsend and a key aspect of defensive mastery.
The impact this has on your shield’s overall effectiveness is immense. By staying rooted like a very angry, very heavily armored tree that just had its personal space invaded, you can keep blocking for significantly longer periods. And this becomes particularly glorious if you’ve invested in perks that damage nearby enemies when they hit your shield. With sufficient damage reflection active, a Bulwark who cannot be staggered can simply stand there, absorb torrents of fire, and watch the enemy essentially defeat themselves through sheer, misguided aggression against an impenetrable defense! This represents significant damage mitigation. While choosing perks for this level of stability might mean passing up some raw damage buffs or utility like a reserve shock grenade, for many, the sheer power of an uninterrupted shield and the ability to hold the line regardless of incoming physical force is a trade well worth making. Knowing you won’t be easily shoved out of position is incredibly liberating on the battlefield.
Prestige Ranks: Forging an Icon of Defiance
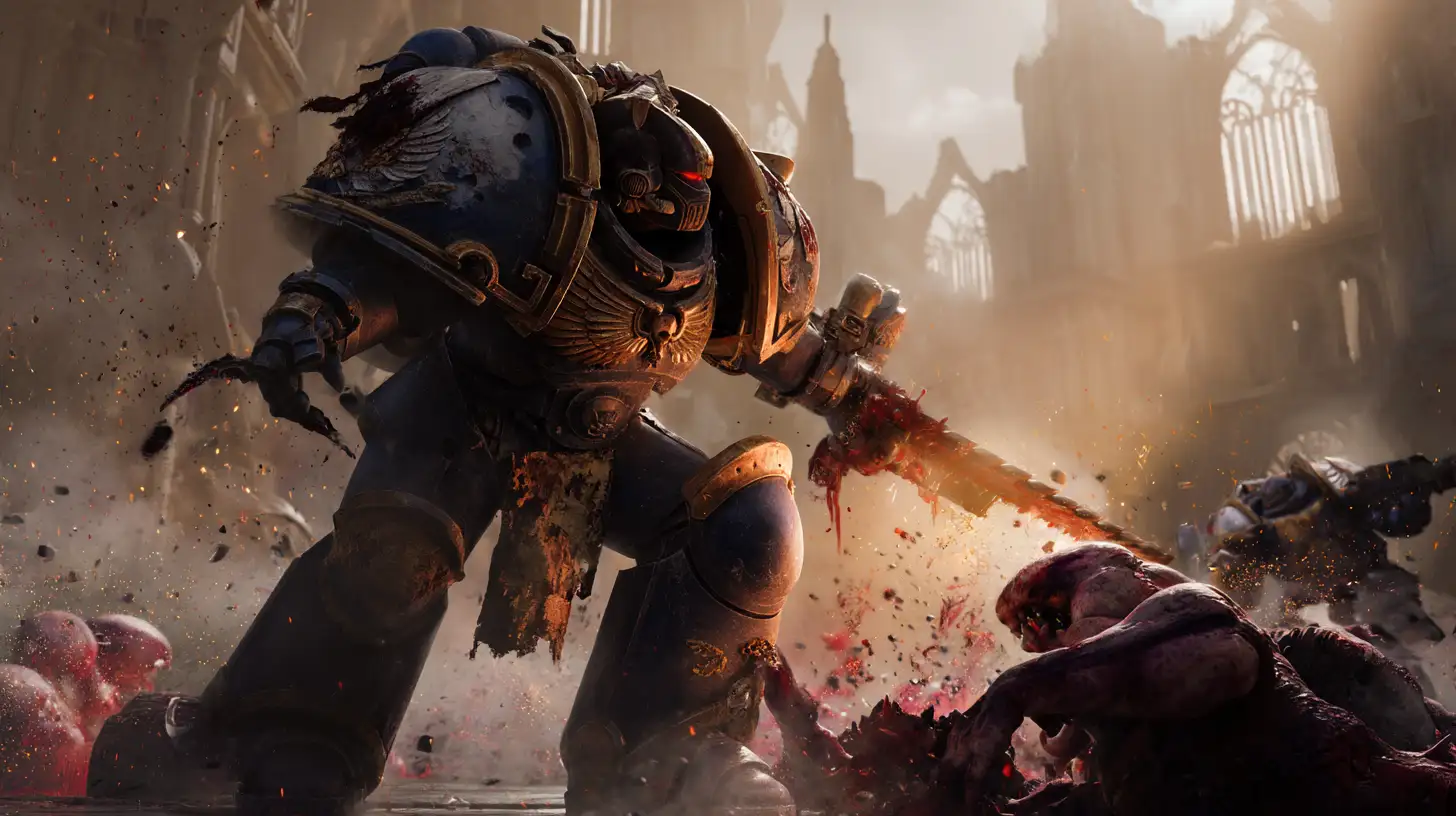
The path to becoming a truly fearsome Bulwark is paved with Prestige ranks, and the journey post-Patch 7.0 feels more impactful than ever. There’s a generally agreed-upon order that maximizes your effectiveness early game and beyond, focusing on the ranks that provide the most fundamental boosts. Ranks 1, 2, and 3 are considered highly necessary steps on this path; Rank 4 offers more flexibility and fine-tuning.
Rank 1: Overcharge
- Perk: Charged Attack damage increases by 20%.
- Why it’s Glorious: This is your foundational damage buff. It makes those already weighty charged Power Fist swings hit like a bolter shell fired point-blank and adds a nice bit of extra punch to the Power Sword’s Power Rake. Early game, pairing this with a Power Fist feels like just the right amount of Emperor-approved blunt force. This is a key melee damage increases perk.
Rank 2: Chapter Banner Ability Interaction, Masterful Defense
- Perk: Ability charges restored 1% for every blocked ranged attack.
- Why it’s a Game-Changer: This perk is often hailed as top-tier for the Bulwark. It fundamentally changes your ability cooldown cycle. Every time you block ranged fire – even those little peashooter hits from Termagants – you chip away at your chapter banner ability’s cooldown. This can dramatically increase how often you can plant your Chapter Banner, potentially allowing for 50% more uptime. More banners mean more team buffs, more healing (a rejuvenating effect for squad members within the banner’s area), and generally more glorious rallying points for your Battle-Brothers! It’s a vital invigorating icon. The banner can also help you revives incapacitated squad members or provide cover while they are being revived.
Rank 3: Powerful Shot
- Perk: Ranged damage increases by 20%.
- Why it Fills a Need: While the Bulwark’s primary weapon is melee, those annoying flying threats (looking at you, Nethropes!) or distant gunners can be problematic. This perk directly addresses that weakness, making your secondary pistol significantly more effective at neutralizing threats before they become a melee problem. It adds a crucial layer of versatility against threats that your primary weapon can’t easily reach.
Rank 4 Options: Standard Bearer vs. Auxiliary Reload
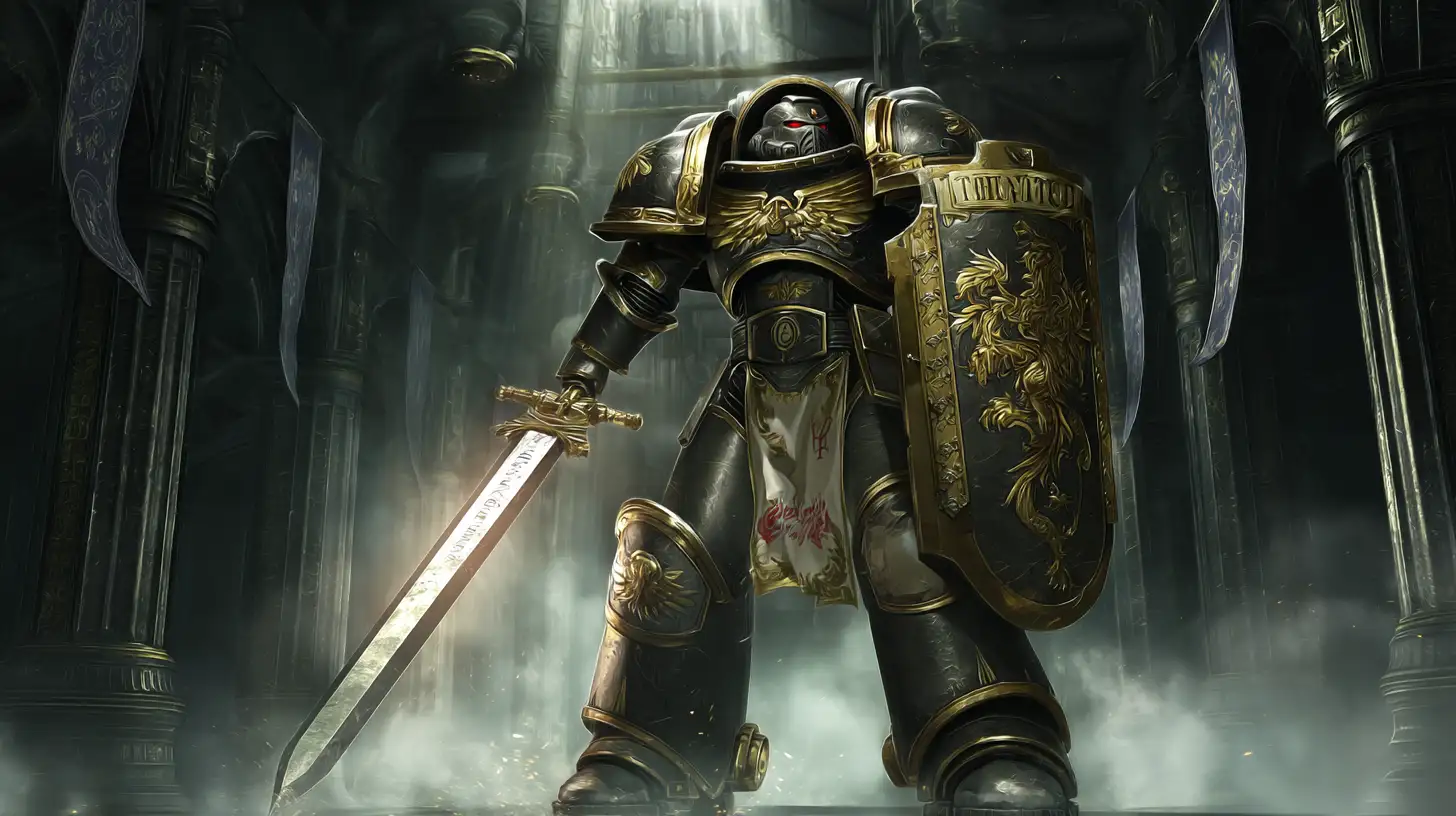
- This is where you can tailor your final Prestige perk to your playstyle or the mission’s demands for the mid game and beyond.
- Standard Bearer: Grants a precious 2 seconds of invulnerability right when you activate your banner ability. This might sound small, but visual examples show it brilliantly prevents those infuriating moments where you try to plant the banner, get hit by a stray attack, get knocked back, and the banner animation goes off but the ability doesn’t deploy. It ensures your crucial rally point actually appears when you need it most, serving as an emergency countermeasure.
- Auxiliary Reload: The practical choice, particularly on the most brutal difficulties like Extremis level or Terminus level enemies. When ammo starts drying up faster than faith in the face of a Daemon Prince, this perk helps keep your ranged weapon supplied, ensuring you can still contribute effectively against targets that melee just can’t reach or handle efficiently with your primary weapon.
- (Other Rank 4 perks, like Rally Point or Resilience, tend to be overshadowed by the utility or defensive power offered by Standard Bearer and Auxiliary Reload for the Bulwark’s core role.)
The recommended path usually goes Overcharge -> Masterful Defense -> Powerful Shot. The cumulative effect of these three perks alone makes the Bulwark feel incredibly potent, and the overall power surge from Prestige feels quite substantial compared to other classes in the perk tree.
Bulwark Perks: Dressing for the Occasion
The Bulwark isn’t a one-trick pony! There are several effective ways to combine perks and gear to create distinct battlefield roles. A pleasant side effect of the patch is that even familiar builds feel revitalized, potentially performing even better thanks to the new Prestige power.
The Hybrid Hitter (Versatility is Key!)
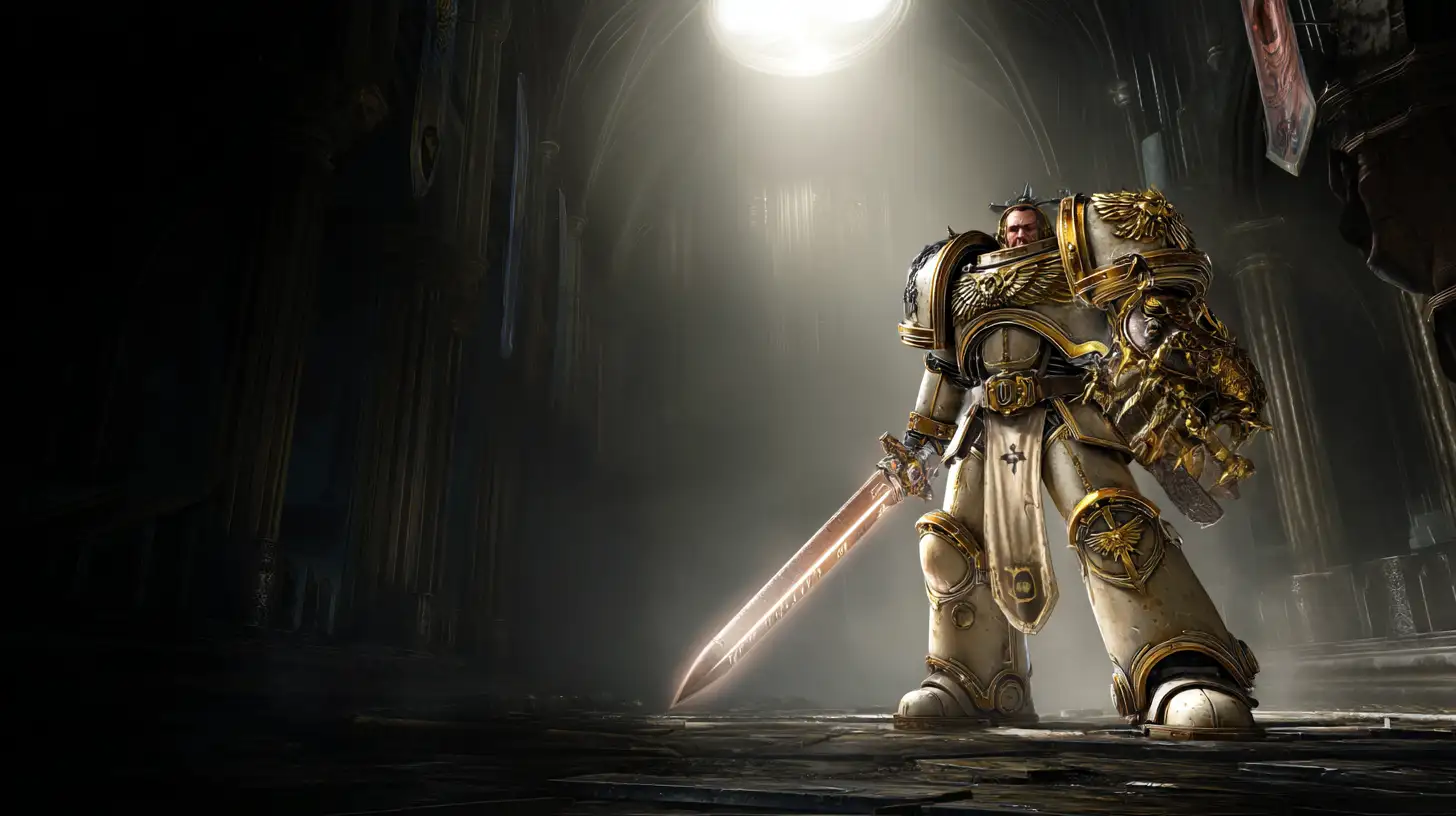
This is a popular choice because it’s quite balanced and comes into its own relatively early game, as many of its core perks aren’t locked behind high-level requirements. It seamlessly blends melee and ranged combat potential.
Weapon Recommendation: Fencing variants are usually favored as your primary weapon. Both the Power Fist (for charged devastation) and Power Sword (for general melee mastery) work well.
Core Philosophy: Leans into the Bulwark’s strengths while mitigating weaknesses. Perks like Armor of Contempt are gold here – since Masterful Defense encourages more blocking to regain ability charge, this perk directly translates that blocking time into bonus damage dealt. Purity of Purpose is fantastic for clearing out the pesky minor enemies that swarm around tougher targets, letting you focus on the big threats after a satisfying burst of area damage dealt. Advanced Conditioning provides crucial maximum contested health sustain, and Merciless Resolve ensures Shield Bash protects you by making you more stable, preventing interrupts. Top it off with a reserve shock grenade for some crowd control when things get too packed, enabling some shock and awe. This build’s focus on resilient contested health regeneration allows for a highly aggressive frontline presence without being overly fragile.
The Defensive Fortress (The Immovable Object!)
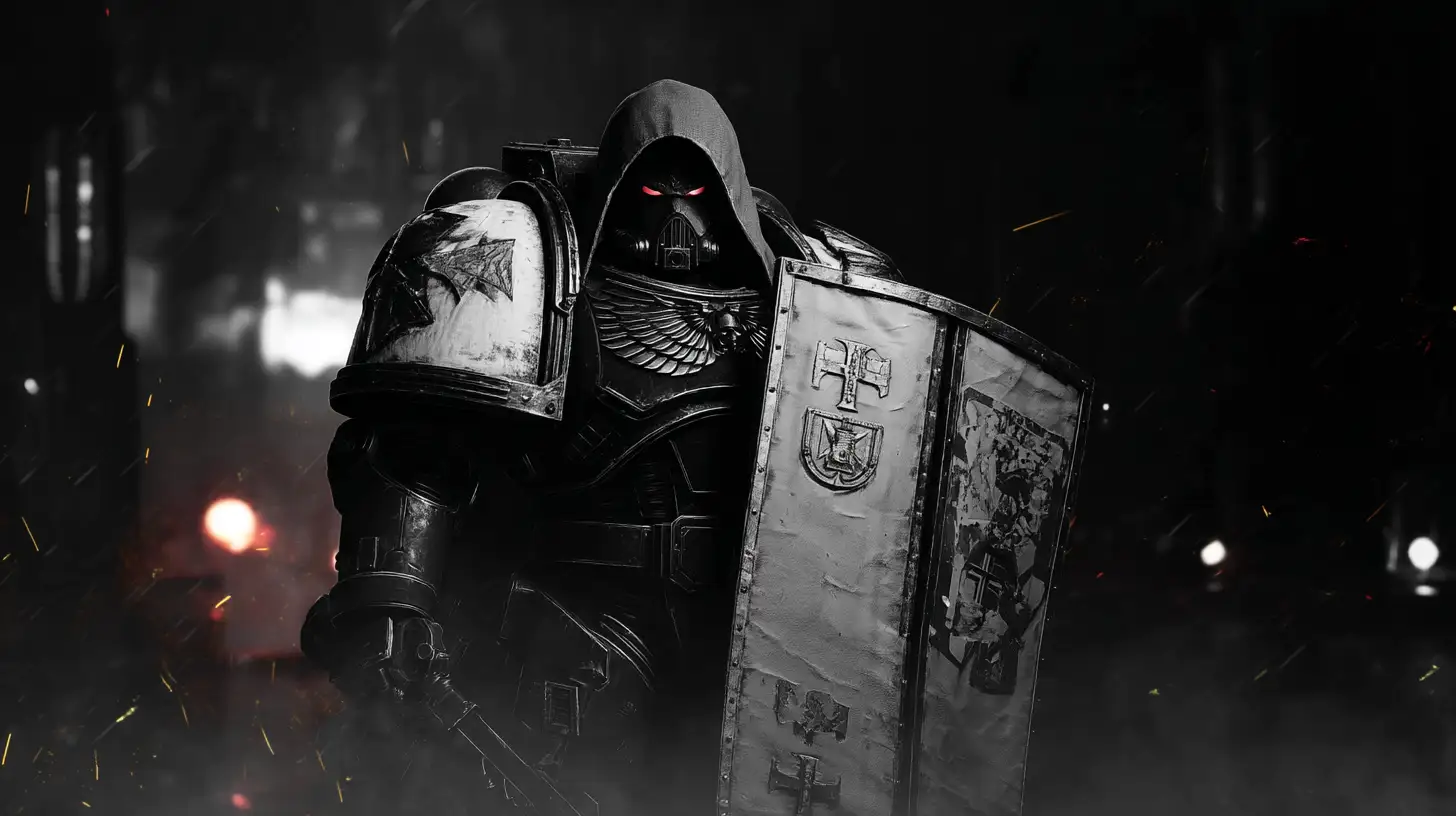
Designed for Battle-Brothers who want to become an unkillable wall, especially against extremis enemies or terminus level enemies. This build stacks damage mitigation upon damage mitigation, making you incredibly difficult to put down.
Weapon Recommendation: Fencing variants are typically favored for defensive utility as your primary weapon.
Core Philosophy: Become a bastion of defense! Perks like Conviction provide a significant health damage mitigation buff when your armor breaks or is fully depleted, acting as a vital safety net and emergency countermeasure. Scrambled Targeting layers on 25% total damage reduction (affecting both armor and health) from ranged attacks when you’re surrounded – even though the shield helps with ranged, this lets you clear while taking less pressure. Steel Within (or the alternative Armor Reinforcement) adds another layer of health damage mitigation when you’re below 50% health. Stacked together, Steel Within and Conviction offer massive health damage resistance when your armor is down and health is low. Advanced Conditioning further enhances maximum contested health, letting you regenerate health slower but more steadily even while taking hits, providing a rejuvenating effect (though not rapid regeneration).
Role: While your personal damage dealt might not break records, your ability to survive immense punishment, hold aggro, and provide a stable frontline makes you invaluable, especially when paired with high-damage teammates (like Heavy or Sniper class) or when supporting squad members in challenging random matchmaking where maximizing your own survivability is key.
The Blocking Brawler (Chainsword and Swagger!)
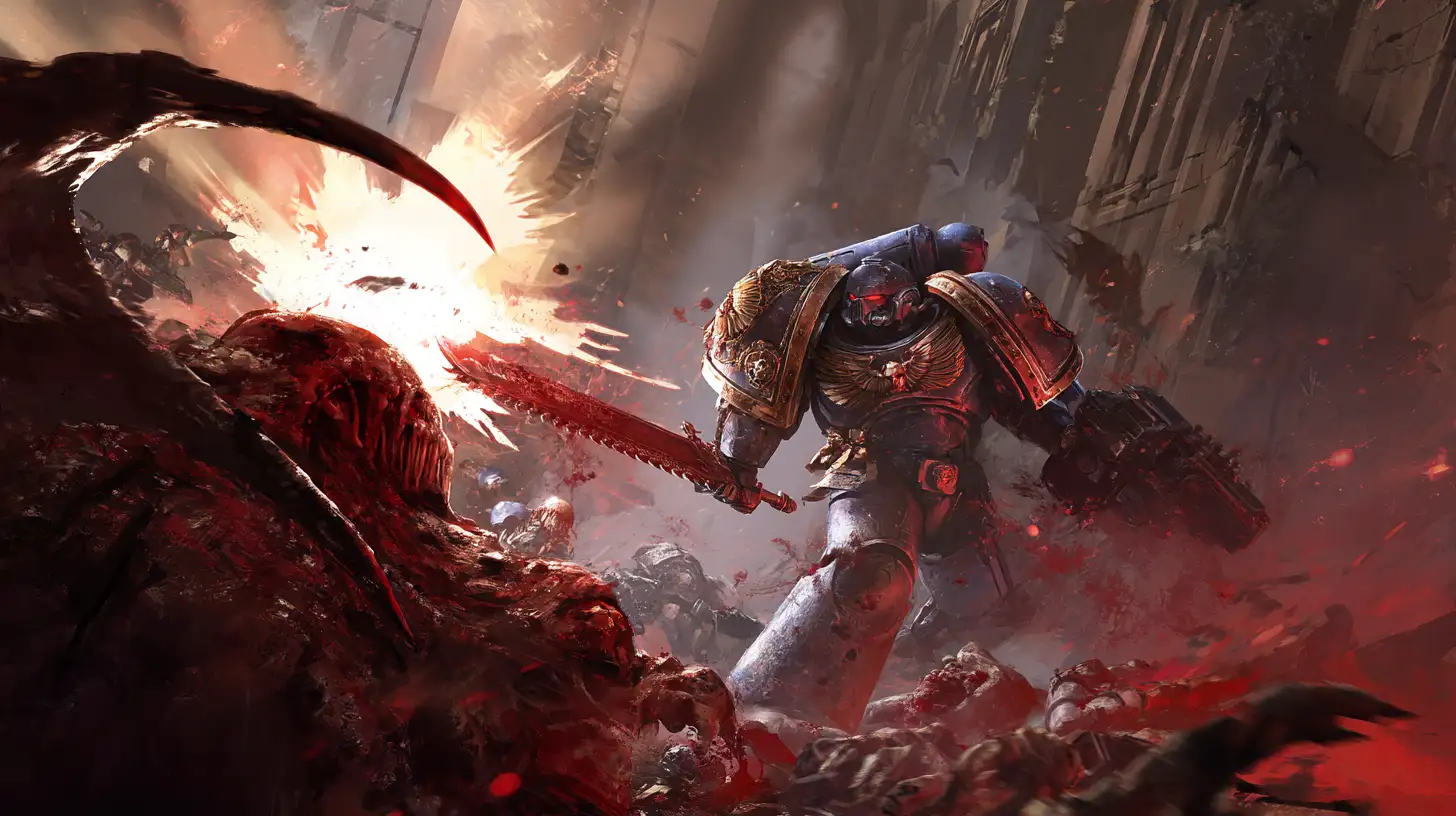
Offers a different playstyle that revolves more actively around blocking and Shield Bash mechanics, often pairing wonderfully with the Chainsword as your primary weapon for a bit of tactical variety and glorious revving.
Weapon Recommendation: Blocking variant, Chainsword is a popular choice for the distinct feel and mechanics it offers, but blocking Power Swords/Fists could also fit, potentially shining in horde-heavy environments against nearby enemies.
Core Philosophy: Turn defensive maneuvers into offensive opportunities! Forward Momentum makes Shield Bash a significant damage buff (stacking with Merciless Resolve if used). Armor of Contempt is a must for any build that plans on doing a lot of blocking, turning those absorbed hits into outgoing damage dealt. The choice here is often between taking Steel Within for extra low-health survivability or opting for the Shock Nade perk line, which can provide damage dealt from perfect blocks (generating shock grenades, potentially with an aura shock or shock area effect) and a general boost to shock damage, enabling some shock and awe. Focused Strength is key here – it enhances your Shield Bash’s ability to knock back nearby enemies, and crucially, Shield Bashing minor enemies with this perk active can open them up for a Gun Strike finisher, which is a vital way to recover armor or restore armor when using blocking weapons that might not offer as many natural finisher opportunities. This can also apply to non finisher gun strikes against certain enemies.
The Arsenal: Weapons for the Emperor’s Finest
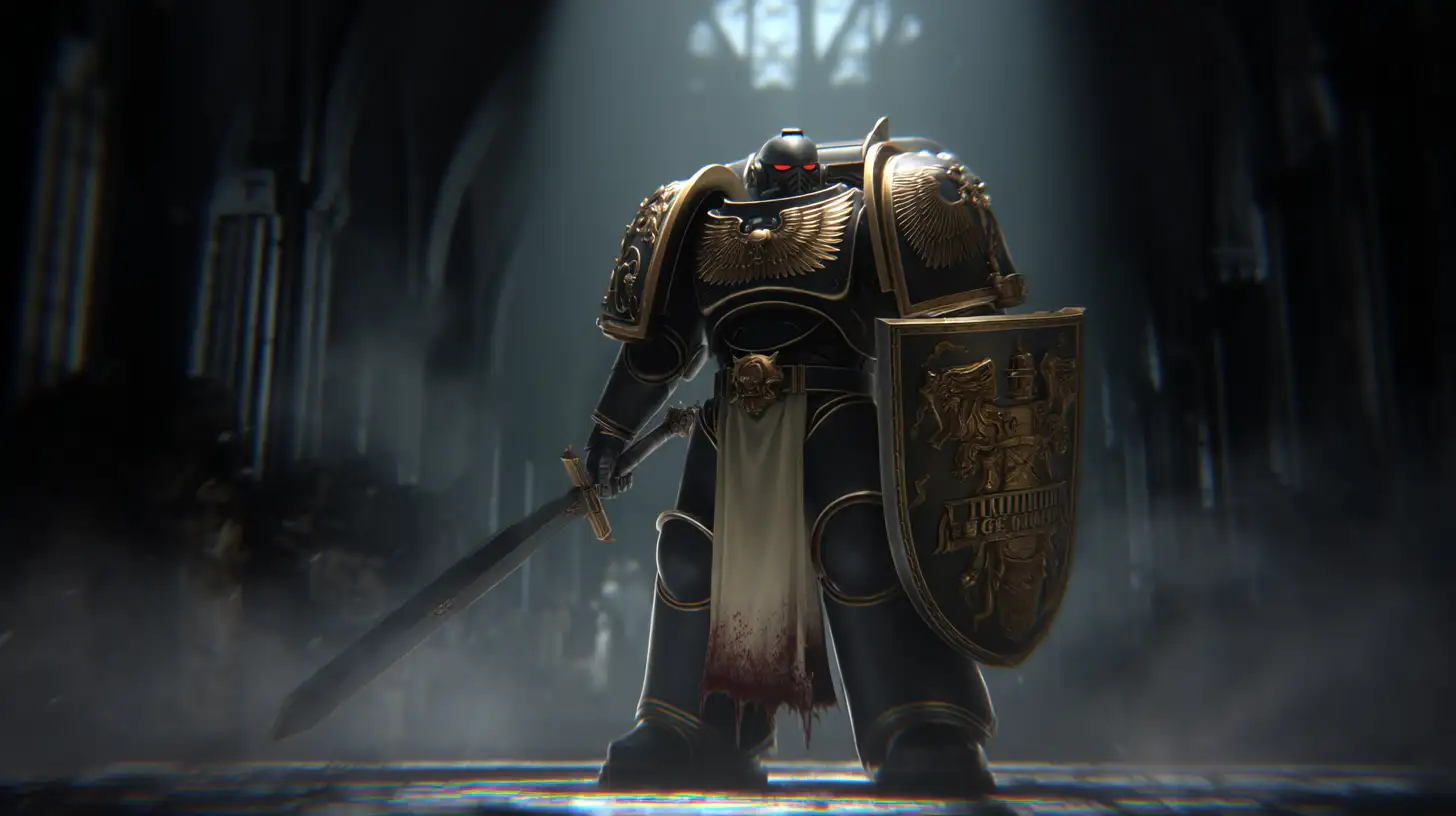
Your choice of weaponry complements your build, and Patch 7.0’s changes mean thinking about how weapon perks synergize with your class abilities is more important than just picking based on enemy type.
Melee Weapons:
Power Fist:
- Core Function: Deliver earth-shattering charged blows and control groups at surprising range.
- Mandatory Perks: Heavy Preparation (makes charging 30% faster – utterly essential for usability!) and Tide of Battle (doubles the Power Wave’s forward distance – transforms it from a close-range ripple to a proper wave, making the Power Fist surprisingly good at hitting distant groups). Also look for perks like ranged damage reduction while performing heavy attacks (beautiful synergy with Bulwark class perks!) and bonus damage against majors.
- Battle Rhythm: The single charge is very potent now, making it viable to charge once and strike quickly, especially against ranged enemies where lingering in a charge is dangerous. Against melee enemies, it’s safer and highly effective to go for the double charge for maximum impact. The Power Fist’s effectiveness has genuinely surged with recent patches.
Power Sword:
- Core Function: High melee damage and versatility through different attack styles.
- Key Perks: Focus on boosting raw melee damage (like 10% base damage). Perks like Armored Strength (now functional with any armor remaining) are solid. Damage boosts after switching styles (like 20%) and a significant buff to the Power Rake (50% more damage, synergizing nicely with Prestige Overcharge) are highly desirable.
- Customization: For a slight shift, you could trade a perk like damage against minors for a perk that grants contested health regen on specific attack styles (like Power Style vs. Tyranids or Speed Style vs. Chaos), depending on your preferred combat flow against certain foes.
Chainsword:
- Core Function: Combo-driven damage and area control through its stomp.
- Key Perks: Increased Ground Stomp area makes it better at hitting groups. Full Throttle is cool because it lets you access the Stomp combo earlier (by holding and then quickly tapping RB). Boosts to both light (10%) and heavy (15%) attacks are useful, as heavy attacks include several key moves like Quick Punch, Shoulder Bash, and the essential Stomp. Extra damage against minors pairs well with the Stomp’s area clearing, and Extremist rewards continuous light attack combos with escalating damage.
Secondary Weapons (Pistols):
The Heavy Bolt Pistol was a welcome addition, providing the Bulwark with much-needed ranged punch for non finisher gun strikes. Weapon perks in general now feel more tailored to complement class strengths.
Heavy Bolt Pistol:
- Why it’s a Blessing: Finally, a reliable tool for dealing with those frustrating distant and flying enemies like Nethropes and Zoanthropes! Its shot velocity makes hitting mobile targets much easier than the Plasma Pistol’s charge shots.
- Recommended Setup: Focus on headshot damage (up to 30% is attainable, and targets like Nethropes are easy headshots!). Combine this with Remote Threat (20% more damage to enemies over 25m away – applies beautifully to most flying foes) and perhaps a general damage increase and penetration. This build leverages your Prestige ranged damage perk to make the Heavy Bolt Pistol a genuine threat neutralizer against priority targets.
Plasma Pistol:
- Core Function: Focused damage or area damage, useful for specific threats.
- Use Case: Can be held back for troublesome ground enemies or majors. The choice between prioritizing max damage (to solidify your weakness against single tough distant targets) or area damage radius (better for clearing clusters, potentially more useful in coordinated teams) is a strategic one depending on whether you’re playing solo or with a reliable fireteam.
Bolt Pistol:
- Worth Noting: The headshot build received buffs and this pistol offers a huge ammo pool. While not the powerhouse of the Heavy Bolt Pistol, it’s a solid option that feels improved and can sustain fire for a long time if you prefer that style.
Vulkite:
- Use Case: Seems most at home focusing down major enemies, where its heat-up mechanic can shine.
- Limitations: Struggles against swarms of minors or fast/flying targets because building heat on them is difficult. Its core build hasn’t changed much, but the extra mastery point helps it feel slightly better overall. Using it solo against flying enemies is, to put it mildly, a frustrating endeavor.
Promo code: Dina_Blog
Use this discount as my thank you for your attention!
Who Da Best? Bulwark Class!
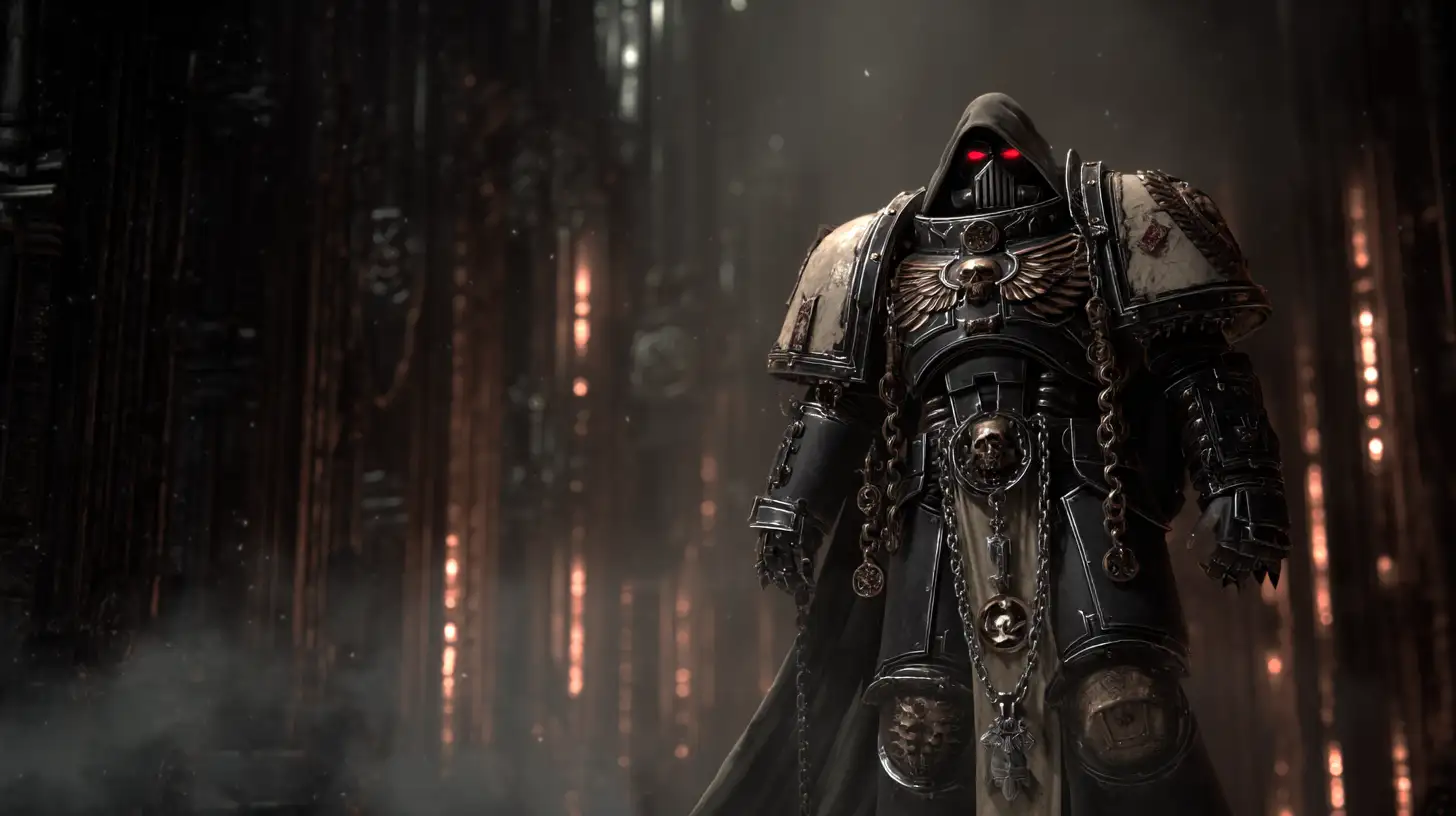
Post-Patch 7.0, the Bulwark feels like a true juggernaut. The progression through Prestige Ranks, particularly the crucial first three, provides a tangible and enjoyable power increase. Whether you aim for a versatile balance, an impenetrable defense, or a dynamic blocking style, the Bulwark offers potent options. Paired with intelligent weapon choices that leverage class synergies – especially the welcome punch of the Heavy Bolt Pistol and the revitalized might of the Power Fist – the Bulwark is more than ready to stand against the tide of xenos and deliver righteous fury.
May your shields never falter, your charged attacks cleave through heresy, and your position be forever held for the Emperor! Go forth and purge, Battle-Brothers!
Epiccarry: best wow boost and coaching services
Frequently Asked Questions
What defines the Bulwark class’s primary function in Warhammer 40K Space Marine 2, and how has Patch 7.0 specifically impacted this?
The Bulwark class serves as the indomitable cornerstone of any Space Marine squad. Their fundamental role is to be the unyielding frontline, absorbing the brunt of enemy assaults, controlling key positions on the battlefield, and providing a protective anchor for their brothers. They are the embodiment of the Emperor’s shield. Patch 7.0 has dramatically amplified this role; the guide suggests a significant power surge, potentially increasing effectiveness by a considerable margin, estimated around 30%. This isn’t just a minor tweak; it’s described as making the Bulwark a “true juggernaut” and a “powerhouse reborn,” particularly through the meaningful and tangible boosts provided by the new Prestige ranks. The class is now even better equipped to shove back the tide of both Tyranid enemies and Chaos forces.
Elaborate on the Bulwark’s storm shield. What makes it so vital, and what does the guide mean by mastering its “secret ingredient”?
The storm shield is not merely a piece of defensive gear; it is the Bulwark’s signature tool and symbol of their defiance. It’s absolutely vital for the class to perform its core function of holding the line. The “secret ingredient” to mastering its use, as highlighted by the guide, is knockback resistance. While the shield blocks damage, powerful hits can still stagger or push a Bulwark back, temporarily breaking their defensive stance and leaving them vulnerable. Maximizing knockback resistance ensures that when hits connect, the Bulwark remains completely rooted – an unmoving obstacle – keeping the shield perfectly in place to maintain uninterrupted defense against all but the most specific enemy mechanics. This is the essence of achieving true defensive mastery with the shield.
How does the application of knockback resistance translate to tangible benefits during combat for the Bulwark?
The guide uses stark visual examples to illustrate the difference. Without knockback resistance, a powerful hit like a sniper shot can send a Bulwark reeling. With it active, the same hit is simply absorbed by the shield, leaving the Bulwark planted and ready to continue blocking without needing to reposition or recover. This ability to remain steadfast is crucial because it allows the Bulwark to block for significantly longer durations. Furthermore, if equipped with perks that damage enemies upon hitting the shield, an unstoppable Bulwark can literally absorb torrents of damage from nearby enemies and watch them essentially damage themselves, showcasing incredible damage mitigation capabilities solely through their shield.
What are Prestige Ranks in the context of the Bulwark’s progression, and how do they function like a perk tree?
Prestige ranks represent a layered system of progression specific to each class, allowing players to unlock powerful perks and enhancements beyond the standard level progression. For the Bulwark, advancing through these ranks is presented as the path to becoming truly fearsome and reaching the class’s full potential. While not a branching “tree” in the traditional RPG sense, it’s a linear progression where each rank unlocks specific, high-impact perks or boosts, much like nodes in a simplified perk tree. The guide emphasizes that post-Patch 7.0, the journey through these ranks feels significantly more rewarding, providing tangible power increases with each step, akin to mastering a sacred relic – a form of relic mastery.
Detail the significance of the specific Prestige Ranks (1, 2, and 3) recommended for the Bulwark’s early progression.
The guide pinpoints Ranks 1, 2, and 3 as essential early steps, laying the foundation for the Bulwark’s effectiveness.
- Rank 1: Overcharge is the foundational offensive boost, providing a flat 20% increase to Charged Attack damage. This directly enhances the power of crucial melee weapons like the Power Fist’s earth-shattering charged blows or the Power Sword’s Power Rake, contributing significantly to melee damage increases right from the start.
- Rank 2: Masterful Defense is labeled a “game-changer.” This perk restores 1% of the Bulwark’s ability charge (for the Chapter Banner) for every blocked ranged attack. It creates a direct loop where performing the core defensive action fuels the primary support ability, dramatically increasing Chapter Banner uptime.
- Rank 3: Powerful Shot addresses a key vulnerability by increasing ranged damage by 20%. While the Bulwark’s primary weapon is melee, this boost makes their secondary weapons, like the Heavy Bolt Pistol, far more effective at neutralizing problematic distant or flying threats before they can become a close-range issue.
Explain the functionality and impact of the Masterful Defense perk on the Chapter Banner ability.
Masterful Defense is a critical perk that fundamentally alters how frequently the Bulwark can utilize their chapter banner ability. By restoring 1% of the banner’s cooldown for every single ranged attack blocked, it turns sustained incoming fire from a liability into a resource. This means that a Bulwark effectively gains ability charge while simply performing their job of tanking. This dramatically accelerates the cooldown cycle of the Chapter Banner, potentially allowing it to be planted 50% more often, according to the guide. This constant regeneration of the banner ability is a powerful synergy for the Bulwark’s team support role.
Beyond simply existing, what specific benefits does the guide highlight that the Chapter Banner provides to squad members?
While the full scope of the Chapter Banner’s effects isn’t detailed in isolation, the guide emphasizes its crucial role as an invigorating icon and rallying point for squad members. Within the banner’s area, it provides vital team buffs and a rejuvenating effect through healing. Crucially, the guide notes that the banner’s presence can also help facilitate or provide cover for the process of revives incapacitated squad members. Planting the banner at a strategic point rallies the team, provides sustain, and offers a temporary safe zone or advantageous position for pushes or defensive stands, making the banner a powerful force multiplier.
Can you summarize the core philosophies behind the three distinct Bulwark builds presented in the guide?
The guide presents three primary ways to spec the Bulwark:
- The Hybrid Hitter: This build focuses on versatility and balance. Its philosophy is to lean into the Bulwark’s natural resilience while mitigating typical weaknesses by blending effective melee with useful ranged capabilities. It’s about being a resilient frontline presence that can also contribute effectively at a distance and control crowds.
- The Defensive Fortress: This build embodies the concept of “The Immovable Object.” Its core philosophy is to become an unparalleled bastion of defense by stacking damage mitigation perks. The aim is to be incredibly difficult, if not impossible, to take down, especially against the toughest enemies, allowing the Bulwark to hold aggro and survive punishment that would overwhelm other classes.
- The Blocking Brawler: This playstyle is centered around active engagement with the block mechanic and the Shield Bash. Its philosophy is to turn defensive actions (blocking) into offensive opportunities and utilize the Shield Bash not just for crowd control but also as a utility tool and damage enhancer, often paired with a primary weapon like the Chainsword.
Provide more detail on The Hybrid Hitter build’s strengths and key perks.
The Hybrid Hitter is a popular and well-balanced build that becomes effective relatively early game due to accessible perk requirements. Its strength lies in its ability to seamlessly transition between melee combat and using its secondary weapon effectively. Key perks like Armor of Contempt are gold because they synergize beautifully with Masterful Defense – blocking incoming fire to regain banner charge also translates into bonus damage dealt. Purity of Purpose helps manage swarms of minor enemies, allowing focus on larger threats. Advanced Conditioning provides crucial sustained maximum contested health regeneration. Merciless Resolve ensures the Shield Bash provides stability, preventing the Bulwark from being interrupted. It often includes a reserve shock grenade or other utility for tactical crowd control, enabling some shock and awe tactics.
Expand on The Defensive Fortress build’s approach to damage mitigation and survivability, especially against high-threat enemies.
The Defensive Fortress build is specifically crafted to make the Bulwark an unkillable wall, particularly against challenging threats like extremis level enemy and terminus level enemies. Its approach is layered damage mitigation. Perks like Conviction offer significant health damage reduction when armor is broken or fully depleted, acting as a vital emergency countermeasure. Scrambled Targeting provides a substantial total damage reduction (affecting both armor and health) from ranged attacks when surrounded. Steel Within (or Armor Reinforcement) adds another layer of health damage reduction when below 50% health. Combined, these perks offer massive damage resistance, making the Bulwark incredibly resilient. Advanced Conditioning further enhances contested health, providing slower but steady regeneration even while taking hits, contributing to the Bulwark’s unmatched staying power for squad members.
Describe the unique mechanics and benefits of The Blocking Brawler build.
The Blocking Brawler offers a dynamic playstyle centered around the Bulwark’s shield beyond just static defense. It actively uses blocking as a resource and the Shield Bash as a versatile tool. Forward Momentum makes the Shield Bash a damage buff, stacking with Merciless Resolve for stability. Armor of Contempt is essential, turning absorbed hits from blocking into outgoing damage dealt. The build often incorporates the Shock Nade perk line, allowing perfect blocks to generate shock grenades, adding significant area damage (potentially an aura shock or shock area) and crowd control capabilities, creating shock and awe. Focused Strength enhances the Shield Bash’s knockback, and critically, allows Shield Bashing minors to set them up for a Gun Strike finisher, which is described as a vital way to recover armor or restore armor when using certain melee weapons.
Discuss the recommended melee weapons for the Bulwark and their key features based on the guide.
The guide recommends three primary weapon options, each with distinct advantages:
-
-
Power Fist: Known for delivering devastating charged blows, particularly effective after the buffs it received. Mandatory perks like Heavy Preparation (faster charging) and Tide of Battle (doubles Power Wave distance for improved group control) are crucial for maximizing its potential. It’s a powerhouse for significant melee damage increases.
-
Power Sword: Offers high base melee damage and versatility through different attack styles. Key perks boost raw melee damage increases (like 10% base damage) and significantly buff the Power Rake attack, which synergizes with Prestige Overcharge. It can be customized for contested health regen against specific enemy types like Tyranids or Chaos forces.
-
Chainsword: Provides a unique combo-driven playstyle with area control via its stomp. Key perks enhance the Ground Stomp area and boost both light and heavy attacks. Extremist rewards continuous light attacks with escalating damage, making it highly effective against swarms of nearby enemies.
-
Detail the secondary weapon options for the Bulwark, focusing on the Heavy Bolt Pistol.
The Bulwark’s secondary weapon options are primarily pistols, crucial for engaging targets that the primary weapon cannot reach. The guide highlights the Heavy Bolt Pistol as a major blessing post-patch. It provides much-needed reliable ranged punch, particularly against flying and distant nuisances like Nethropes and Zoanthropes, which were previously problematic. Its higher shot velocity makes hitting mobile targets easier than with the Plasma Pistol. Recommended setups focus on headshot damage and Remote Threat (bonus damage over 25m), allowing the Bulwark to use non finisher gun strikes effectively at range. The Plasma Pistol offers focused or area damage, useful for ground enemies or creating a shock area. The Bolt Pistol is noted for its large ammo pool and improved feel. The Vulkite is best for focusing down majors or extremis enemies where its heat can build, but struggles against faster targets.
How can the Bulwark recover or restore armor, especially when using weapons that lack natural finisher opportunities?
The guide specifically points out an interaction within The Blocking Brawler build as a vital method for armor recovery. By using the Focused Strength perk with Shield Bash, the Bulwark can knock back minor enemies and open them up for a Gun Strike finisher. This particular maneuver is highlighted as essential for regaining armor, especially when using blocking variants or weapons like the Chainsword that might not provide as many standard finisher opportunities compared to, say, a Power Fist against certain targets. This allows the Bulwark to replenish their defense using specific tactical engagements.
Explain the concept of “Contested Health” and its importance for a Bulwark build’s sustain and aggression.
Contested Health refers to the portion of the Bulwark’s health bar that can regenerate even while the character is actively taking damage. This is a critical mechanic for the Bulwark’s ability to function as a frontline tank. Unlike typical regeneration (which requires avoiding damage), contested health allows the Bulwark to maintain their position in the thick of combat against nearby enemies and slowly recover health, increasing their overall time on target and enabling a more aggressive presence. Perks like Advanced Conditioning enhance this sustain, boosting maximum contested health or the rate of regeneration, providing a vital rejuvenating effect (though not necessarily rapid regeneration) and contributing to their impressive survivability and defensive mastery.
Does the guide recommend using Perfectly Timed Parries, and what effect do they have?
Yes, the guide confirms that perfectly timed parry is still a necessary skill for the Bulwark. While discussing the benefits of knockback resistance, it explicitly states that parries are still needed for specific, glowy blue enemy attacks, and dodges for glowing red ones. These enemy attacks represent mechanics that cannot simply be tanked or blocked outright, even with high resistance. A perfectly timed parry creates an opportunity against these specific threats, allowing the Bulwark to avoid taking damage or being controlled by them. The guide mentions that a perfectly timed parry deals damage in the keyword list, but the text primarily focuses on the avoidance and opportunity creation aspect rather than direct damage output for the Bulwark’s parry itself.
Which specific perks and weapon interactions mentioned in the guide contribute to increasing the Bulwark’s melee damage output?
Several elements contribute to boosting the Bulwark’s melee damage:
-
-
Prestige Rank 1 (Overcharge): Directly increases Charged Attack damage by 20%, significantly boosting Power Fist and Power Sword charged attacks.
-
Armor of Contempt: A perk that converts blocking into bonus outgoing damage dealt, particularly relevant for builds focused on active blocking.
-
Forward Momentum: Makes the Shield Bash provide a damage buff.
-
Power Sword Perks: Specific perks listed boost raw melee damage (e.g., 10% base damage) and buff the Power Rake attack.
-
Chainsword Perks: Boosts to light (10%) and heavy (15%) attacks, and the Extremist perk provides escalating damage during continuous light attack combos.
-
Power Fist Perks: While primarily controlling, the heavy attacks benefit from Overcharge, leading to massive single-hit damage dealt.
-
How does the Bulwark manage and control groups of enemies?
-
The Bulwark has several tools for effective crowd control and managing nearby enemies:
-
Shock Grenades: A utility choice that can stun or damage groups in a shock area, enabling shock and awe. The Blocking Brawler can even generate these from perfect blocks.
-
Power Fist’s Power Wave: Enhanced by Tide of Battle, this provides ranged group control.
-
Chainsword’s Ground Stomp: Offers area control.
-
Shield Bash: Knocks back enemies, especially enhanced by Focused Strength, clearing space.
-
Purity of Purpose: A perk for the Hybrid Hitter that efficiently clears swarms of minor enemies, allowing focus on higher-priority targets.
-
Chapter Banner: Can create a safe zone within its banner’s area, implicitly controlling enemy positioning relative to the squad.
-
How effectively does the Bulwark handle the game’s toughest enemies, such as Extremis and Terminus level threats?
The guide presents the Bulwark as highly capable of handling the toughest challenges, including extremis level enemy and terminus level enemies. The Defensive Fortress build is explicitly designed for this, stacking incredible damage mitigation to become an unkillable wall that can absorb immense punishment from these high-threat targets. The ability to hold aggro and survive allows other classes (like the Sniper class or Heavy) to focus their damage. Even other builds, through layered defenses, contested health sustain, and strategic use of abilities and weapon perks designed for majors, are well-equipped to engage and withstand the output of these formidable foes, ensuring the squad members can operate effectively.
Based on the guide’s conclusion, how does the Bulwark stand in terms of overall power and effectiveness after Patch 7.0?
The guide concludes with strong affirmation of the Bulwark’s current state, declaring it a “true juggernaut” and “a powerhouse reborn.” The significant power increase attributed to the Prestige ranks, combined with the viability of distinct Bulwark builds and intelligent weapon synergies (like the improved Heavy Bolt Pistol for non finisher gun strikes and revitalized Power Fist), positions the Bulwark as an exceptionally effective and potent class. The guide makes a compelling case that the Bulwark is not just viable but potentially one of the best Bulwark options available for players seeking to master defensive mastery and stand as an unyielding shield against the forces of Chaos and the Tyranids. The overall progression from early game through mid game feels rewarding and leads to a truly formidable character.
Comments

