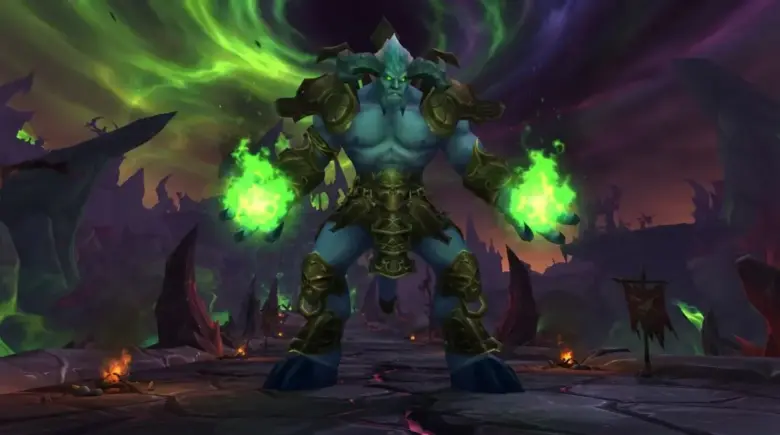
Windurst: The Third Walk is the third and final alliance raid in FFXIV’s Echoes of Vana’diel series. It features five named bosses across four encounters, ending with a two-phase battle against Shinryu Paradox and Hollow King.
In this guide, we cover:
- How to unlock Windurst: The Third Walk
- Shantotto the Demon mechanics
- Alexander Resurrected strategies
- Promathia’s platform phase
- Shinryu Paradox and Hollow King mechanics
- Trash and mini-boss encounters
- Item-level 780 gear and weekly rewards

Windurst: The Third Walk requires a level 100 combat job. With our FFXIV Job Boost, your chosen primary job is leveled to the required milestone while you receive the materials, loot, abilities, and progression unlocked along the way.
How to Unlock Windurst: The Third Walk
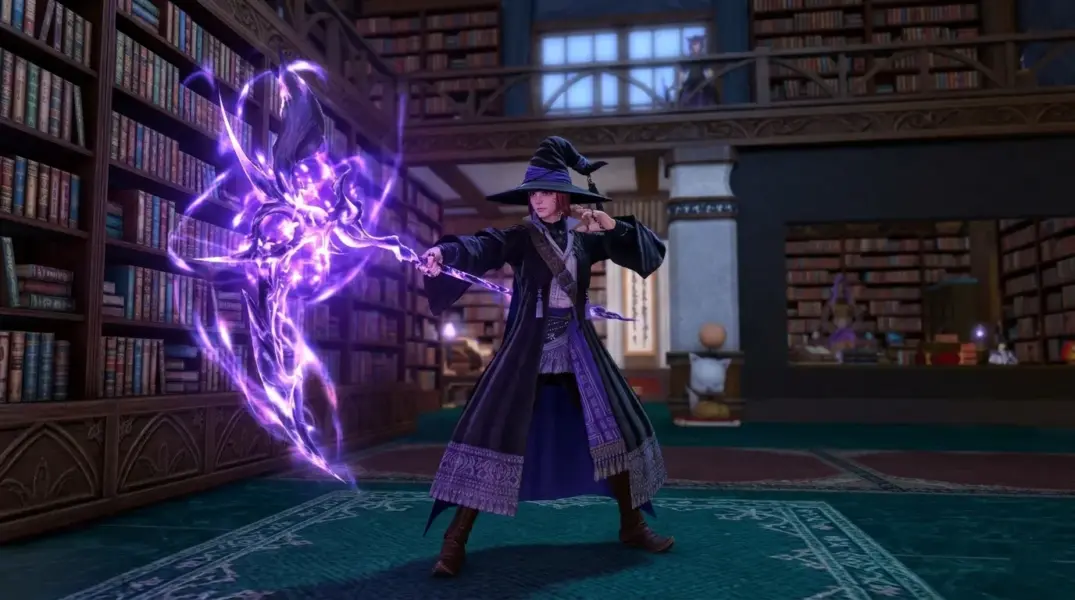
- Level 100 Disciple of War or Magic
- Dawntrail’s base main scenario complete (post-release Patch 7.1–7.5 MSQ not required)
- Echoes of Vana’diel quest Apocalypse Nigh complete
- Average item level 755
- 120-minute time limit; eight-player party or 24-player alliance
Accept The Hollow Promise from the Landsguard Messenger in Tuliyollal (X:16.2, Y:3.9), then follow its objectives through to Lower Jeuno to unlock Windurst: The Third Walk in the Duty Finder.
Still blocked by Dawntrail’s main story? Use our FFXIV Dawntrail MSQ Completion Boost to finish the selected MSQ chapters, collect the earned rewards, and unlock the endgame content needed to continue your progression.
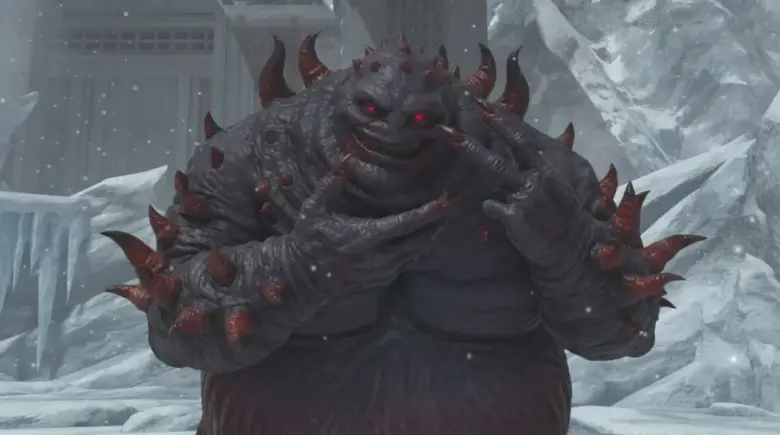
Shantotto the Demon Boss Guide
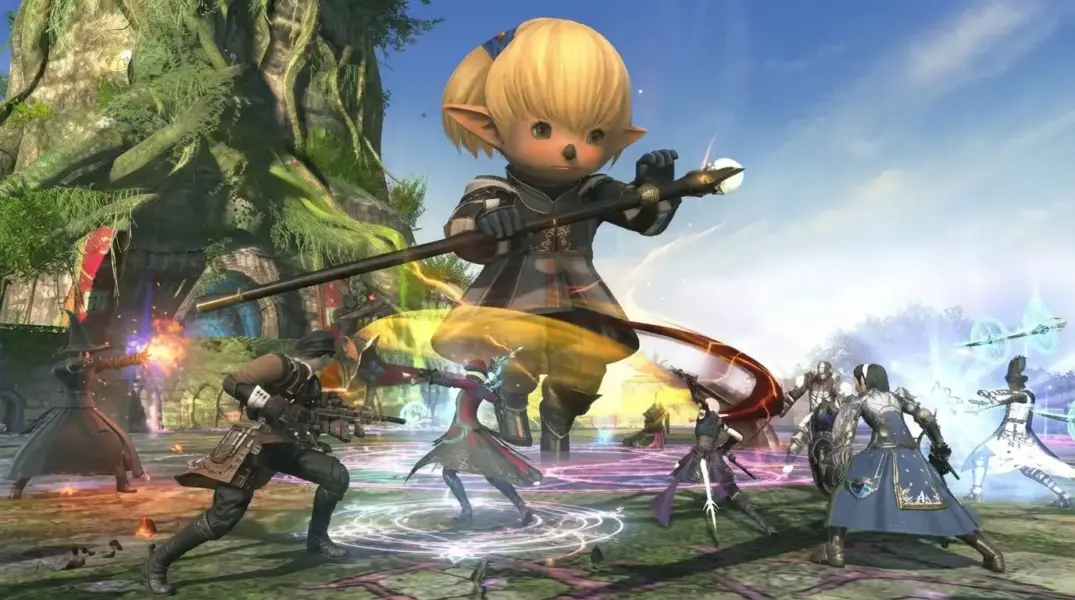
- Empirical Research — Watch Shantotto’s facing before she fires a wide line AoE; move behind her or well to either side.
- Superior Stone II into Groundbreaking Quake — Compare the raised formations on the north and south sides, and stand in whichever column leaves the widest gap before the quake lands.
- Diagrammatic Doorway into Circumscribed Fire — Follow Shantotto’s jump route and stand in the safe center of each donut. After the final jump, dodge the point-blank Localized Blizzard, then spread for Thunder and Error.
- Meteoric Rhyme and Shockwave — Dodge the circles, move off the proximity markers, then stack. Shockwave is a separate raid-wide that follows.
- Aero Dynamics — Line up against a raised stone wall in the direction of your Westerly/Easterly debuff, or use Arm’s Length or Surecast.
- Other attacks: Flare Play is a raidwide, Vidohunir is a stack shared by all three tanks, and Final Exam is a three-hit healer stack.

Al Zahbi and Garden of Ru’Hmet Encounters
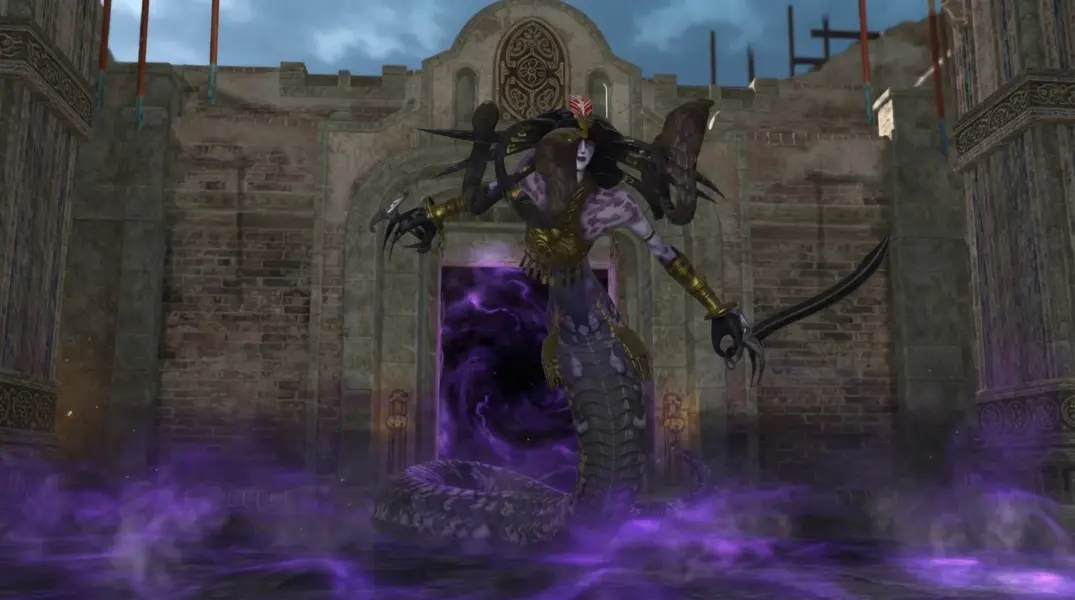
- Leaping Cleave (Al Zahbi) — A radial knockback from the center; stay close to its origin or use knockback immunity to avoid the damaging boundary.
- Dance to Dust and Shadow Slash (Medusa Swarmsinger) — Exaflares travel outward toward the cardinals, then the intercardinals; move through the gap while also reaching the side opposite any named Shadow Slash.
- Disregard and Petrifaction (Medusa Swarmsinger) — Disregard deals raidwide physical damage. Two waves of overlapping line AoEs follow while Medusa casts Petrifaction — clear the lines and keep facing away from her; the gaze effect is cleansable if you’re caught.
- Glacier Splitter and Optic Induration (Garden of Ru’Hmet) — Aw’aern and the four Aw’zdei fire overlapping fan cones from different facings; watch their orientations and move into the gaps.
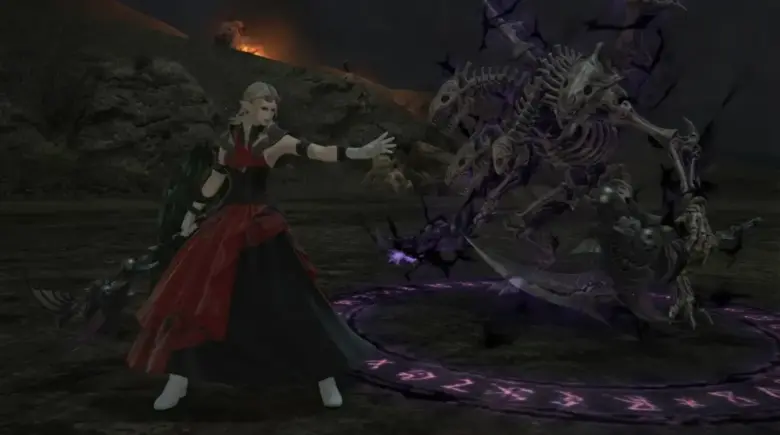
Alexander Resurrected Boss Guide
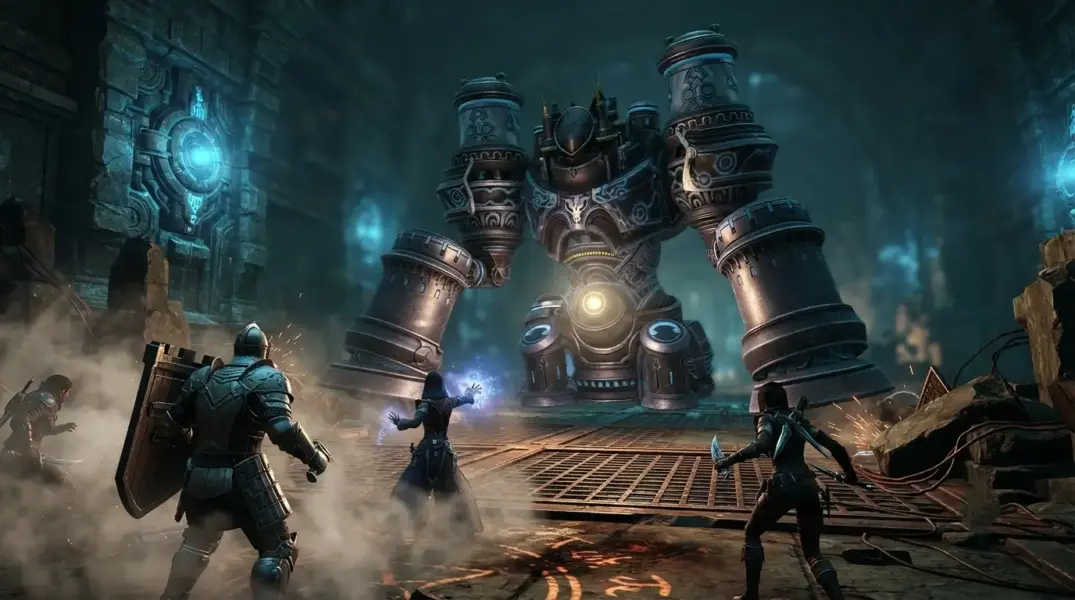
- Other damage: Banishga IV is an opening raidwide and Mega Holy is a three-hit healer stack.
- Divine Arrow — Rotate just behind the sweeping cone; point-blank and ring AoEs resolve mid-rotation, with spreads following after.
- Impartial Ruling — Move to the slower-filling energy container, then sprint to the cleared side once the first detonates.
- Radiant Sacrament — The floor becomes a 5×5 grid with crosshairs showing detonation order; start in an unhit column and step into each tile right after it clears.
- Divine Spear — Stay outside anything the blue firewalls fully enclose.
- Sacred Assembly into Perfect Defense — Four Gordius Systems tether to Alexander, who goes untargetable; destroy them before Aetherial Conduit Reserves fills or Divine Judgment wipes the raid. Don’t attack a System under Karmic Shielding — switch targets and return once the barrier drops. Any System can cast Shock or Circuit Shock (point-blank or donut AoEs).
- Reinforcements and Electrify — Alexander tethers to one pair of Systems, then the other; clear the first pair’s circles before moving into the space for the second.
Later combinations add baited circles, spreads, and a line tank buster (Divine Bolt) — the same core rules apply.

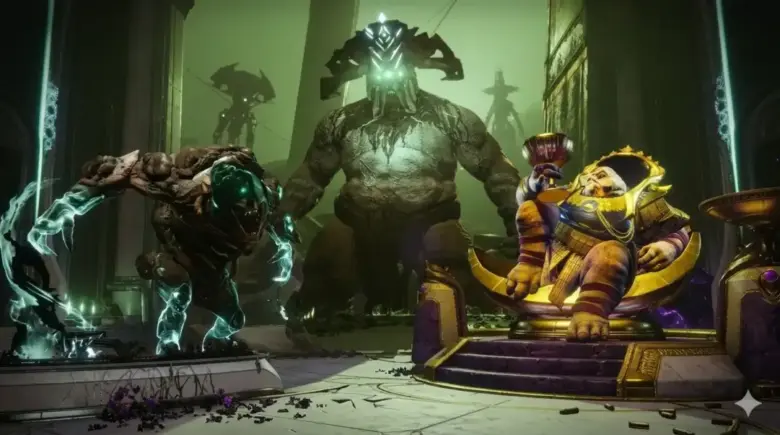
Promathia Boss Guide and Platform Mechanics
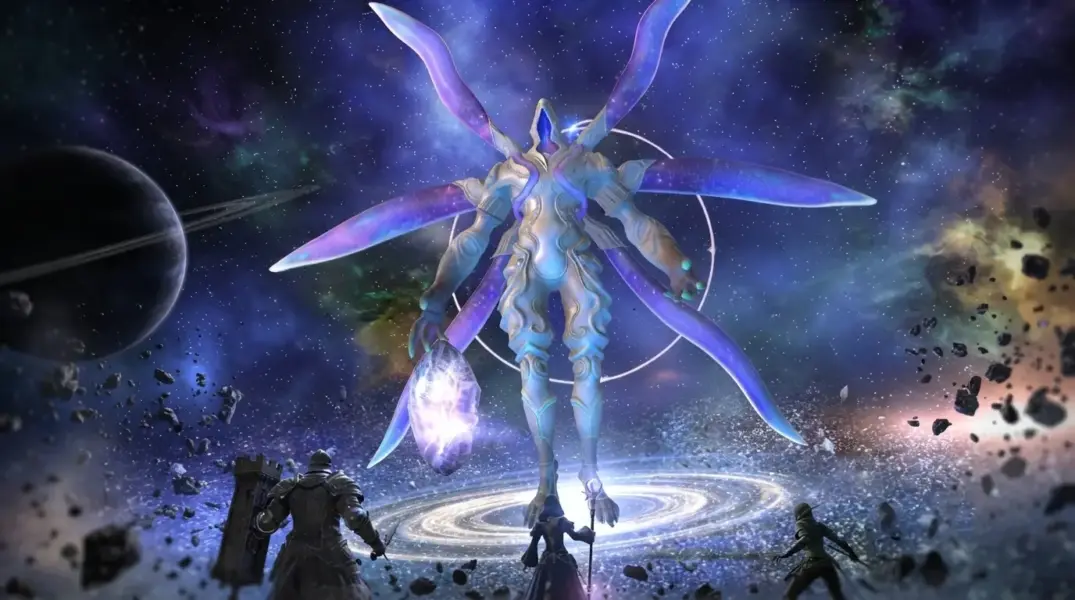
- Empty Salvation into Fleeting Eternity — Empty Salvation seeds Heavy puddles; Fleeting Eternity sends purple energy down tethers toward them. Track the energy — longer tether routes detonate later.
- Wheel of Impregnability — Orange rays point inward; move outside before the rings meet.
- Bastion of Twilight and Pestilent Penance — Green rays point outward (a donut) combined with a 180-degree frontal cleave — get inside the ring and stay behind Promathia. This combo repeats later with Link of Promathia adds showing a facing beam; stay behind them too.
- False Genesis — Promathia covers most of the arena, leaving three small safe squares; move into one to join that platform. Kill your Memory Receptacle before Burgeoning Arrogance hits 100. Each platform gets one add pattern: a rotating line from Empty Thinker, a single safe quadrant from Empty Weeper, or two circle sets from Empty Wanderer. Use the corner walls against Empty Seed‘s knockback.
- Infernal Deliverance — Three shared stack towers; split the alliance between them, stand near the outer edge, and move out fast once the puddle starts expanding.
- Malevolent Blessing — Find a cone gap while standing on the half opposite Promathia’s glowing side — both resolve at once.
- Comet, Deadly Rebirth, Earthbound Heaven, Meteor — A string of tank busters and raidwide damage after the platform phase; for Earthbound Heaven, follow the two lights that start close together and move apart.
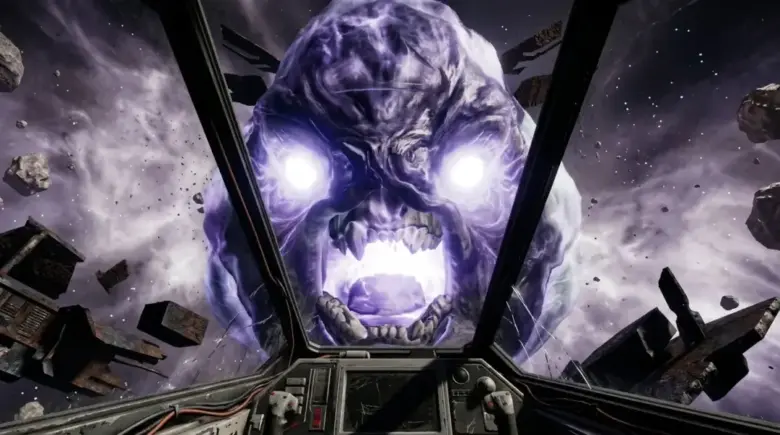
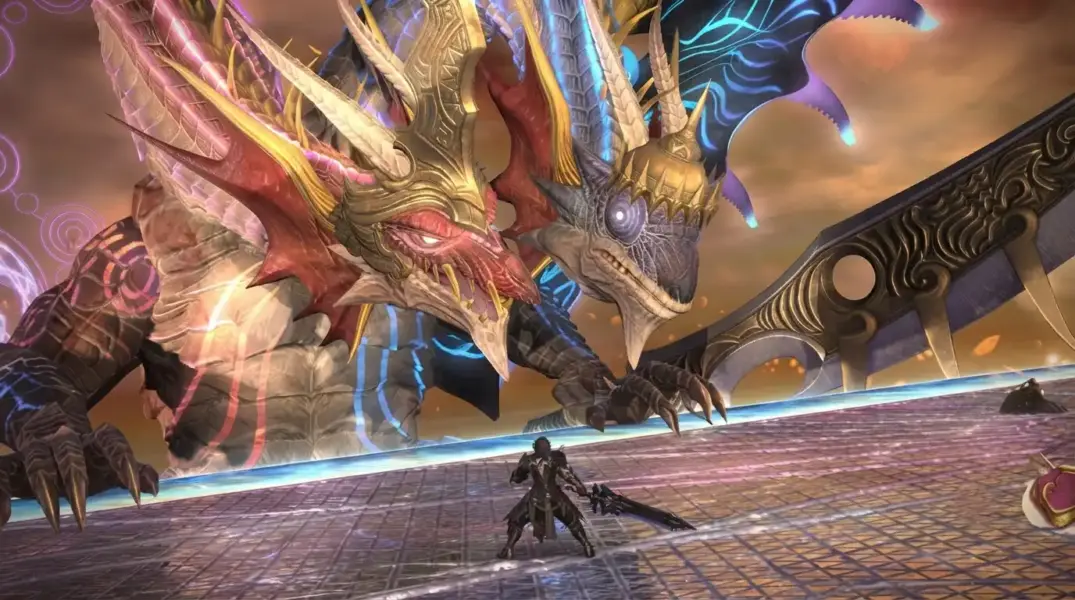
Shinryu Paradox Mechanics — Final Boss Phase 1
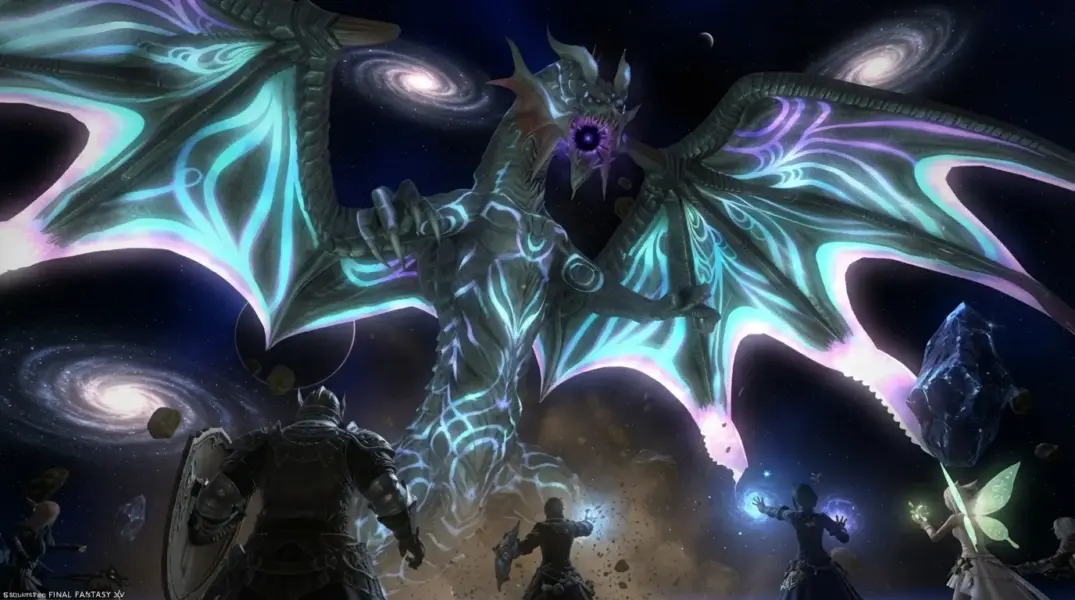
- Cosmic Breath / Cosmic Tail — Breath covers the Upper Platform (drop to the Lower); Tail covers the Lower (return via the teleporter ring).
- Cloak of Waning Light / Cloak of Waxing Dark — When Twilight Nebula resolves, match your platform to your cloak’s color: yellow/light to Upper, purple/dark to Lower.
- Starflare — Two sets of intersecting line AoEs; clear the first set’s gaps before the second crosses.
- Cataclysmic Vortex — Play means keep moving, Pause means stop, the crossed eye means look away, the crossed eye with a question mark means face the boss.
- Atomic Tail — Return to the Upper Platform before the transition; anyone left below takes lethal damage, and a brief stun follows as Hollow King appears.
Dark Nova is a tank buster, hitting all three tanks, which should separate from the party and each other.
Hollow King Mechanics — Final Boss Phase 2
- Celestial Trail — Eight players must soak each of the two tower waves. First-wave players take HP Recovery Down and shouldn’t take the second set; an empty tower deals heavy raidwide damage and applies a lengthy Bleed.
- Left Swordscross / Right Swordscross — The named side is the safe corner: Left means front-left, Right means front-right.
- Twin Blaze — Two orbs appear; move to the donut side and stand in its safe center.
- Cataclysmic Blade — Cataclysmic Vortex commands layered with cone AoEs — find the cone gap, then resolve your status icon.
- Burst — Two circle AoEs appear at separate locations, followed by expanding donut waves from both points; move into each cleared center after its initial circle detonates.
- Cosmic Flame — Pick one exaflare line, wait for the first segment, then move into the cleared space behind it.
- Atomic Ray — Two line AoEs move together and snapshot on a countdown; get outside both before it expires.
Empty Proclamation is a raidwide, Super Nova is a three-hit stack, and Starflare repeats its earlier pattern.
Below the required item level for Windurst: The Third Walk? Our FFXIV Gearing Boost provides weapons, armor, accessories, and Allagan Tomestones tailored to your selected job, helping you meet the raid’s item-level requirement without the usual gear grind.
Windurst: The Third Walk Rewards and Weekly Loot
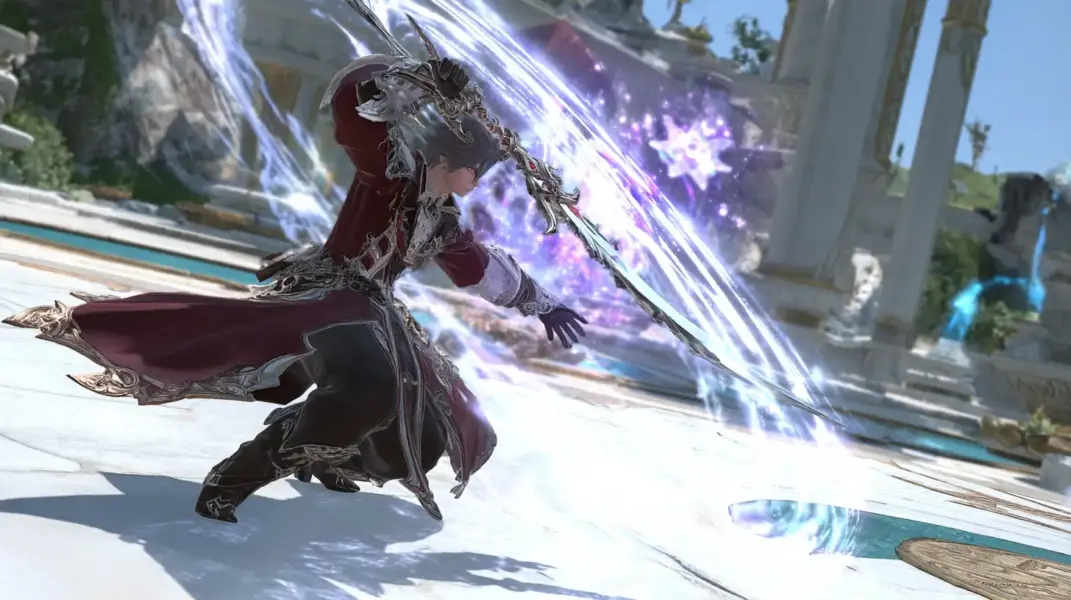
- Item-level 780 Vana’dielian armor drops from party coffers after bosses; winning one equipment item locks further gear rolls until the weekly reset.
- Weekly completion also awards one Ranperre Coin and two Cracked Novaclusters. Exchange one Ordelle Coin, one Montiont Coin, and one Ranperre Coin with Uah’shepya for Thundersteeped Twine (augments Bygone Brass armor) or Thundersteeping Glaze (augments accessories to item level 790) through Theone.
- Shared coffers can contain Tattered Third Movement Scores, exchangeable for Echoes of Vana’diel orchestrion rolls.
- The final coffer may hold Wind-up Prishe, Ballroom Etiquette – Dignified Derision (the Cackle emote), and the Shinryu (Vana’diel) Card.

Windurst: The Third Walk Tips
Sacred Assembly and False Genesis wipe the raid if their gauges reach 100 — everything else is more forgiving. The weekly Ranperre Coin is awarded for completion, not for winning loot rolls.
After clearing Windurst: The Third Walk, players looking for a greater challenge can continue into current FFXIV Endgame Raid Bundle.
Check out more FFXIV 7.5x guides:

Frequently Asked Questions
How do you unlock Windurst: The Third Walk in FFXIV?
Complete Dawntrail’s base main scenario and the Echoes of Vana’diel quest Apocalypse Nigh on a level 100 combat job. Then accept The Hollow Promise from the Landsguard Messenger in Tuliyollal at X:16.2, Y:3.9 and follow the quest objectives through Lower Jeuno.
Where do you start The Hollow Promise quest?
The Hollow Promise starts with the Landsguard Messenger in Tuliyollal at X:16.2, Y:3.9.
What item level do you need for Windurst: The Third Walk?
You need an average item level of 755 to enter Windurst: The Third Walk.
Do you need to complete the Patch 7.5 main scenario quests to unlock the Third Walk?
No. You must complete Dawntrail’s base main scenario, but the post-release Patch 7.1–7.5 MSQ chapters are not required because Echoes of Vana’diel is a separate side-story series.
Which Echoes of Vana’diel quests must be completed before Windurst: The Third Walk?
You must complete the earlier Echoes of Vana’diel raid chapters and finish the quest Apocalypse Nigh before The Hollow Promise becomes available.
Can you enter Windurst: The Third Walk with an eight-player party?
Yes. You can register with a full eight-player party or enter with a complete 24-player alliance. Duty Finder fills the remaining alliance parties when needed.
How many players are in Windurst: The Third Walk, and what is the time limit?
Windurst: The Third Walk is a 24-player alliance raid with a 120-minute time limit.
What bosses are in Windurst: The Third Walk?
The raid features five named bosses across four major encounters:
- Shantotto the Demon
- Alexander Resurrected
- Promathia
- Shinryu Paradox
- Hollow King
Shinryu Paradox transforms into Hollow King during the final encounter, and both phases share one health bar.
How do you find the safe spot for Shantotto’s Groundbreaking Quake?
Compare the stone formations raised on the north and south sides of the arena. Stand in the column where the two formations leave the widest opening when they slam together.
How does Shantotto’s Aero Dynamics knockback work?
Aero Dynamics gives each player a Westerly or Easterly directional debuff. Position yourself against a raised stone wall in the direction you will be knocked so the wall stops you from falling off. Arm’s Length and Surecast can also prevent the knockback.
How do you avoid Medusa Swarmsinger’s Dance to Dust and Shadow Slash?
Dance to Dust sends exaflares outward toward the cardinal directions and then the intercardinals. Move through the available gap while also reaching the side opposite the direction named by Left or Right Shadow Slash.
How do you solve Alexander Resurrected’s Divine Arrow mechanic?
Stay close to Alexander and rotate behind the sweeping cone as it moves around the arena. Dodge the point-blank and ring AoEs during the rotation, then spread for the player-targeted attacks that follow.
How does Radiant Sacrament’s 5×5 floor pattern work?
Watch the crosshairs to determine the order in which the tiles will explode. Begin in a column that is not hit by the opening pattern, then move into a tile immediately after it clears to stay ahead of the returning sequence.
Should you attack a Gordius System with Karmic Shielding?
No. Karmic Shielding reflects heavy damage and knockback when the protected Gordius System is attacked. Switch to an unshielded System and return to the protected target after its barrier disappears.
How do you complete Promathia’s False Genesis platform phase?
Move into one of the three safe squares before False Genesis resolves. Each group must destroy its Memory Receptacle before the Burgeoning Arrogance gauge reaches 100.
Each platform receives one mechanic pattern:
- Empty Thinker uses a rotating line attack.
- Empty Weeper leaves one safe quadrant.
- Empty Wanderer creates two consecutive circle patterns.
Use the solid corner walls to stop Empty Seed’s knockback.
What happens if Burgeoning Arrogance reaches 100?
If the Burgeoning Arrogance gauge reaches 100 before the Memory Receptacles are destroyed, the alliance wipes.
Which platform matches each Cloak of Light or Dark during Shinryu Paradox?
Match the visual color around your character:
- Yellow or light: Upper Platform
- Purple or dark: Lower Platform
Be on the correct platform when Twilight Nebula resolves.
What do the Cataclysmic Vortex Play, Pause, and eye icons mean?
Each icon requires a specific action:
- Play: Keep moving.
- Pause: Stop moving and using actions.
- Crossed-out eye: Look away from the boss.
- Crossed-out eye with a question mark: Face the boss.
Failing the instruction reduces your HP to 1.
How do Hollow King’s Celestial Trail towers and Swordscross mechanics work?
Celestial Trail creates two waves of eight towers. One player must stand in each tower. Players who soak the first wave receive HP Recovery Down and should not take a tower in the second wave. Leaving a tower empty deals heavy raidwide damage and applies Bleed.
For Swordscross, the named side is the safe side:
- Left Swordscross: Move to the front-left corner.
- Right Swordscross: Move to the front-right corner.
What rewards drop from Windurst: The Third Walk, and how does the weekly loot lockout work?
Windurst: The Third Walk drops item-level 780 Vana’dielian armor. You may win one equipment item per week, but you can continue running the raid after receiving it.
Weekly completion also awards:
- One Ranperre Coin
- Two Cracked Novaclusters
Shared coffers can contain Tattered Third Movement Scores for orchestrion rolls. The final coffer may also contain Wind-up Prishe, Ballroom Etiquette – Dignified Derision for the Cackle emote, and the Shinryu (Vana’diel) Card.