This Escape from Tarkov Icebreaker guide starts with the unlock: Icebreaker opens through the Boreas story chapter, and the first entry is the pier transit from Shoreline or Lighthouse. A Sudak-Tudak marine repair kit is necessary for boarding the hovercraft. The map initially opens only through those pier transits once Boreas is unlocked.
Page updates
October 22, 2026
- Unlock Icebreaker without transit: Complete Stick to It to add direct access from the location selection screen; the Sudak-Tudak marine repair kit is still required.
- Repair the Woods equipment: Using a Toolset, locate the equipment at the Woods Scav bunker and repair it.
- Escape from Tarkov Icebreaker guide: fastest unlock route: The fastest route in this Escape from Tarkov Icebreaker guide is to shorten each transport branch as much as your quest progress allows.
Unlock Icebreaker without transit
Complete Stick to It to add direct access from the location selection screen; the Sudak-Tudak marine repair kit is still required.

Boreas start: poster or Hideout radio
Boreas is a story chapter. Start it by obtaining a Paradigm Shipping poster or by checking the distress signal through the radio system at Intelligence Center level 3 in the Hideout. Obtaining the poster starts Boreas.
Poster spawns include walls near the Emercom checkpoint, the TerraGroup parking garage and main building stairs, the Kyshperski office, the Nakatani building, the cabin southwest of the new gas station, the three-story dorms, the laboratory building, and the freight yard warehouse and train. Only one poster can be held in a raid inventory at a time. The poster cannot go into a secure container, and dying before extraction loses it. Players can also buy the poster from the Flea Market.
With Intelligence Center level 3, use the radio system inside the Hideout to check the distress signal. The radio interaction is inside the Hideout, not through the standard menu.


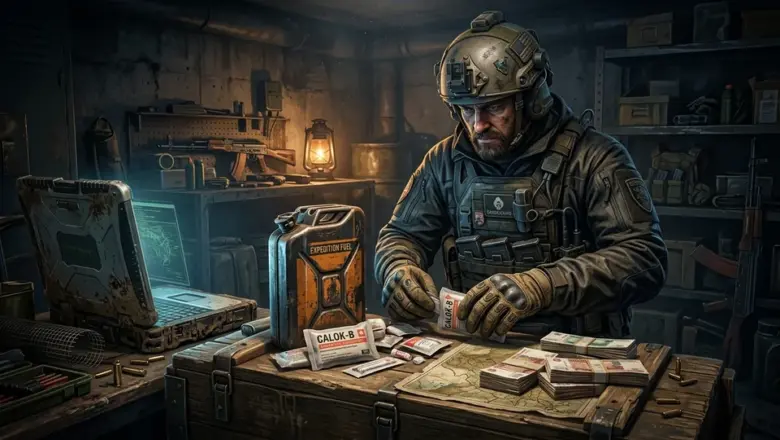
What to bring
- Toolset: required to repair the Woods equipment; it is removed from your inventory when used.
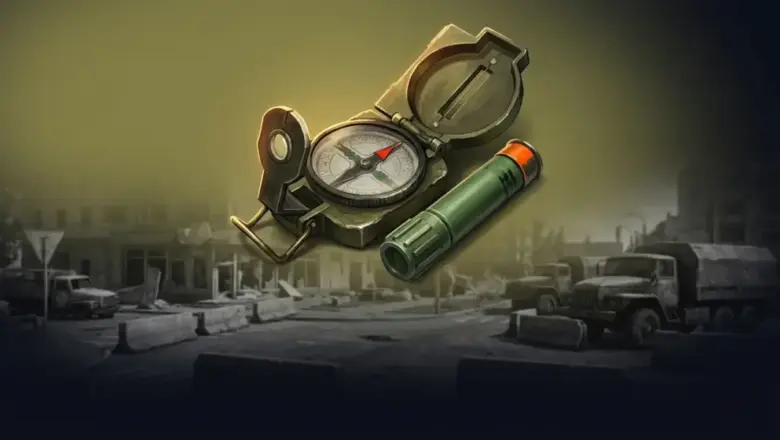
- Sudak-Tudak marine repair kit: required to board the hovercraft.
- Green flare: required for Icebreaker extraction.
- Reserve access: needed for the AMG-10 quest item.
- Insurance: it does not work on Icebreaker; insured items left in a raid are not returned.
- Group size: Icebreaker supports one to three PMCs from your own group.


Repair the Woods equipment
Using a Toolset, locate the equipment at the Woods Scav bunker and repair it. The Toolset can stay in a secure container, and you do not have to survive the raid for the repair objective. Report back to Mechanic afterward.

Read the Lighthouse directive
At Lighthouse, the Paradigm Shipping directive can be found inside the warehouse located in the northern freight yard. It sits on the table next to the lamp. Pick it up, read it, then tell Mechanic about “Boreas”.

Prapor transport and AMG-10
Ask Prapor about transport. The next objectives depend on your choice in Falling Skies.
- Gave Prapor the Armored case: deliver the AMG-10 fluid to Prapor.
- Kept the Armored case: deliver the AMG-10 fluid and 3 Military power filters found in raid to Prapor.
- Falling Skies still unfinished: kill 30 targets on Reserve, fire a yellow signal flare at Reserve's Woods transit, then give the AMG-10 fluid to Prapor.
Every branch ends with handing over the AMG-10 fluid to Prapor. On Reserve, the AMG-10 quest item appears in these places: the northern storage shelves of the Black Bishop basement, beneath the ladder in the parade-ground helicopter, on the open wooden crate inside that helicopter, and beside the forklift behind it. The barter version of AMG-10 cannot be used.
For the yellow flare, use a handheld RSP-30 yellow flare from Prapor LL1 or a 26x75mm yellow cartridge from Jaeger LL1 fired from a signal pistol. While at Reserve's Woods transit, fire it into the sky; the objective will not complete if the flare fails to reach the required height.

BTR Driver transport branch
Talk to the BTR Driver and ask about transport. The next objectives depend on your choice, or your progress in the BTR Driver questline.
- The Price of Independence finished: go back to the Hideout and to the BTR Driver, then inform Mechanic that you located transport to the icebreaker.
- After finishing Choose Your Friends Wisely: hand over 200 7.62x54mm R BT gzh rounds, find Skier’s documents in the ditch that separates the Scav base from the Customs laboratory, burn those documents in any fire barrel on Customs, eliminate 15 targets in the smugglers’ territories, report to the BTR Driver, and inform Mechanic.
- Completed neither: eliminate 10 targets at the smugglers’ territories, report to the BTR Driver, and tell Mechanic.
The fire barrel nearest Skier’s documents sits inside the Scav base’s central living quarters. The smuggler-base kills for both the 15-target and 10-target versions are on Shoreline or Interchange.

Boarding and extraction
The hovercraft is at the piers on Shoreline and Lighthouse. Bring a green flare for extraction.
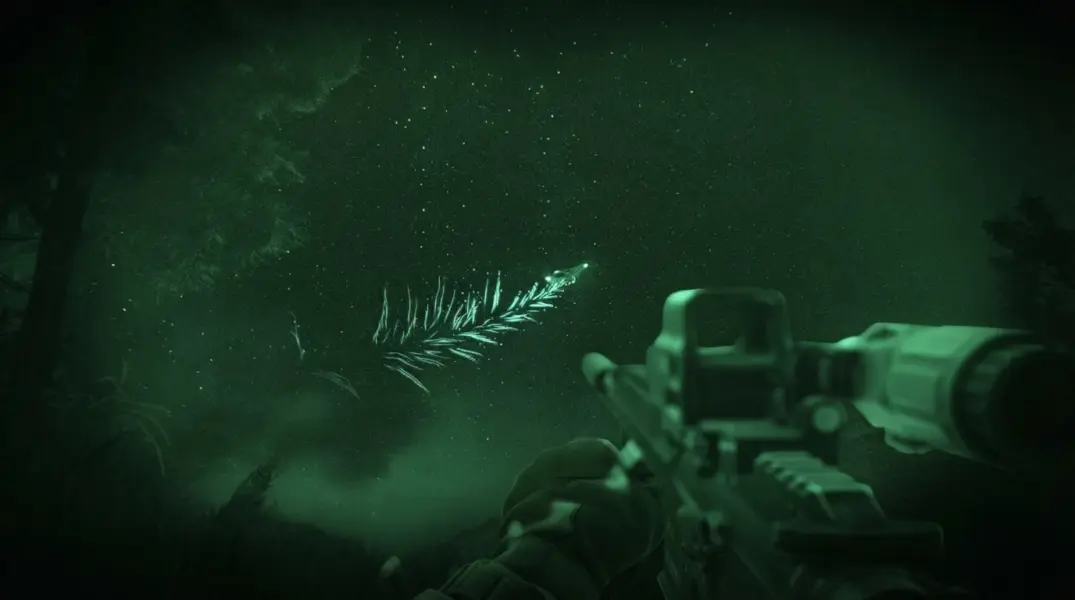
For helicopter extraction, shoot a green flare into the sky inside the signal flare area. If the flare does not reach a certain height, the helicopter will not come. Both a handheld RSP-30 green flare and a 26x75mm green flare cartridge fired from a signal pistol work, with one flare per player. The helicopter waits, but extraction can take up to a full minute. Do not call it early if you plan to stay on the ship longer, because the sound makes gunfights harder.

Icebreaker route and main objectives
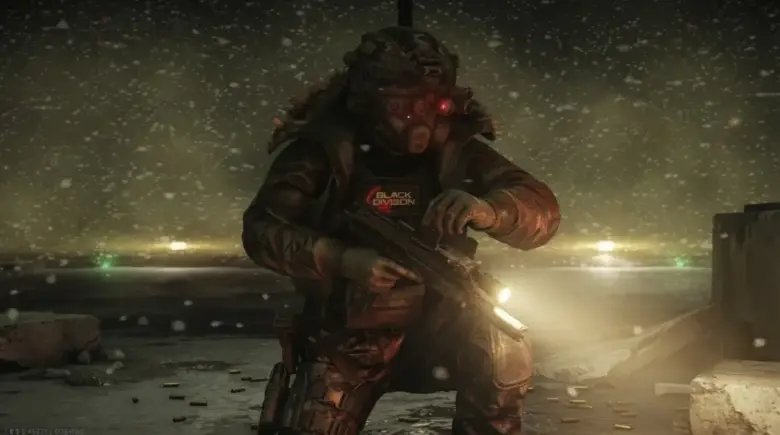
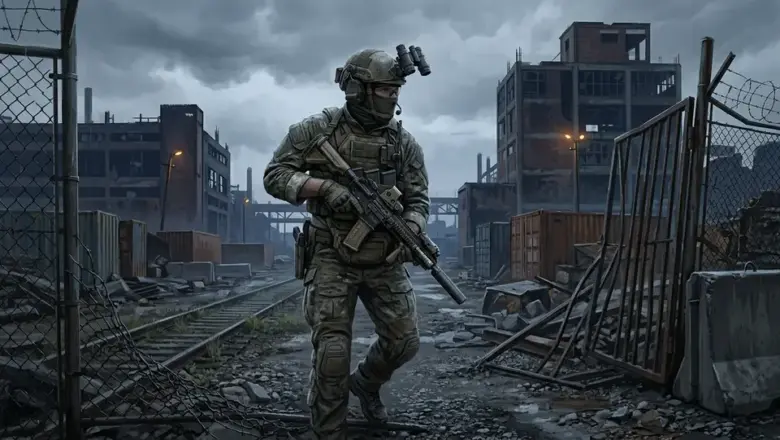
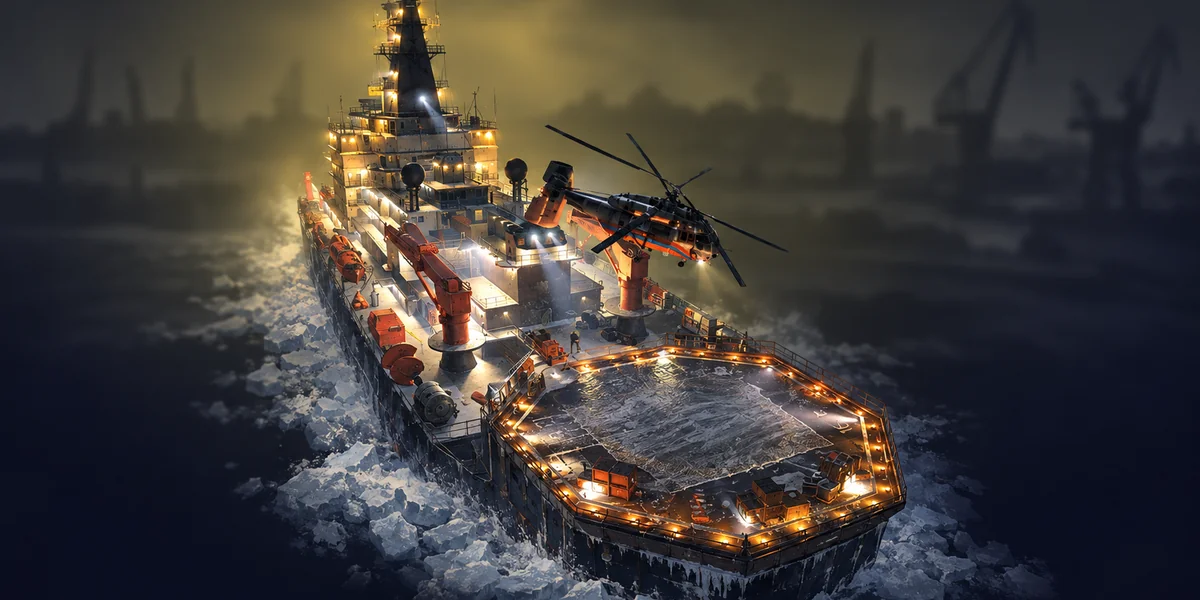
Icebreaker is the thirteenth map added to the game. It is the nuclear-powered icebreaker Boreas, owned by Paradigm Shipping, in the Gulf of Finland. Raids last 50 minutes. Enemies include Black Division, Rogues, The Wedge, and Knight. The Wedge is on level 3 in the gym with 3-6 heavily armed guards, while Knight is on level 0 with 2 Rogue guards.
- Use the intercom on the Icebreaker’s level 1, on the ship’s east side, to speak with the scientist.
- Obtain the Boreas engine room keycard in the medical room at the center of level 1, beside an engineer’s body.
- Access the engine room: head to the east side of level 0 and locate the secured door that has a keycard reader beside the control room, then use the stairs up to level 1, break the seals on the doors, go in, and descend to level -2. Black Division operatives come out of the catwalk doors once you are halfway through the engine room.
- Reach the damaged chained door: go toward the extraction zone, then instead go two levels down, around the helipad, to the side of the ship, and up to level 3. Black Division waits on and under the helipad; opening the chained door asks for an explosive and unlocks Stick to It.
- Ask Mechanic and Prapor about explosives, then buy the SZ-1 explosive charge at Prapor LL1 and use it on the chain.
- Enter the crew quarters from the engine-room roof. The Wedge and his guards are inside, and a teargas tripwire sits at the entrance. After killing The Wedge, go to level 5, exit the quarters, take the stairs, and find the code-locked door to the upper decks.
- Obtain the code: question the scientist via the intercom, request the second part from Mechanic, and place the Local network hacking device inside The Lab’s first-floor server room. This objective auto-completes if you already planted the device during Blue Fire. Return to Mechanic afterward.
- Use the code 3-1-2-2-2-0 on the keypad. The code is the same every raid and the same for every exterior door in the zone.
- Locate Compartment C-1 on level 7 next to the exit; it needs the Compartment C-1 keycard. Go to the bridge on level 9, thaw the frozen hatch on its roof with the BBQ-S43 gas torch found on level 3 in the kitchen where The Wedge appears, and rescue the captain. The C-1 keycard can be retrieved from the captain’s body.
- Search Compartment C-1: hard drive (3) is on the left shelves, hard drive (1) is under the desk on the PC blocks, and hard drive (2) is on top of the floor servers. Hand the 3 hard drives to Mechanic.
Mechanic’s tech handovers
- Ultralink satellite communication modules: hand over 3 found in raid. They spawn in the helipad command room, server room C-1, and behind locked doors.
- Memento Server RAM modules: hand over 4 found in raid. They spawn in server room C-1, general electronics spawns, on the engineer’s corpse, and on the lower level occupied by Rogues.
- IBX Gigachad cryptographic processors: hand over 2 found in raid. They spawn on the lower floor of the engine room and in the locker room before the Black Division landing cutscene.
Evacuation tasks and rewards
- Assist the smugglers: complete the quest Hangover.
- Eliminate 20 targets on the icebreaker.
- Hand over 5 respirators: any Respirator, Gentex Ops-Core SOTR, GP-5, GP-7, or Avon M53A1 gas mask counts.
- Give 2 ballistic plates of class 5 or above that fit the Kirasa-N body armor.
- Hand over the Kirasa-N body armor.
Inform the scientist that everything is ready, then ask the BTR Driver how the rescue went. The chapter rewards +160,000 EXP and 1x Compartment C-3 keycard.

Escape from Tarkov Icebreaker guide: fastest unlock route
The fastest route in this Escape from Tarkov Icebreaker guide is to shorten each transport branch as much as your quest progress allows.
- Use the Intelligence Center level 3 radio to skip the poster search.
- Repair the Woods equipment with a Toolset.
- Read the Paradigm Shipping directive at the Lighthouse freight yard warehouse.
- Finish Prapor’s Falling Skies-dependent branch and hand over the AMG-10 fluid.
- Use the BTR Driver branch that matches your completed quests. After completing The Price of Independence, go back to the Hideout, speak with the BTR Driver once more, and then let Mechanic know you have found transport.
- Carry the Sudak-Tudak marine repair kit and a green flare to the hovercraft.

Estimated completion times
| Stage | Estimate |
| Poster search | 1–3 raids |
| Woods equipment repair | 1 raid |
| Lighthouse directive | 1–2 raids |
| Infill unlock | 2–5 raids |
| Exfill unlock | 2–6 raids |
These estimates depend on loot RNG, raid traffic, and Flea Market prices.
Loadout and survival tips
- Use red dot sights: Icebreaker’s hallways and interiors are tight, so most players prefer them over magnified optics.
- Use smoke: Black Division AI has trouble seeing through dense smoke, and the bosses cannot see through smoke either.
- Bring gas protection: Black Division operatives often spawn with gas masks, so loot and use them; some areas have radiation exposure zones, so carry healing supplies.
- Lower volumetric lighting: high settings create glare around the helipad and interior lights.
- Watch the raid timer during transitions: cutscenes do not pause it, so reposition as soon as control returns.


See also: Escape from Tarkov Smugglers event Guide

Frequently Asked Questions
Do you need both the Prapor and BTR Driver transport steps?
Yes. Prapor’s transport branch leads into the BTR Driver objectives, and you then tell Mechanic you found transport before boarding the hovercraft.
How long is an Icebreaker raid?
50 minutes.
Do you have to speak to the scientist every raid?
No. You only need to talk to the scientist when a quest requires it; the engine room keycard must be looted each raid because it cannot be stored in a secure container.