Yes — you can solo the Labyrinth of Kindo'jan Tier 11 challenge in Midnight Season 2, and the fight is mostly about patience and clean mechanic handling, not raw damage or healing output. The Kindo'jan solo achievement on Tier 11 is Let Me Solo Him: Kindo'jan, which awards the Loa-Blessed Wayfarer mount.
Page updates
October 22, 2026
- Solo achievements and the Fabled window: Fabled Let Me Solo Him: Kindo'jan: this is the same Tier 11 solo kill within a restricted period; players can obtain it through weekly maintenance in the week of October 27, since the period got extended.
- Last-chance Tier 11 tips: Book one session: progress resets if you leave the delve between chambers.
What you need before you start
Opening the Speaker's Chamber for the first time takes a full nine-chamber run on Tier 8 or higher in a single session. After that door has been unlocked, later runs do not need all nine chambers — you need only a route cleared to Akil'zon's Roost, where the Speaker's Chamber entrance sits.
If you leave the delve, your chamber progress does not carry over to the next run, so set aside enough time for a full clear. You can log out safely for short periods during a run.
Tier 11 is tuned around item level 309. The Labyrinth has 11 difficulty levels, the same as regular Delves.
Recommended item level by tier:
| Tier | Recommended item level |
| 1 | 170 |
| 2 | 187 |
| 3 | 200 |
| 4 | 259 |
| 5 | 268 |
| 6 | 275 |
| 7 | 281 |
| 8 | 290 |
| 9 | 296 |
| 10 | 303 |
| 11 | 309 |
Unlocking the Labyrinth
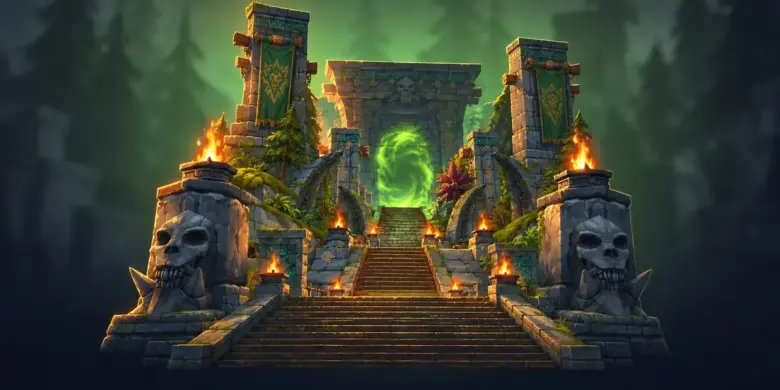
The Labyrinth sits north of the Amani Pass in Eversong Woods. Progress the campaign and take “The Long Way Around”, which leads to Liadrin above Thresh Cove, or travel to Tokka's Landing on the Coiled Isle and take “The Labyrinth” from Kul'amara the Fierce. Then pick up “Dangers Untold and Hardships Unnumbered” from Valeera Sanguinar at the entrance.
After you finish the Chamber of Rites, talk to Kinduru the spirit guide so the other chambers become available. The first run is a tutorial that ends after the opening chambers, and the full Labyrinth then unlocks Warband-wide. Kindo'jan himself is only available on Tier 8 and higher.
Solo achievements and the Fabled window
- Let Me Solo Him: Kindo'jan: defeat Kindo'jan solo on Tier 11 during Midnight Season 2; awards the Loa-Blessed Wayfarer mount.
- Fabled Let Me Solo Him: Kindo'jan: this is the same Tier 11 solo kill within a restricted period; players can obtain it through weekly maintenance in the week of October 27, since the period got extended. It awards the Fabled Vanquisher of Kindo'jan title, and the Loa-Blessed Victory toy shows your exact placement.
- The Labyrinth of Kindo'jan: One-Champion Army: after clearing all nine chambers, beat Kindo'jan alone at Tier 11 with no deaths in Season 2; doing so awards the Lone Raider title.
- The First Hash'ey: defeat Kindo'jan inside the Labyrinth; awards the Loa-Blessed title.
- Whose Labyrinth?: complete nine chambers in a single run on Tier 11.
Patch timing by region
Patch 12.1.5 went live with weekly maintenance, dated October 13 in the US announcement and October 14 in the EU announcement. Plan around your own region's maintenance rather than a single global date.
Chamber route
You visit some or all of these chambers in a run:
- Chamber of Rites: the entryway.
- The Reliquary: the southwest chamber, where safeguarded treasures lie.
- Halazzi's Lair: the western chamber, where rituals often occur.
- The Central Chamber: the hub with access to most other chambers.
- The Catacombs: the southeast chamber.
- The Cave Towers: the eastern chamber of trials.
- Akil'zon's Roost: the chamber to the north; on higher tiers it also contains the way into the Speaker's Chamber.
- Jan'alai's Refuge: the northwest chamber.
- Nalorakk's Rest: the northeast chamber.
Your second chamber is always a choice between the Reliquary and the Catacombs, which opens the Central Chamber and from there everything else. You cannot unlock another chamber until you clear the current one, so plan the path toward Akil'zon's Roost.
Objectives rotate between runs, so not every chamber plays the same way twice. Each chamber you clear adds to your final reward count, and three chambers together are worth roughly one normal Midnight delve.
How the Kindo'jan fight flows
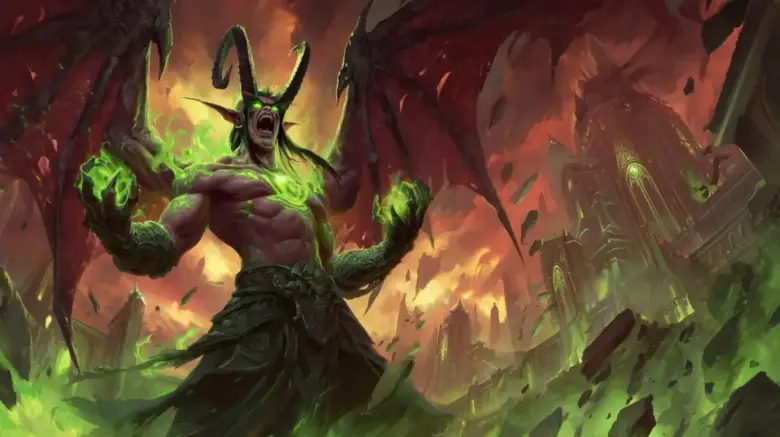
He cycles through his own abilities for roughly 90 seconds, then withdraws and calls the earlier loa speakers to channel their powers one after another. When he returns he combines his own abilities with the loa mechanics in random order, sometimes overlapping them, and teleports to different corners of the platform, each corner tied to a loa ability.
He enrages after more than 10 minutes in combat, so the real risk is the instant-death debuff, not the timer.
Mechanics to handle
- Disgraceful Display: every avoidable mechanic you fail adds a stack, and reaching three stacks within five minutes kills you instantly — tanks get no exemption.
- Eruption of Mojo: dodge the ground circles, and note that each cast also leaves an Erratic Mojo puddle where you were standing that stays for the rest of the fight.
- Hash'ey's Command: four Amani Headhunters spawn and cast Axe Barrage circles; you do not have to kill them, but the damage can overwhelm you.
- Whirling Axes: four circles of axes travel across the platform and return to where they started.
- Crushing Blow: a melee slam that spawns an Amani Juggernaut in the middle of the platform, which knocks you back with Phalanx Charge and cuts its damage taken with Amani Aegis; kill it fast and interrupt the Aegis.
- De Rising Storm: Akil'zon's avatar appears at the room's centre and pushes you toward the edge, with small safe spots to stand in.
- Gambit in de Shadows: four shadows pin Valeera and only one is genuine; keep the real one's line away from her or she is incapacitated immediately.
- Ursine Rampage: Nalorakk's images charge across the platform, so stand in the gaps.
- Cleansing Flame: two sigils must be soaked, and Valeera always takes one and pings the one she is going for.
Positioning and tactics
Drop your Eruption of Mojo circles near the front and sides of the room so you keep space to move for the other mechanics. Stay close to Kindo'jan until the Whirling Axes spawn, then run to the centre to kill the Headhunters.
Stand where Phalanx Charge will not push you off the platform — the knock-back covers just under half of the room's length. Interrupt Amani Aegis, or the adds take far longer to kill.
The worst overlaps pair an Amani Juggernaut with a loa mechanic; aim the knock-back so it lands you in the soak you need. Hold Heroism or Bloodlust for the later phase so you spend less time juggling both sets of mechanics.
Valeera, curios and Hexmasks
- Valeera's role: run her as Healer to keep yourself healthy or as DPS so she interrupts Amani Aegis — there is no deadly missed interrupt or dispel here, so pick what you prefer.
- Best damage curio: Corrosive Bilespear, with Ouroboric Curse as a weaker alternative.
- Best utility curio: Soul-Cracking Dreamcatcher; no other option is useful for this encounter.
- Best poisons curio: Bursting Toad Toxin.
- Corrosive powers: Ula'tek's Gift, paired with Insidious Venom if you have a second, for the most damage.
- Hexmasks: three spawn per run from Labyrinth Journey rank 2 and follow you for the rest of the run, one snaring with Frost Nova, one channelling a ramping Fire beam, one bouncing Chain Lightning between up to four enemies.
- Chest boons: loot as many chests and curiosities as you can before the fight to stack run-long buffs.
- Spirit Conduits: their loa powers can no longer be used during Kindo'jan's fight.
Kindo'jan's rewards
Inside every Ancestral Bounty chest you get 10 Hero Mistcrests, 10 Myth Mistcrests, one extra Heroic Soul Fragment, one random rank 5 curio you do not own yet, 2 Corrosive Souls, 500 Labyrinth Journey progress and 300 Delve Journey progress. The first kill also grants the Loa-Blessed Victory toy, and a solo Tier 11 kill adds the Loa-Blessed Wayfarer mount.
Last-chance Tier 11 tips
- Book one session: progress resets if you leave the delve between chambers.
- Grab Hexmasks and chest boons before you open the Speaker's Chamber, since they persist for the whole run.
- Just beyond the door, a spectral Altar of Corrosion and a waystone allow last-minute adjustments.
- If you decide not to finish, talk to Kinduru outside Kindo'jan's room and end the run to claim your other rewards. You can also leave from the antechamber by speaking to Kinduru there.
Labyrinth chests and Great Vault credit
Chambers cleared decide how many chests you can redeem.
Chest rewards by chambers cleared:
| Chambers cleared | Rewards |
| 1 | 1 Heavy Trunk |
| 2 | 2 Heavy Trunks |
| 3 | 2 Heavy Trunks and 1 Bountiful Coffer |
| 4 | 3 Heavy Trunks and 1 Bountiful Coffer |
| 5 | 4 Heavy Trunks and 1 Bountiful Coffer |
| 6 | 4 Heavy Trunks and 2 Bountiful Coffers |
| 7 | 5 Heavy Trunks and 2 Bountiful Coffers |
| 8 | 6 Heavy Trunks and 2 Bountiful Coffers |
| 9 | 6 Heavy Trunks and 3 Bountiful Coffers |
Bountiful Coffers inside the Labyrinth need Bountiful Coffer Keys to open, and each one contains a Heroic Soul Fragment. Three Heroic Soul Fragments combine into a random 2/6 Hero-track item at item level 308. Three Mythical Soul Fragments combine into a Venerated Loa Armament, which lets you choose a 1/6 Myth-track armor piece at item level 318; the Labyrinth offers only a limited number.
Most of the Labyrinth's cosmetic rewards sit in its 44 one-time Ancient Chests, and you can collect all of them once the Labyrinth Journey reaches rank 9.
Every three chambers counts as one Delve completion at the difficulty you chose, and killing Kindo'jan adds another, for four across a full run.
Season 2 progression
Reaching a Mythic+ rating of 3600 during Midnight Season 2 earns the Midnight Keystone Myth: Season 2 achievement, with the Venomous Contender title and Timelost Saddle.
Ascendant Venomstones became available after completing the “Ascending with Venomstones” quest. They drop from every Heroic and Mythic raid boss, Mythic+ Keystone dungeons at +10 or higher, Tier 11 Bountiful Delves, and Nightmare Prey Hunt Champion gear chests. Using ten near the Catalyst in Silvermoon City boosts the item level for a Season 2 Hero, Myth, or Tidal Crafted weapon, trinket, or necklace that is fully upgraded and at maximum quality.

Frequently Asked Questions
Do I have to clear all nine chambers to fight Kindo'jan?
Only the first time. The first kill needs all nine chambers on Tier 8 or higher in a single run; after that you need only a cleared route to Akil'zon's Roost.
Is the Labyrinth of Kindo'jan a Delve?
It is a Labyrinth, or mega-delve, built on the Delves system: nine chambers that count toward your Great Vault, with Kindo'jan as its final boss.
Who is my companion in the Labyrinth?
Valeera Sanguinar, who goes in with you the way a Delve companion does.
What do I get for soloing Kindo'jan on Tier 11?
The Loa-Blessed Wayfarer mount through Let Me Solo Him: Kindo'jan. If the kill falls inside the Fabled window, you also get Fabled Let Me Solo Him: Kindo'jan and its title.