Theater of Pain Dungeon — deathly green circles, dangerous trash mobs and great rewards
Huzzah! We gather again to learn more about the Theater of Pain – one of The War Within Season 2’s toughest challenges. It really is a pain dungeon full of pain, hope this quick guide spares you some frustration.
| Encounter | Key Abilities/Mechanics | Quick Tips |
|---|---|---|
| Three-Boss Fight | Necromantic Bolt, Withering Touch, Decaying Breath, Mortal Strike, Mighty Smash | Interrupt high-priority casts; balance health pools |
| Xav the Unfallen | Osive Banners, Deafening Crash, Massive Cleave, Crushing Slam, Blood and Glory, Brutal Combo | Drag Xav to banners; avoid duels if possible |
| Kul’tharok Boss | Well of Darkness, Death Spiral, Draw Soul, Necrotic Eruption | Spread out; group up adds for efficient AoE |
| Gorechop Boss | Meat Hooks, Tenderizing Smash, Hateful Strike | Dodge hooks; manage forced movement effectively |
| Mordretha the Endless Empress | Dark Devastation, Grasping Rift, Reaping Scythe, Manifest Death, Echoes of Carnage, Ghostly Combatants | Keep distance; use defensives for group-wide hits |
Alrighty, let’s talk trash! I mean the mobs, of course. Nothing too crazy here—one mob gets an Enrage that you can dispel, another is a caster that needs interrupts, but the main dude here is the Raging Bloodhorn. Your kill order should prioritize this guy since his Raging Tantrum isn’t just another Enrage—it also does a chunk of AoE damage over four seconds. If your group has a soothe, that needs to go on this guy ASAP to keep the incoming damage in check. Other than that, it’s just a quick clear that occurs fairly frequently before each main encounter.
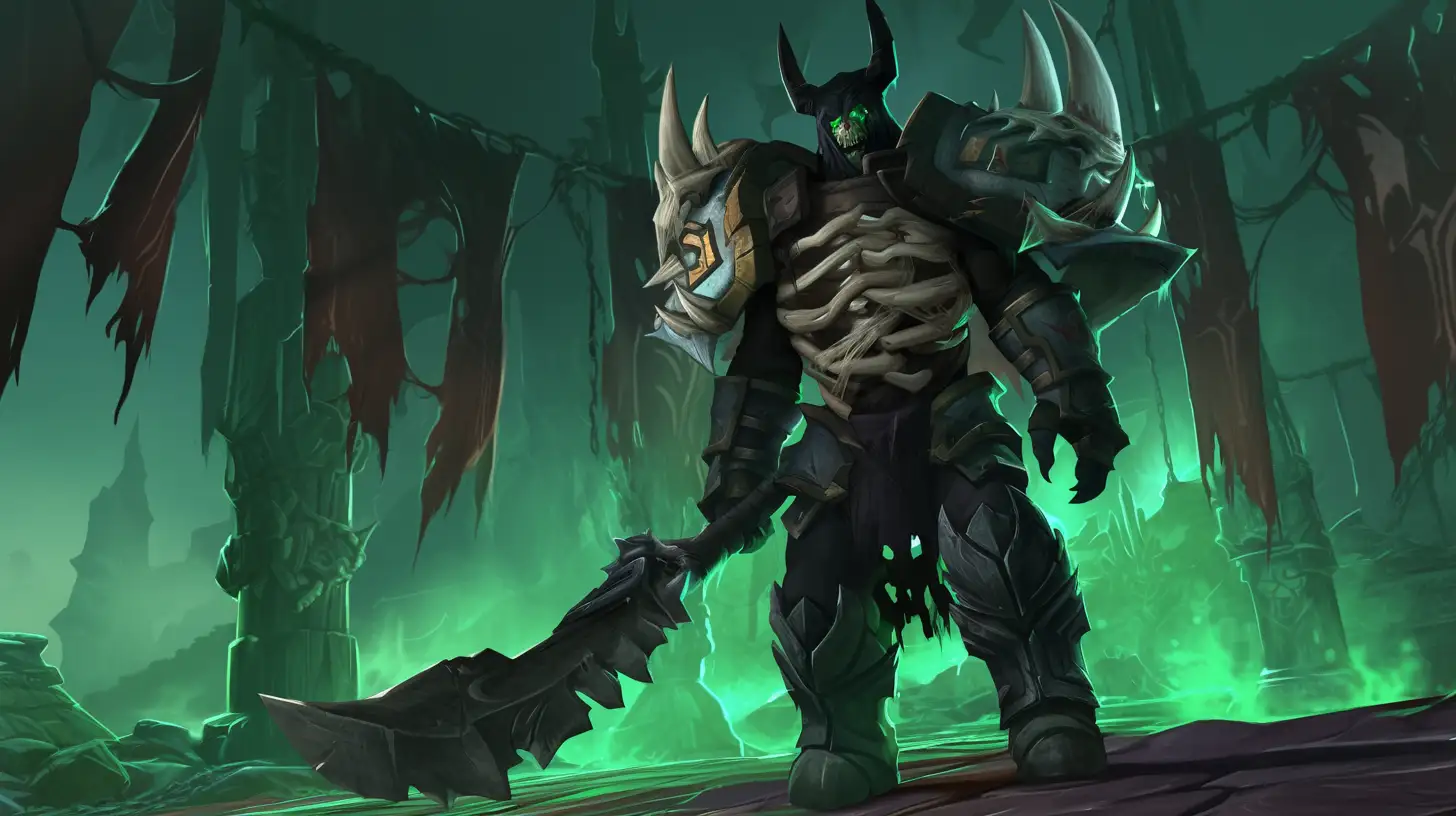
Affront of Challengers, Three-Boss Fight: Balancing the Health Pools
Now, before engaging the actual fight, perform a quick ready check to ensure everyone is set and on the same page. You’re dealing with three bosses at the same time, you have to try and keep their health somewhat even. Killing one of them too fast leads to the other bosses stacking Final Will, making their damage hit so much harder. Also, keep an eye on the arena’s edge—if you wander too close to the spectators, they’ll knock you back, and that’s just asking for trouble.
Sathel the Accursed
Prioritize kicking his Necrotic Bolt and save the tank some trouble. He also casts Withering Touch, a magic debuff on two players at once. Healers should cleanse one of the tanks quickly, then get to the second one. Once Sathel reaches full energy, he channels Searing Death, a DoT that affects everyone and splashes to players within three yards. Spread out to limit the splash, and if you’re already dealing with Withering Touch, consider using a defensive cooldown.
Paceran the Virulent
Look out for his Decaying Breath—it can be deadly if you’re caught off guard. When Paceran’s maxed, he casts Noxious Spores, creating green swirlies under each player multiple times over six seconds. The best approach is to group these puddles in one corner so you don’t lose all your safe ground. A simple way would be pulling him near the entrance, then slowly rotating around the arena to keep the floor clear.
Dessia the Decapitator
Tanks, brace yourselves for Mortal Strike, which hits hard and imposes a healing reduction for five seconds. If Sathel’s Necrotic Bolt happens at the same time, you’ll be under heavy pressure, so plan your defensives accordingly. Once Dessia’s energy tops out, she uses Mighty Smash, a large AoE that also slows anyone it hits. If you’re already juggling other damage sources, pop a defensive so you don’t get overwhelmed.
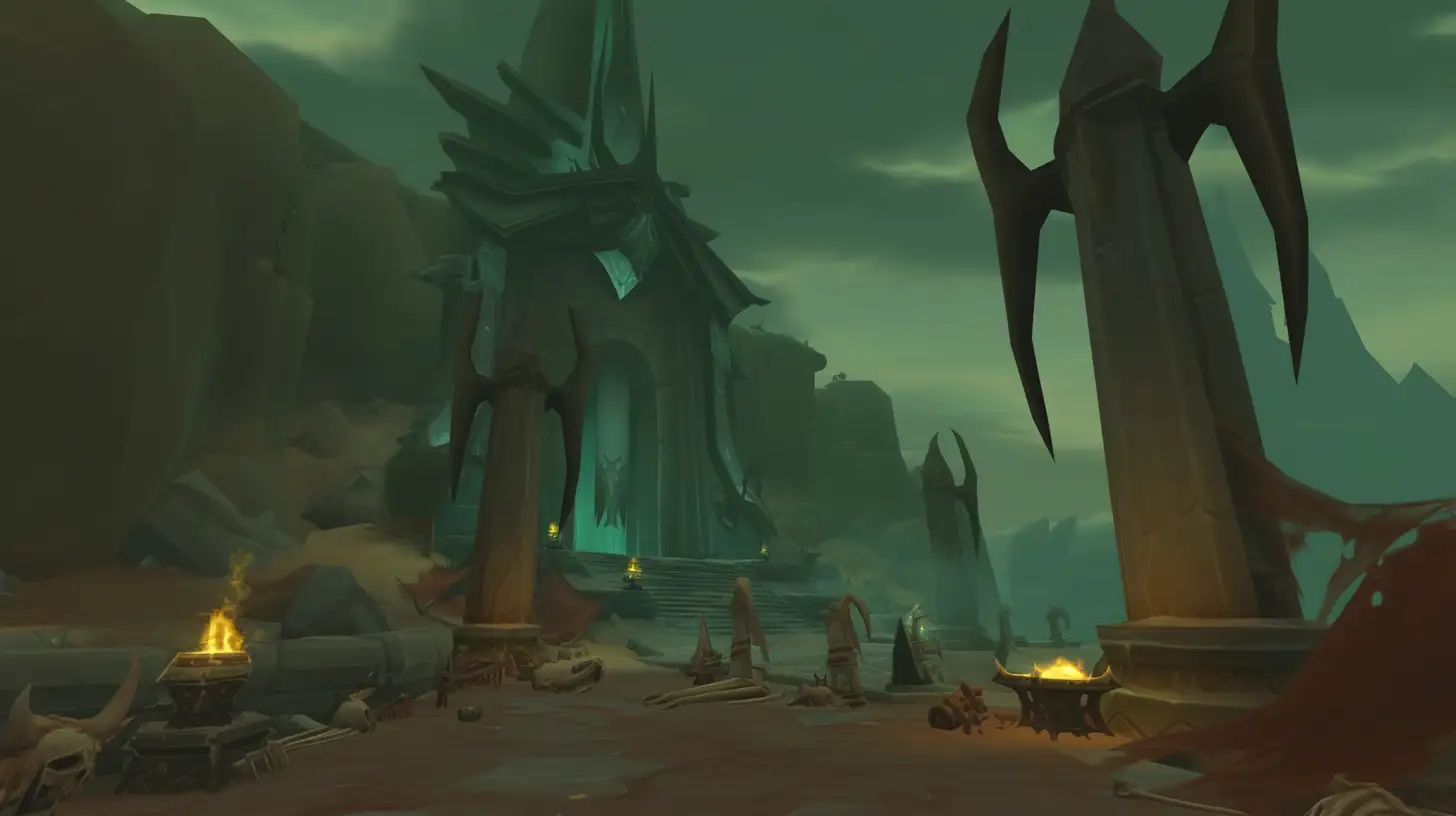
Xav the Unfallen: Trash & Boss Mechanics
Trash Mobs & Mini-Bosses
After defeating the Affront of Challengers, you’ll descend into one of three possible wings. The first route we’ll tackle is Xav the Unfallen’s domain, home to some of the most formidable trash packs from Theater of Pain.
- Ancient Captain stands out as one of the most dangerous trash mobs in this wing. Commanding Presence amplifies nearby allies’ damage while weakening your AoE potential, so make sure to focus it down first. Keep an eye on Demoralizing Shout—if left uninterrupted, it imposes a damaging reduction across your entire party.
- You’ll stumble upon three pairs of mini-bosses engaged in combat. Their victor is chosen at random when you arrive, so the final trio you fight varies each run. Both Harugia the Bloodthirsty and Advent Nevermore use Ricocheting Blade, a random-target ability that deals physical damage and applies a bleed to anyone within five yards of the victim. If you get hit, pop a defensive or cleanse the bleed if you can. Positioning them near the stairs helps line-of-sight the cast and avoid taking unnecessary damage.
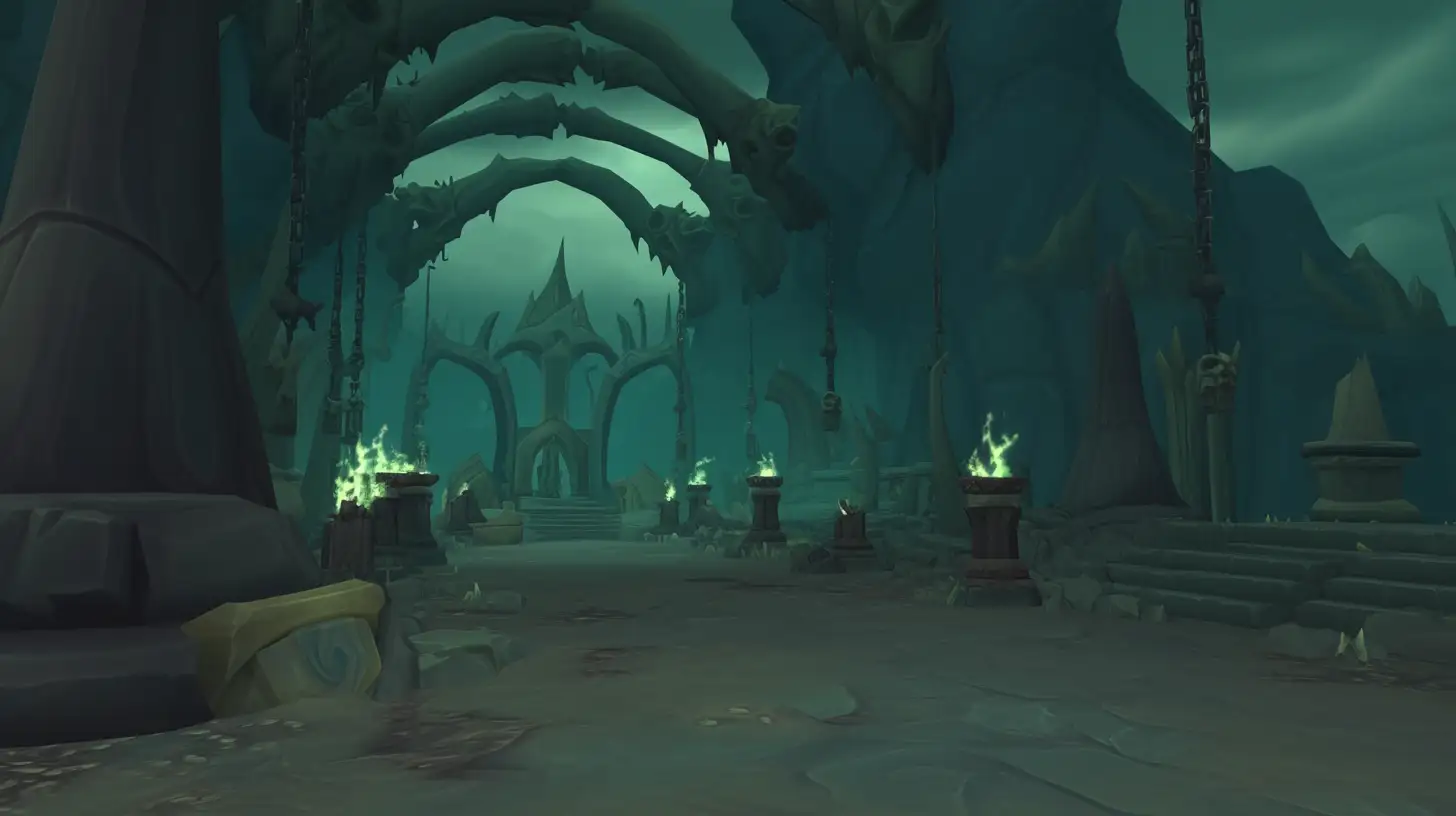
Xav the Unfallen Boss guide
Xav the Unfallen Loot Table
| Type | Item |
|---|---|
| Leather Legs | Fearless Challenger’s Leggings |
| Mail Chest | Triumphant Combatant’s Chainmail |
| Plate Wrists | Pit Fighter’s Wristguards |
| 1H Mace | Gorebound Predator’s Gavel |
| Polearm | Xav’s Pike of Authority |
| Dagger | Fleshcrafter’s Knife |
| 1H Axe | Gorestained Cleaver |
Once the mini-bosses are taken care of, you’ll face Xav the Unfallen himself. Throughout the encounter, he summons Oppressive Banners, each imposing a 15% slow on the group until they’re destroyed. Keep your mobility intact by dragging Xav onto these banners and cleaving them down immediately.
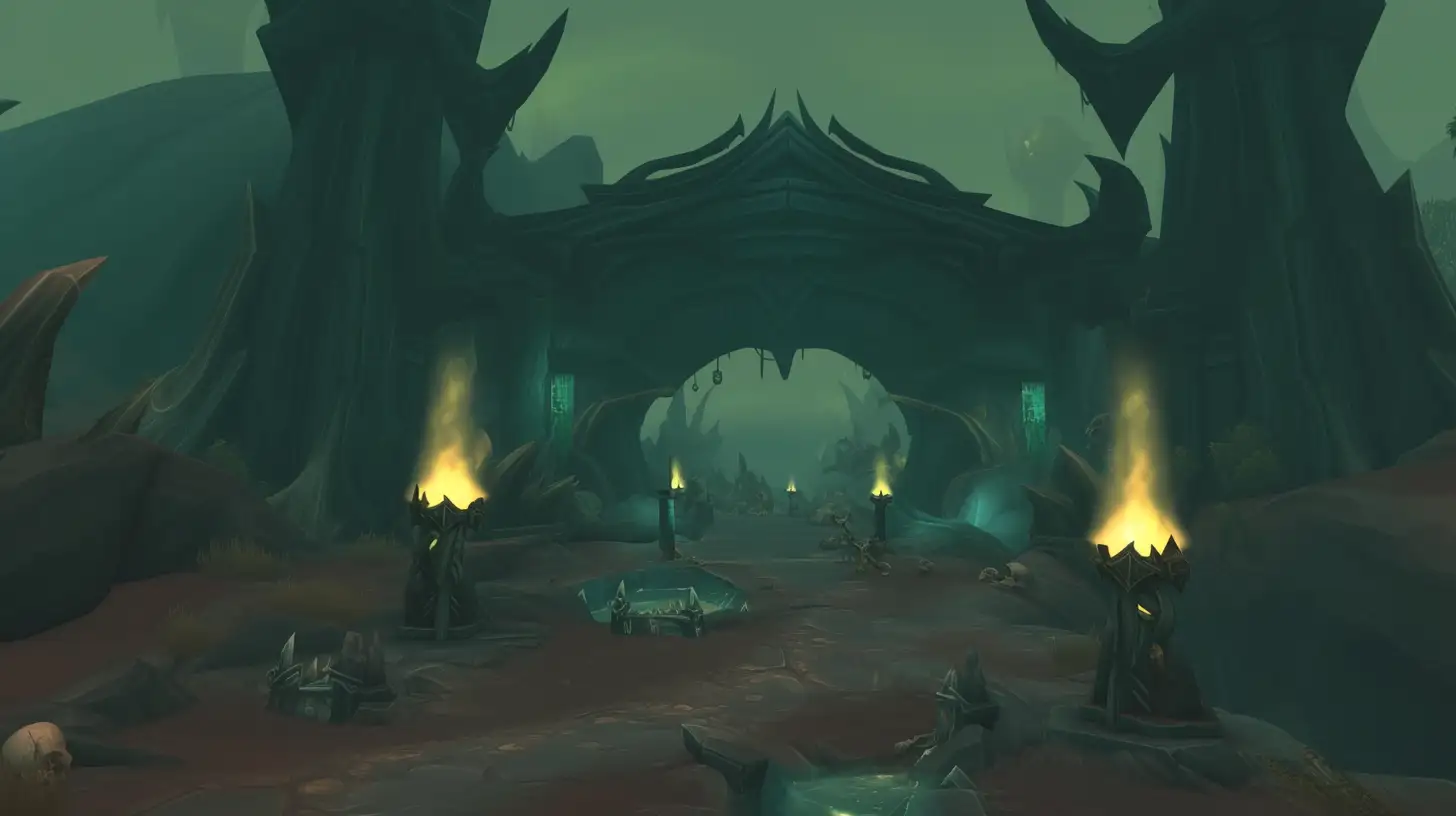
When Xav triggers Might of Maldraxxus, he jumps to the center, hitting the party before launching into three possible abilities:
- Deafening Crash – A 12-yard AoE that also interrupts ongoing casts.
- Massive Cleave – A broad frontal strike covering roughly half the arena.
- Crushing Slam – A line attack targeting a random player.
All three deal significant damage if you fail to dodge. Additionally, Phantasmal Parasite occasionally afflicts a random player, dramatically boosting the damage they take until dispelled—make sure someone is ready to cleanse it.
At 100 energy, Xav uses Blood and Glory, dropping two DPS into a pit for a 1v1 duel. The winner gains a 10% damage boost, while the loser suffers a 10% penalty. If one duelist has major cooldowns ready, the other might concede quickly, but generally you’ll want to end the duel fast and refocus on Xav.
Meanwhile, tanks face Brutal Combo, a channeled barrage of heavy hits. Keep a defensive on standby to avoid being caught off-guard.
Kul’tharok Wing: Platform Traversal & Mob Priorities
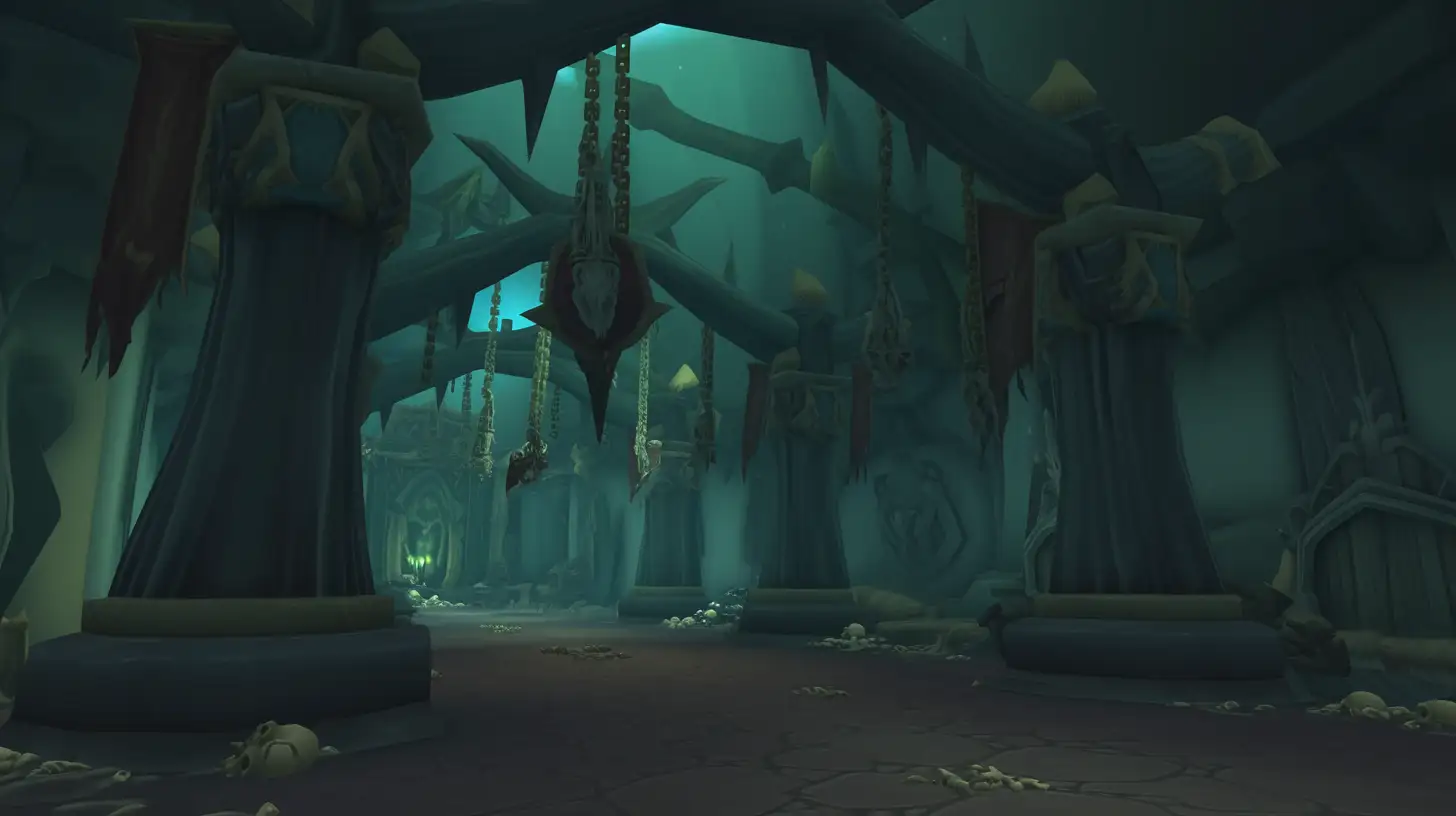
Next up, we’re heading into the Kul’tharok Wing, where you’ll be jumping around via Shadowy Gates. Two of them actually give you a choice—you can go left or right by dropping a Shadowy Orb on the side you want to travel toward. These orbs always drop from Portal Guardian mobs, don’t forget to pick them up.
As for which direction to take? IMHO, go right. Always go right.
Mobs to watch out for:
- Shackled Souls – These guys only have one ability, but it’s annoying. Bind Soul picks a random target and deals Shadow damage over time. Kick or crowd control these suckers.
- Portal Guardians – These hit hard with Soulstorm, a big Shadow damage ability. Healers, be ready for it. They also have an additional ability Shadow Vulnerability, increasing Shadow damage taken. If you get hit with this and can’t dispel it, pop a defensive before Soulstorm goes off.
- Next up, Bone Maguses. These guys start with Bone Shield, which absorbs 50% of their health, so if you’ve got a purge or spellsteal, use it ASAP to wipe out half their HP instantly. Other than that, they’ll spam cast at random party members, but the real danger is Bone Spear. You have to kick every Bone Spear—no exceptions. If you’ve got extra interrupts, throw them at their other casts.
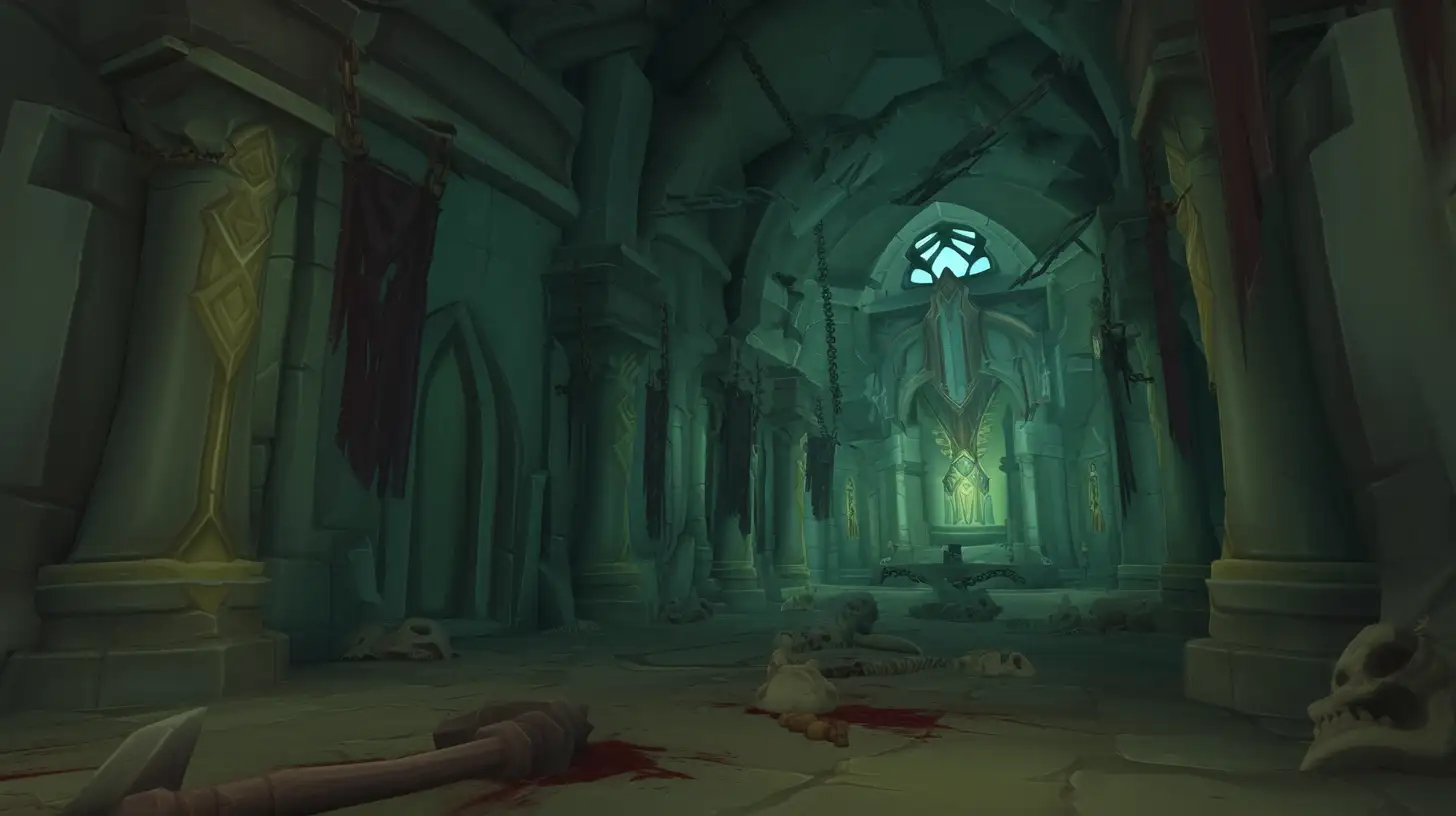
- Maniacal Soulbinders are another random-target caster here, and their Necrotic Bolt Volley is a must-kick. Once that’s handled, spare kicks can go to their regular Necrotic Bolt to keep the tank from getting shredded.
- Soulforged Bonereaver is the mini-boss in this area. He floods the ground with three-yard circles, so step out of those fast. When he starts spinning and zooming in random directions in Bonestorm, don’t try to be a hero—just give him some space.
- Then there’s the Nefarious Darkspeaker, another Lieutenant mob. This guy mostly spams casts into the tank, so if you’ve got spare kicks, use them on Spirit Frost—but remember, Bone Magus and Soulbinder are higher priority. He also has Death Winds, a nasty line attack with a strong knockback, and since you’re fighting on a tiny platform, getting hit means you’re taking a one-way trip off the edge. Lastly, he throws out Curse of Desolation, which makes you drop three-yard circles under you every few seconds. If you have a curse dispel, use it to keep the platform from turning into a minefield.
Kul’tharok Boss Fight
| Type | Item |
|---|---|
| Ring | Ritual Bone Band |
| Trinket | Soulletting Ruby |
| Cloth Chest | Soulsewn Vestments |
| Leather Waist | Girdle of Shattered Dreams |
| Mail Feet | Boots of Shuddering Matter |
Entering the Arena
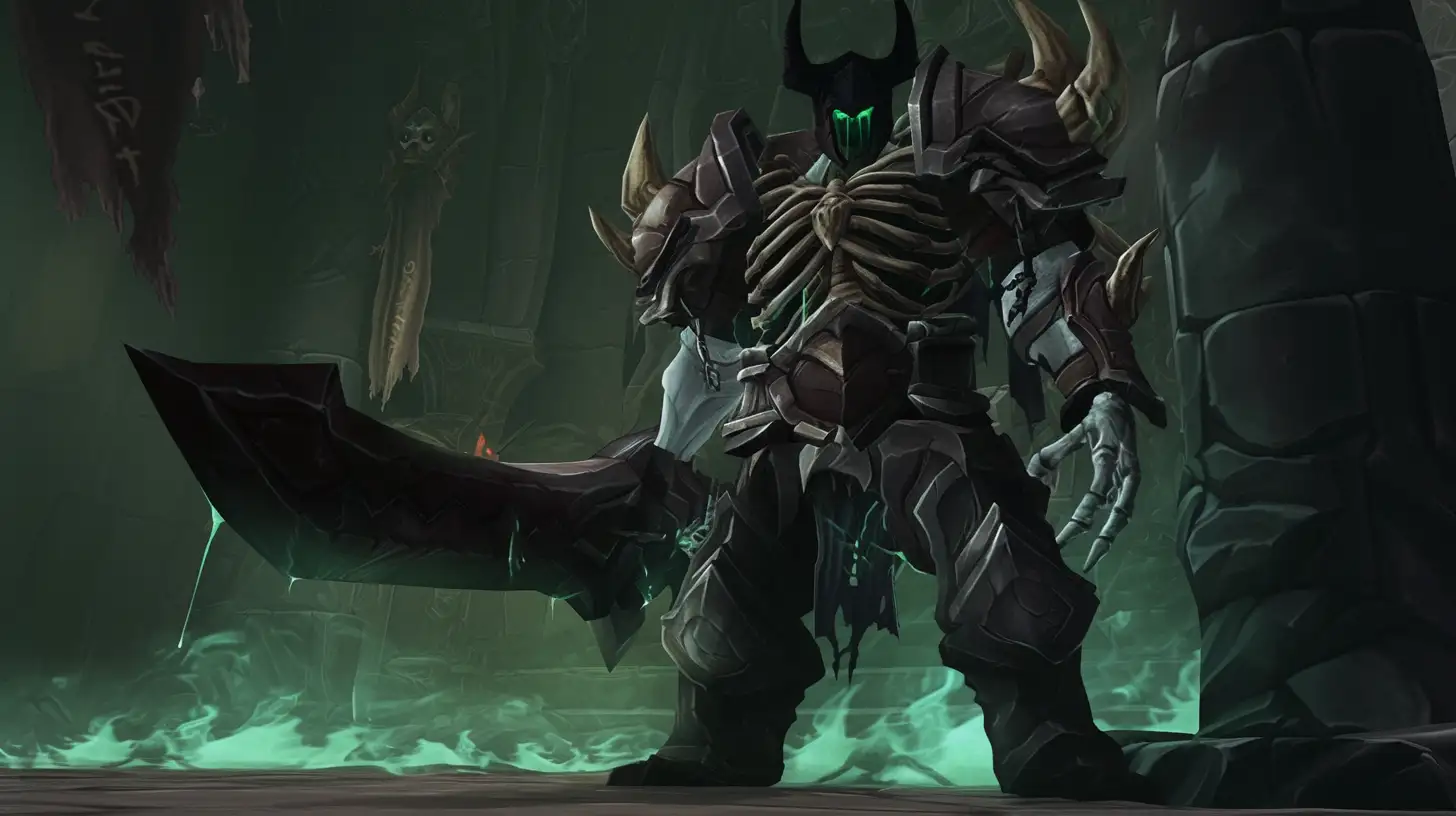
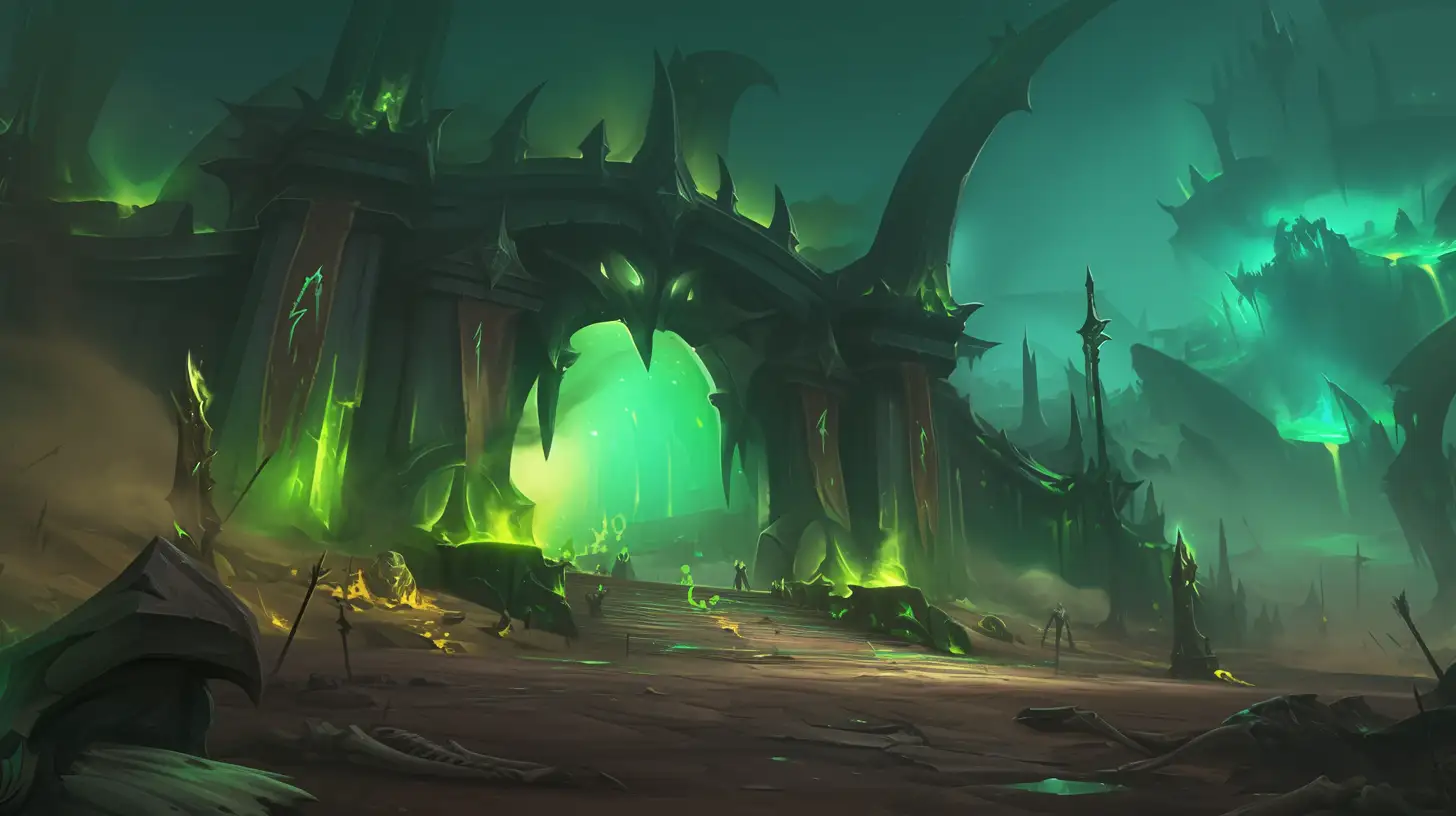
After hopping between multiple platforms, you’ll arrive at Kul’tharok—now featuring a few new surprises. He’s anchored at the center of the room, but don’t get too close—there’s a nasty puddle beneath him that inflicts heavy damage if you step in it.
Well of Darkness
Throughout the encounter, two random players get marked with Well of Darkness, a DoT that also affects anyone within four yards. This is Kul’tharok’s primary threat, so if you’re chosen, use a defensive cooldown or risk being overwhelmed.
Death Spiral
To keep everyone moving, Death Spiral summons rotating orbs that punish any player who touches them. Ranged should hang near the outer edges to maximize dodge time, while melee need to dip in and out of range as the orbs travel near the center.
Draw Soul
When Kul’tharok hits full energy, he channels Draw Soul, which inflicts ticking damage on the entire group for eight seconds. Once the cast ends, every player spawns a Lost Soul NPC add at their location. If these adds make it back to Kul’tharok, they’ll explode for substantial Shadow damage. To manage them safely, group up near the edge, lock them down with crowd control, and burn them with AoE.
Key Role Tips
- Healers – Draw Soul causes the most intense group damage; have your cooldowns ready, and keep a close eye on anyone marked by Well of Darkness.
- DPS – Make sure to interrupt Necrotic Bolts to minimize party-wide damage.
- Tanks – Use a defensive cooldown when Necrotic Eruption is active, and always aim line attacks away from the group.
Gorechop Wing: Disease Mechanics & AoE Threats
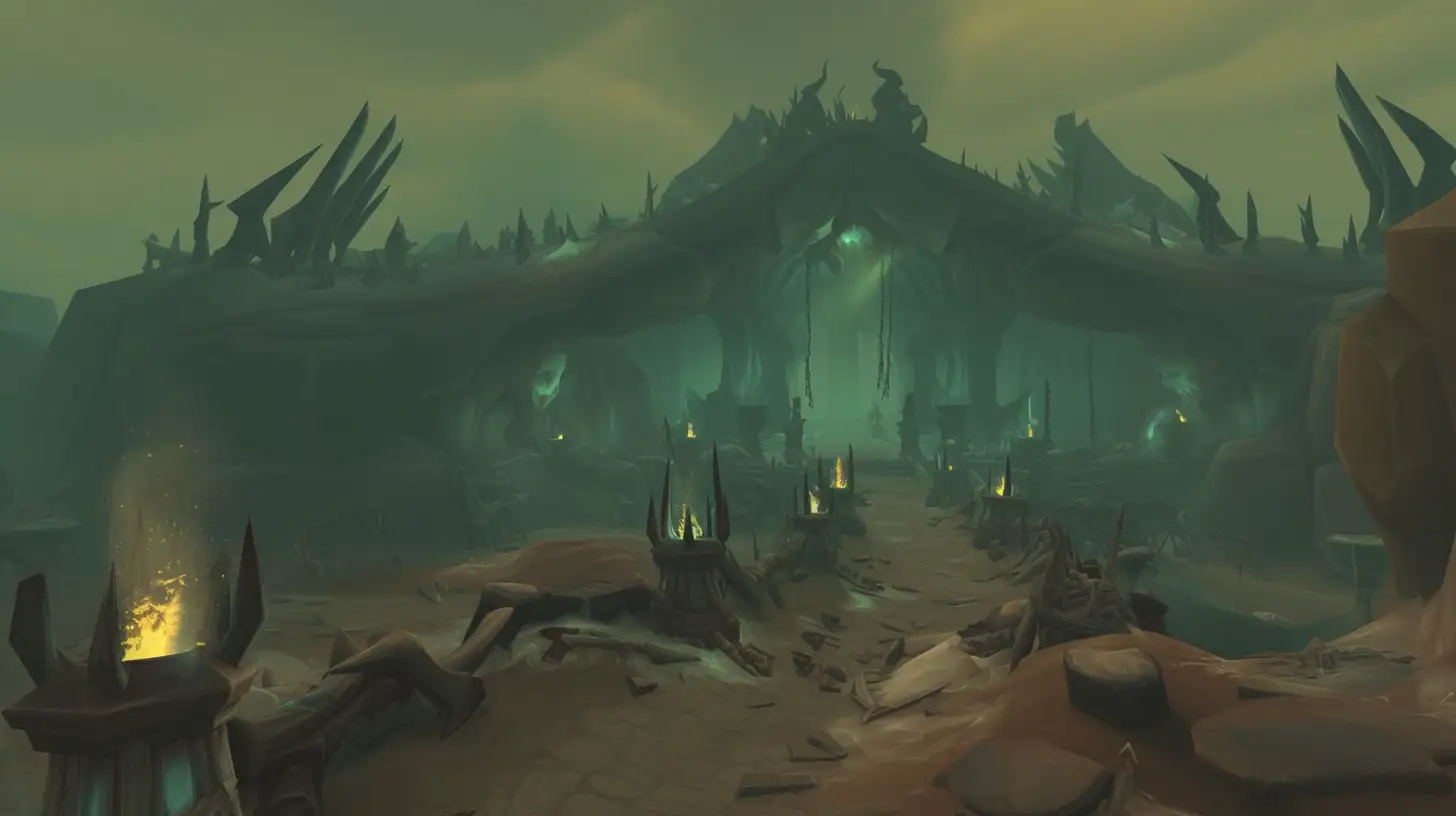
Welcome to the final wing, where things really turn disease-heavy.
Diseased Horrors — These mobs primarily target the tank with Decaying Strike—a potent mixed-damage hit that also applies a debuff reducing maximum health. A reliable disease dispel is essential in this area, and you’ll want to activate a defensive cooldown if you get hit. They occasionally channel a healing ability as well, so interrupt or crowd-control their meat shield cast whenever possible.
- Blighted Sludge-Spewers — Make these your top interrupt priority. Their Withering Discharge is an AoE ability that hits everyone and applies a debuff that cuts both damage and healing by 20%. Every wave of Withering Discharge must be interrupted. Once that’s secured, use any remaining interrupts on their Decaying Filth—a random-target disease attack. Additionally, these mobs might leap toward players with a 4-yard AoE, so keep the group spread out to minimize extra damage.
- Disgusting Refuse — Operating in a similar fashion to the Sludge-Spewers—with the same leap attack—these mobs drop green circles upon death that impose a 20% reduction in damage and healing. Steer clear of these puddles at all costs.
- Putrid Butcher — This tank-type mob employs Devour Flesh, a heavy-hitting ability aimed at the tank that also heals the mob for 300% of the damage dealt. Be sure to pop a defensive cooldown when this ability is coming up to limit the healing you inadvertently provide.
- Rancid Gasbags — These Lieutenant mobs are among the big threats in this area. They deal passive damage to the entire group every two seconds, so healers need to be extra cautious. Their signature move, Vile Eruption, is a frontal attack targeting a random player and releases a cone-shaped blast behind them—delivering heavy damage and disorienting anyone caught for three seconds. Moreover, they sometimes spawn hazardous circles beneath random party members, so staying mobile is crucial to avoid being hit.
Gorechop Boss Fight
| Type | Item |
|---|---|
| Ring | Fleshfused Circle |
| Trinket | Viscera of Coalesced Hatred |
| Cloth Hands | Contaminated Gauze Wristwraps |
| Mail Hands | Grips of Overwhelming Beatings |
| Plate Chest | Abdominal Securing Chestguard |
In the final wing, you’ll face Gorechop—a fight defined by his deadly Meat Hooks. These hooks sweep into the arena from both sides in two distinct waves. During the first wave, only two narrow safe zones remain, while the second wave leaves the majority of the floor unoccupied. These hooks don’t just pack a serious punch and apply Jagged Gash, they also drag any caught players across the room. Make sure to time your movements to avoid the extra damage.
Gorechop also calls in two Oozing Leftovers with his hooks. These smelly jellies gradually die off on their own and leap attack similar to earlier trash. It’s best to keep your group spread out or, if possible, lock these adds down in a corner. When they die, they leave behind Coagulating Ooze—a dangerous puddle. Coordinating your kills to group them can help clear safe space for dodging incoming hooks.
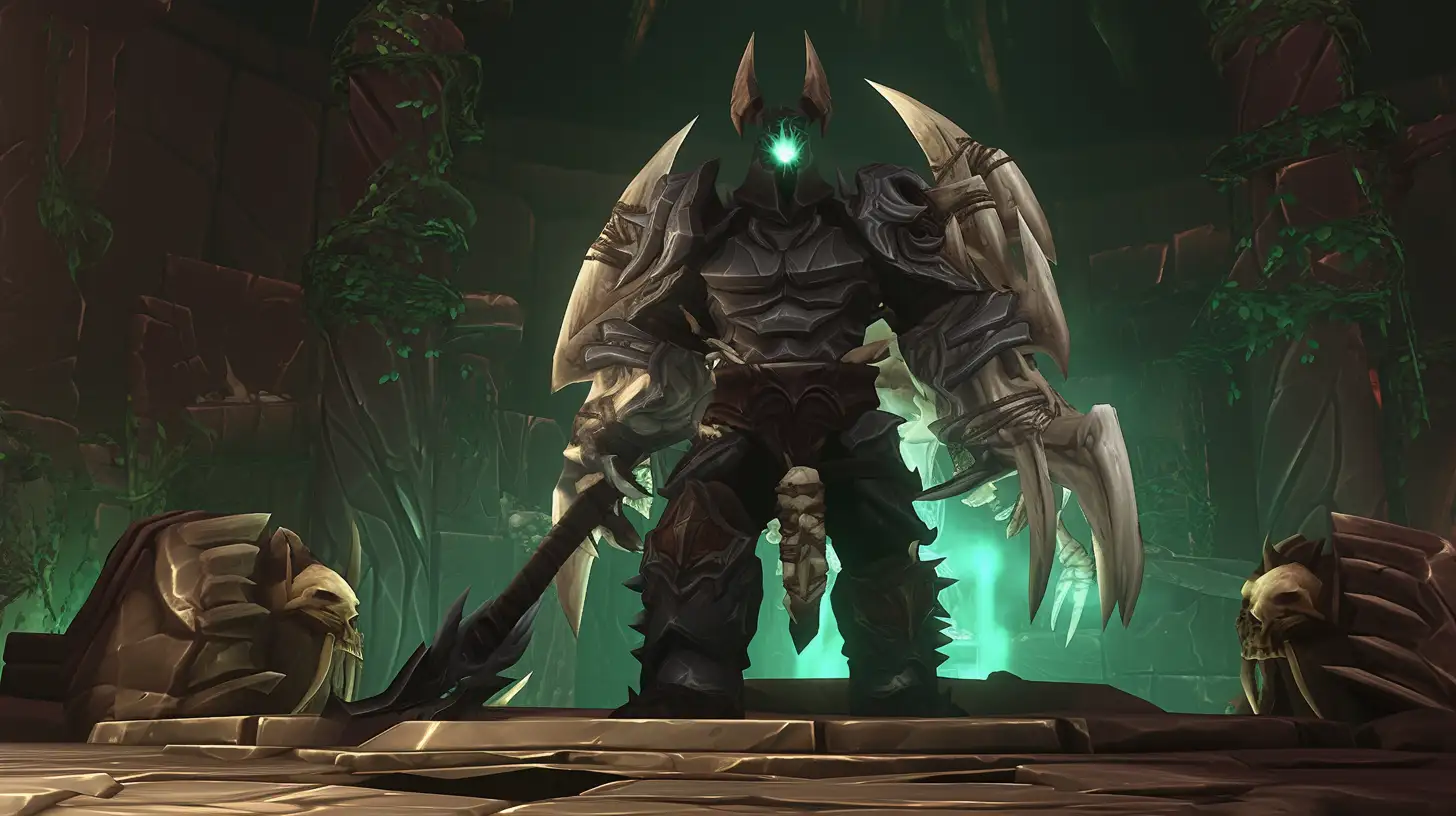
Another major threat is his Tenderizing Smash. This ability forcibly pulls all players toward Gorechop, and after a brief delay, unleashes a punishing AoE burst around him. Standing too far away won’t save you, as he’ll still reel you in. Avoid the AoE animation by any means needed.
Lastly, tanks must remain alert for Hateful Strike—a massive physical blow that demands a well-timed defensive cooldown. Keeping track of the hooks, add movements, and forced pulls is crucial to ultimately taking Gorechop down.
Mordretha the Endless Empress: Final Encounter Tactics
| Type | Item |
|---|---|
| Ring | Ring of Perpetual Conflict |
| Trinket | Grim Codex |
| Cloth Waist | Fallen Empress’s Cord |
| Leather Feet | Vanquished Usurper’s Footpads |
| Plate Shoulder | Unyielding Combatant’s Pauldrons |
| Shield | Barricade of the Endless Empire |
| Offhand | Deathwalker’s Promise |
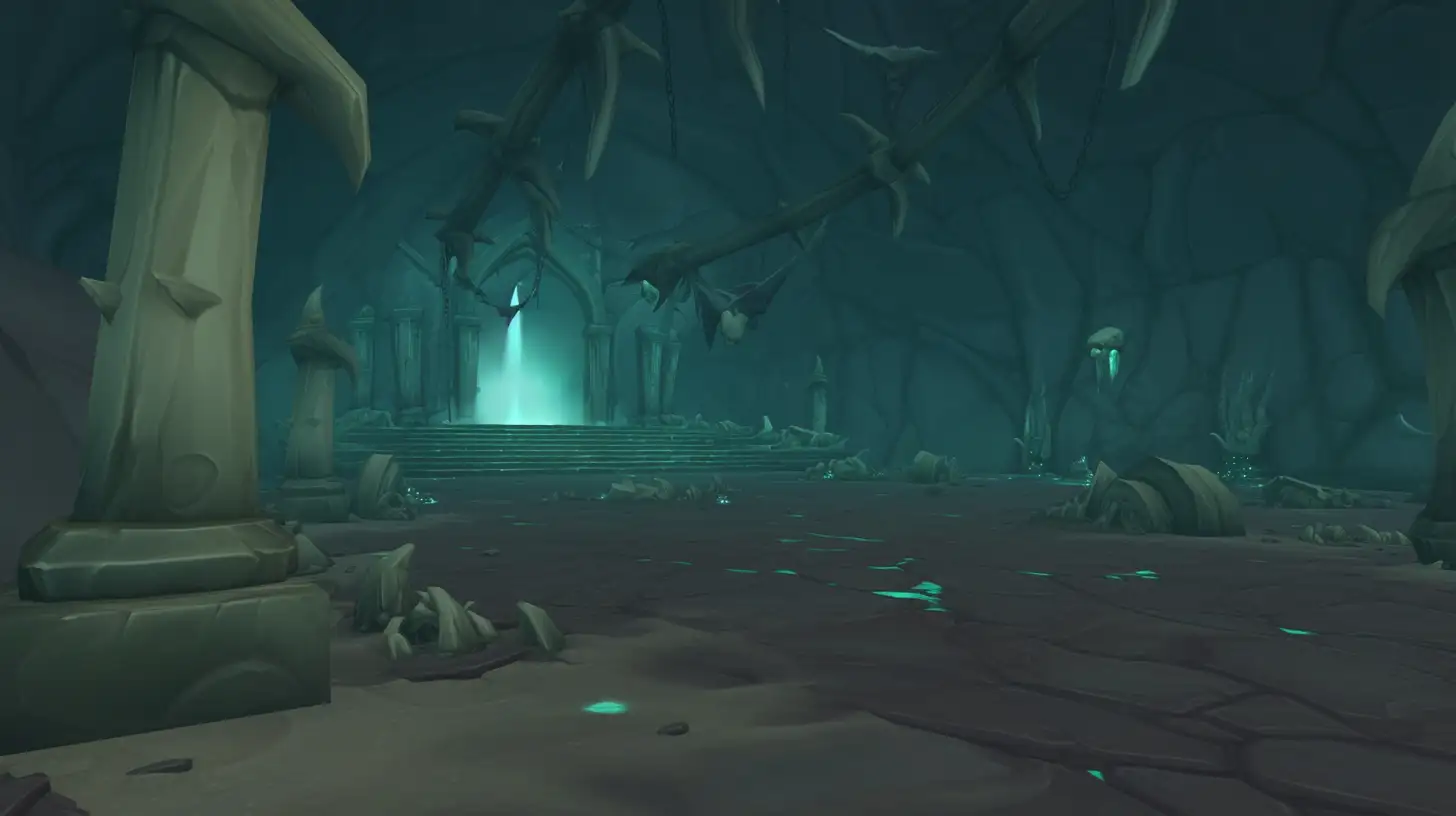
After clearing all the indoor bosses, you’ll return to the primary arena, now under the dark dominion of Mordretha. Be wary—those roaming combatants along the edges are eager to land a hit, so maintain your spacing.
Key Mechanics
- Dark Devastation — Mordretha begins by channeling an attack, the initial cone is narrow but then gradually widens as she rotates. Avoid her path entirely to prevent sustaining heavy damage.
- Grasping Rift — Without warning, a Rift emerges somewhere in the arena. This ability pulls raiders toward it over a span of six seconds, and anyone caught too close is stunned by a cursed debuff. As soon as the Rift appears, use your movement skills to get out of its reach, especially if it spawns near your group.
- Reaping Scythe – For tanks, Reaping Scythe is the single most punishing ability. Combining both Shadow and physical damage, this hit can rip you a new one if not mitigated. Ensure you have a defensive cooldown ready for every cast.
Group-Wide Threats
Manifest Death
Mordretha casts Manifest Death applying a damaging DoT on a target that splashes onto anyone within a six-yard radius. Once this effect expires, each player spawns a Deathwalker at their feet. They unleash random Death Bolts, so be prepared with interrupts. During this phase, maintain a loose spread, but when the adds appear, group up for coordinated AoE and crowd control.
Echoes of Carnage
When Mordretha reaches half health, she unleashes a massive burst of Shadow damage, Echoes of Carnage—this is followed by a series of smaller pulses every two seconds. This phase delivers the heaviest group damage in the fight, so plan for personal or raid-wide defensives to absorb the impact.
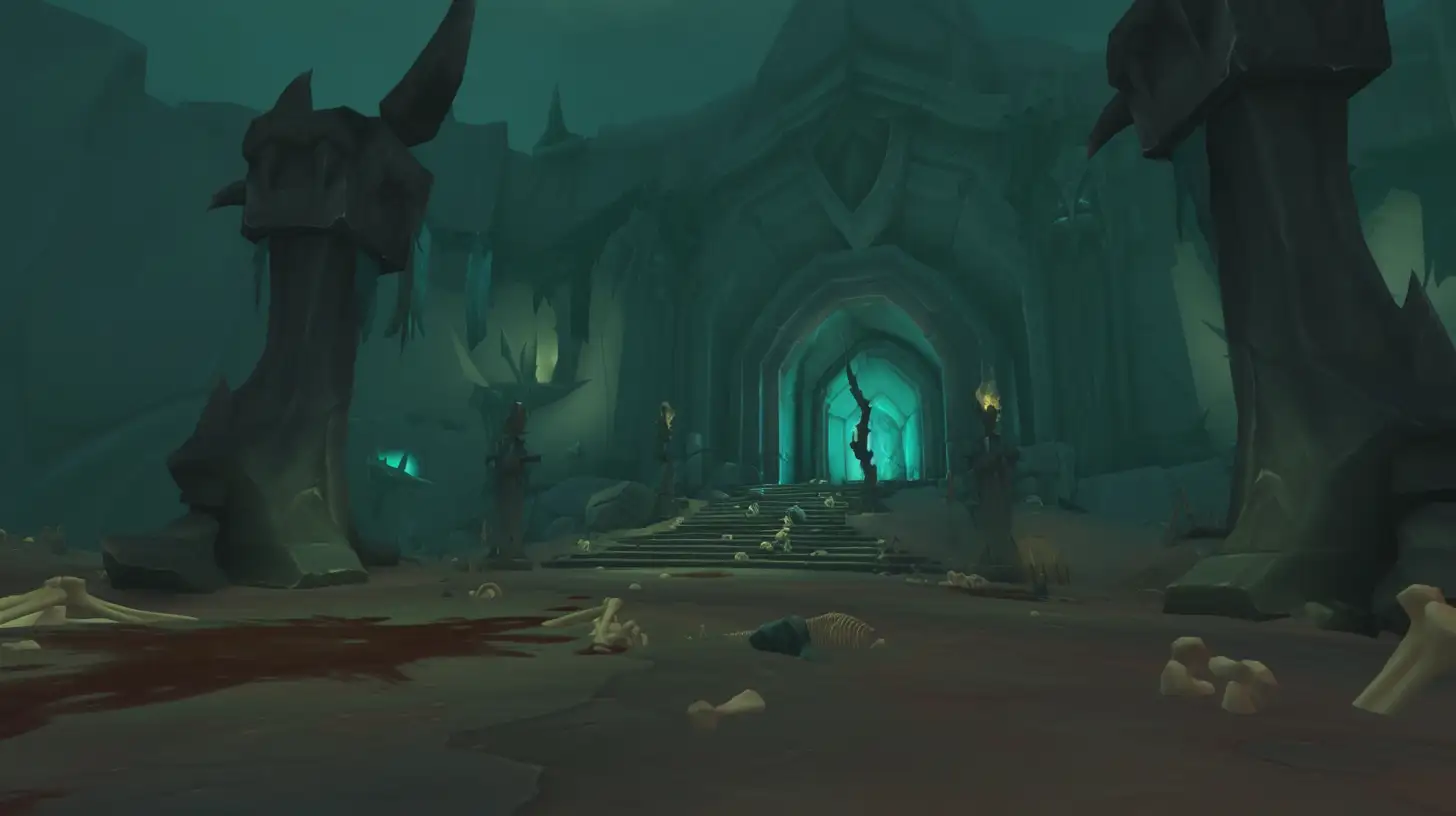
As the battle wears on, Mordretha continuously summons spectral allies in two forms:
- Echo of Battle – An AoE that spans eight yards and can materialize anywhere.
- Ghostly Charge – Four-line attacks from mounted combatants across the field.
Keep it moving and minimize the damage you take. With these strategies in place and a keen awareness of each mechanic, you’ll be well-equipped to overcome Mordretha of the Theater of Pain.
Epiccarry: best wow boost and coaching services
Frequently Asked Questions
What are the most important mechanics of Mordretha?
Avoid Dark Devastation (rotating cone attack), move away from Grasping Rift, and tanks should use defensive cooldowns for Reaping Scythe.
What are the bosses in the Theater of Pain?
An Affront of Challengers, Gorechop, Xav the Unfallen, Kul’tharok, Mordretha the Endless Empress
What are the key mechanics for Affront of Challengers?
Affront of Challengers’ Key Mechanics
This three-boss fight requires balancing health pools—killing one too fast buffs the others with Final Will, increasing their damage. Avoid the arena’s edges to prevent knockbacks.
Sathel the Accursed: Interrupt Necromantic Bolt. Withering Touch (magic debuff) targets two players—healers should cleanse quickly. At full energy, he casts Searing Death (group-wide DoT)—spread out to limit damage.
Paceran the Virulent: Dodge Decaying Breath. During Noxious Spores, green swirlies appear under each player—group them in one corner to conserve space.
Dessia the Decapitator: Tanks must mitigate Mortal Strike (healing reduction). Mighty Smash is a large AoE that slows—use defensives if overwhelmed.
Maintain even damage across all three bosses, interrupt key abilities, and position carefully to avoid unnecessary damage.
What are the key mechanics for Xav the Unfallen?
Xav the Unfallen summons Oppressive Banners, slowing the group by 15% until destroyed—cleave them down fast. His Might of Maldraxxus ability triggers three attacks:
Deafening Crash – 12-yard AoE that interrupts casts.
Massive Cleave – Wide frontal attack.
Crushing Slam – Line attack targeting a random player.
Avoid all three to minimize damage. Healers must dispel Phantasmal Parasite, which increases damage taken. At 100 energy, he casts Blood and Glory, forcing two DPS into a 1v1 duel—the winner gains a 10% damage buff, while the loser suffers a 10% penalty. Tanks need defensives for Brutal Combo, a series of heavy strikes. Position Xav near banners, interrupt when needed, and focus on dodging to survive.
What are the key mechanics for Kul’tharok?
Kul’tharok has three key mechanics:
Well of Darkness – Two players get marked with a DoT that spreads within four yards. Spread out and use defensives if necessary.
Death Spiral – Rotating orbs move around the arena, dealing heavy damage on contact. Ranged players should stay near the edges for better dodging, while melee must weave in and out.
Draw Soul – When Kul’tharok reaches full energy, he deals heavy ticking damage and spawns Lost Souls from each player’s location. These adds move toward the boss and must be controlled and killed quickly to prevent an explosion of Shadow damage.
Role Tips:
Healers: Prepare cooldowns for Draw Soul’s group-wide damage.
DPS: Interrupt Necrotic Bolts to reduce incoming damage.
Tanks: Use defensives during Necrotic Eruption and position the boss away from the group.
What are the key mechanics for Gorechop?
Gorechop is all about dodging and managing disease effects. His key ability, Tenderizing Smash, slams down both fists, sending out shockwaves—dodge these to avoid massive damage. Meanwhile, adds spawn from Meat Hooks on the walls, slowly pulling themselves in. Kill them fast before they reach the center, or they’ll explode for AoE damage. Hateful Strike targets the tank, dealing heavy damage and applying a disease—healers need to dispel this quickly. Throughout the fight, avoid standing in front of Gorechop, as he frequently casts a frontal cleave.
What’s the trick for Affront of Challengers?
Balance the bosses’ health! Killing one too fast buffs the others.
How do I deal with Death Spiral?
Stay near the edges to dodge rotating orbs.
What’s the best way to survive Theater of Pain?
Master interrupts, use defensives wisely, and watch your positioning!
