One of the last, the most iconic, the most painful dungeons in World of Warcraft comes to WoW — Season of Discovery Phase 4. Yup, I’m talking about the Wow Sod Blackspire dungeon. This is one of the four incredible, truly mega dungeons (not that piece of code Blizzard put in retail). So, it’s time to create the mega guide for the mega dungeon. In our SOD Blackrock Spire Dungeon Guide, you’ll find answers to:
- How many bosses are waiting for you in the Wow Sod Blackrock Spire version of the dungeon?
- Are there any changes from Lower BSD to Upper BSD in WOW SOD?
- How to attune the Upper Blackrock dungeon?
- Where’s the entrance of BSD in Wow SOD?
- Boss tactics for each boss in this piece of hell.
- The routes from the entrance to the finish.
- Loot table.
- Some pieces of the plot.
- Quests for the Season of Discovery — Phase 4 Blackrock Spire dungeon.
- Factions associated with this dungeon.
And many other interesting, useful, useless, helpful, and helpless facts about World of Warcraft. One of the biggest dungeons among the classic. Yup, there’s Dire Maul, but we’ll review it tomorrow (if you still haven’t found the guide about that dungeon). So, we can’t waste your time anymore. Prepare to kick some orcs’, dwarves’, and drakes’ asses!
Buy WoW Discovery Level Boost
Expert Leveling Boost, Choose Speed Over Grind
WoW Sod 4 BRS | Overview

In the world of Warcraft — Season of Discovery Phase 4, there is a big, scary dungeon called Blackrock Spire. This dungeon is split into two parts — Lower Blackrock Spire (LBRS) and Upper Blackrock Spire (UBRS). Adventurers go here to fight strong monsters, find treasure, and complete quests. Each part has different bosses, and each boss has special powers. Players must work together to defeat these bosses and make it through the dungeon.
| Feature | Description |
| Dungeon Name | Blackrock Spire |
| Game Version | World of Warcraft — Season of Discovery Phase 4 (Classic) |
| Parts | Lower Blackrock Spire (LBRS) and Upper Blackrock Spire (UBRS) |
| Number of Bosses (LBRS) | 9 |
| Number of Bosses (UBRS) | 8 |
| Main Enemies | Ogres, Orcs, Trolls, Spiders, Wolves, Dragonkin |
| Goal | Defeat bosses, collect loot, complete quests |
| Special Requirement (UBRS) | Need to attune (special key or quest) to enter Upper Blackrock |
| Member Amount (LBRS) | 5 players |
| Member Amount (UBRS) | 10 players |
| Notable Bosses (LBRS) | Highlord Omokk, Mother Smolderweb, Overlord Wyrmthalak |
| Notable Bosses (UBRS) | Pyroguard Emberseer, Warchief Rend Blackhand, General Drakkisath |
| Notable Quests (LBRS) | The Rescue, Jail Break! |
| Notable Quests (UBRS) | Seal of Ascension, The Eye of the Emberseer |
Buy WoW SOD Gold
Dominate the Game: Acquire WoW SOD Gold Today!

WoW Sod 4 BRS | Entrance

To get to the entrance of Lower Blackrock Spire (LBRS) in WoW Sod 4, head to Blackrock Mountain, located between the Burning Steppes and Searing Gorge. The entrance is found inside Blackrock Mountain. You need to go to the lower levels, past the large chains, and find a door on the lower balcony around coordinates (37.0, 80.0). This will lead you into LBRS. It’s a bit tricky, so keep an eye out for enemies along the way!
| Faction | Directions |
| Alliance | Wow Sod 4 wow classic lbrs quest to reach LBRS — Start in Stormwind, take the flight path to Morgan’s Vigil in the Burning Steppes, then head north to Blackrock Mountain. |
| Horde | Wow Sod 4 lbrs wow guide for Horde — Start in Orgrimmar, take the flight path to Kargath in the Badlands, then head west to Blackrock Mountain. |
| Location | Coordinates |
| LBRS Entrance | (37.0, 80.0) |
| UBRS Entrance | (42.0, 89.0) |
WoW Sod 4 BRS | Attunement

Wanna get into Upper Blackrock Spire (UBRS) in WoW Sod 4? You gotta do some special stuff first. Think of it like a secret club, and you need a special key!
How to Get the Key (Seal of Ascension)
- Find a dude named Vaelan in Lower Blackrock Spire (LBRS) and get the quest Seal of Ascension.
- Collect Shiny Gems:
- Unadorned Seal of Ascension — Random baddies in LBRS drop this.
- Gemstone of Spirestone — Beat up Highlord Omokk in LBRS.
- Gemstone of Smolderthorn — Take down War Master Voone in LBRS.
- Gemstone of Bloodaxe — Knock out Overlord Wyrmthalak in LBRS.
- Once you’ve got all the gems, go back to Vaelan. He’ll tell you to take the Unadorned Seal and the gems to a blacksmith in Blackrock Depths (BRD) to make it into the Seal of Ascension.
- Now you’ve got the Seal of Ascension! Use it to unlock the door to UBRS and go kick some bad guy butt!
Quick and Fun Table for UBRS Attunement
| Step | Description |
| Get the Quest | Find Vaelan in LBRS and start the Seal of Ascension quest. |
| Collect Shiny Gems | Get gems from bosses in LBRS — Omokk, Voone, and Wyrmthalak. Random enemies drop the Unadorned Seal. |
| Make the Key | Take the Unadorned Seal and gems to a blacksmith in BRD to make the Seal of Ascension. |
| Use the Key | Use the Seal of Ascension to unlock the door to UBRS and start your epic adventure! |
WoW Sod 4 BRS | Bosses
In Blackrock Spire, you’ve got two parts — Lower and Upper. In Lower Blackrock Spire (LBRS), you’ll face Highlord Omokk, Shadow Hunter Vosh’gajin, War Master Voone, Mother Smolderweb, Urok Doomhowl, Quartermaster Zigris, Halycon, Gizrul the Slavener, and Overlord Wyrmthalak. Up in Upper Blackrock Spire (UBRS), you’ll encounter Pyroguard Emberseer, Warchief Rend Blackhand, Gyth, The Beast, General Drakkisath, Solakar Flamewreath, and occasionally the rare spawn, Jed Runewatcher, plus Goraluk Anvilcrack. Let’s overview each of bosses, starts from Lower BlackRock Spire dungeon part:
- Highlord Omokk — A large, brutish ogre with a massive club, adorned with tribal tattoos and primitive armor made of bones and hides.
- Shadow Hunter Vosh’gajin — A slender, dark-skinned troll wielding voodoo magic. She is adorned with feathers, bones, and tribal masks, exuding a mystical aura.
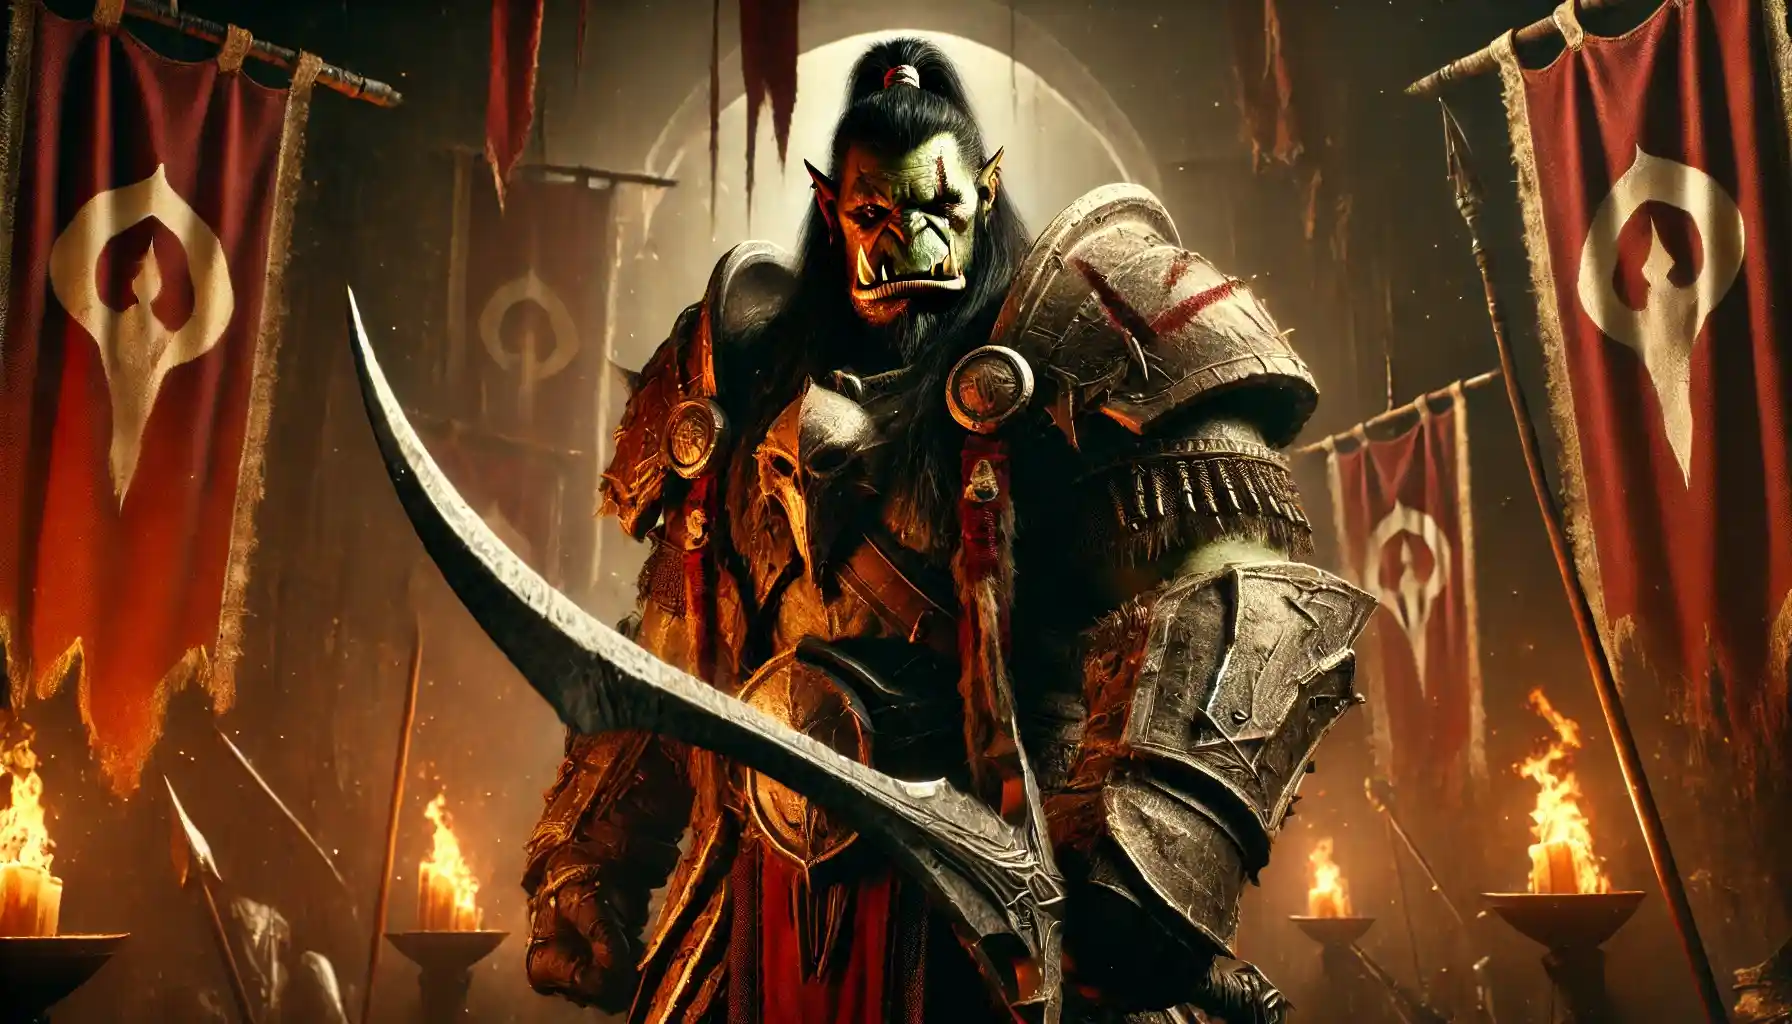
- War Master Voone — An orcish warlord with menacing armor and a sharp, curved blade. He has war paint on his face and carries a commanding presence.
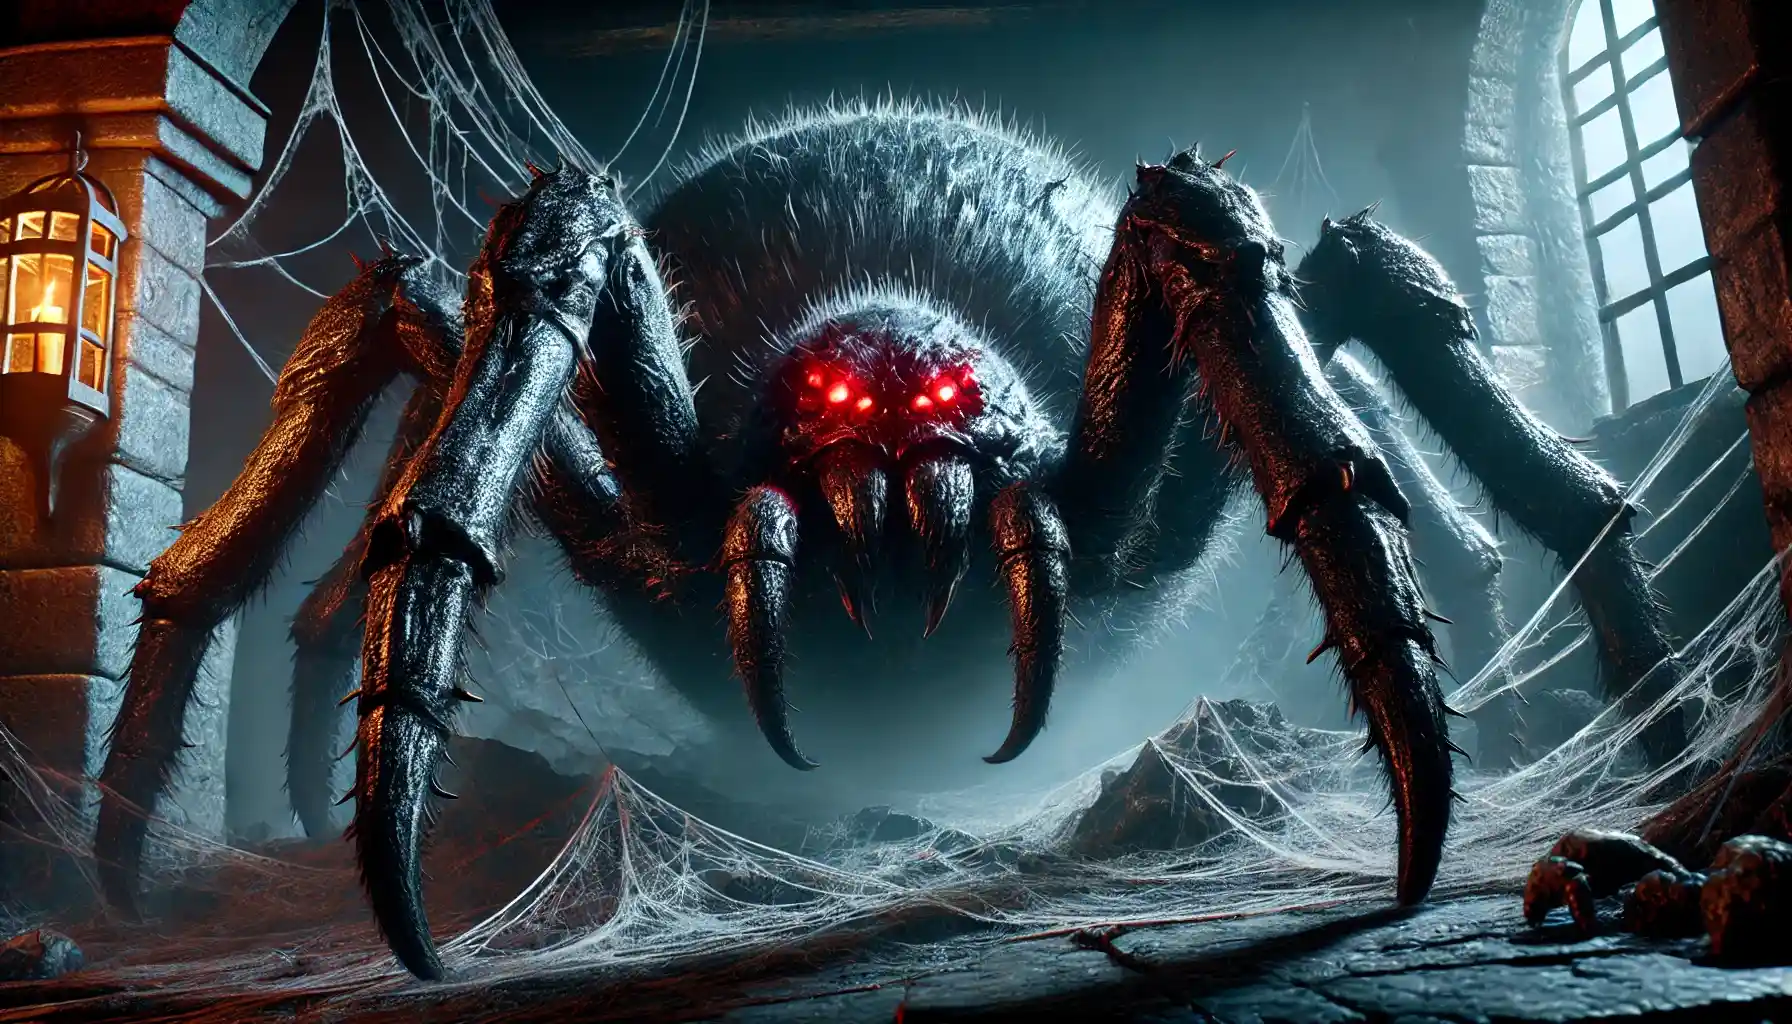
- Mother Smolderweb — A giant, fearsome spider with dark, chitinous armor. Her eyes glow with a sinister red, and she has venomous fangs ready to strike.
- Urok Doomhowl — A massive orc chieftain with a fierce demeanor. He wears heavy plate armor and wields a colossal axe, embodying raw strength and brutality.
- Quartermaster Zigris — A goblin with a devious grin, wearing a mix of leather and cloth. He carries various pouches and gadgets, always ready to unleash his tricks.
- Halycon — A ferocious wolf with a sleek, muscular body. Her fur is dark and matted, and she moves with predatory grace, always ready to pounce.
- Gizrul the Slavener — A monstrous wolf, larger and more intimidating than Halycon. His fur is coarse and dark, and his eyes burn with a savage hunger.
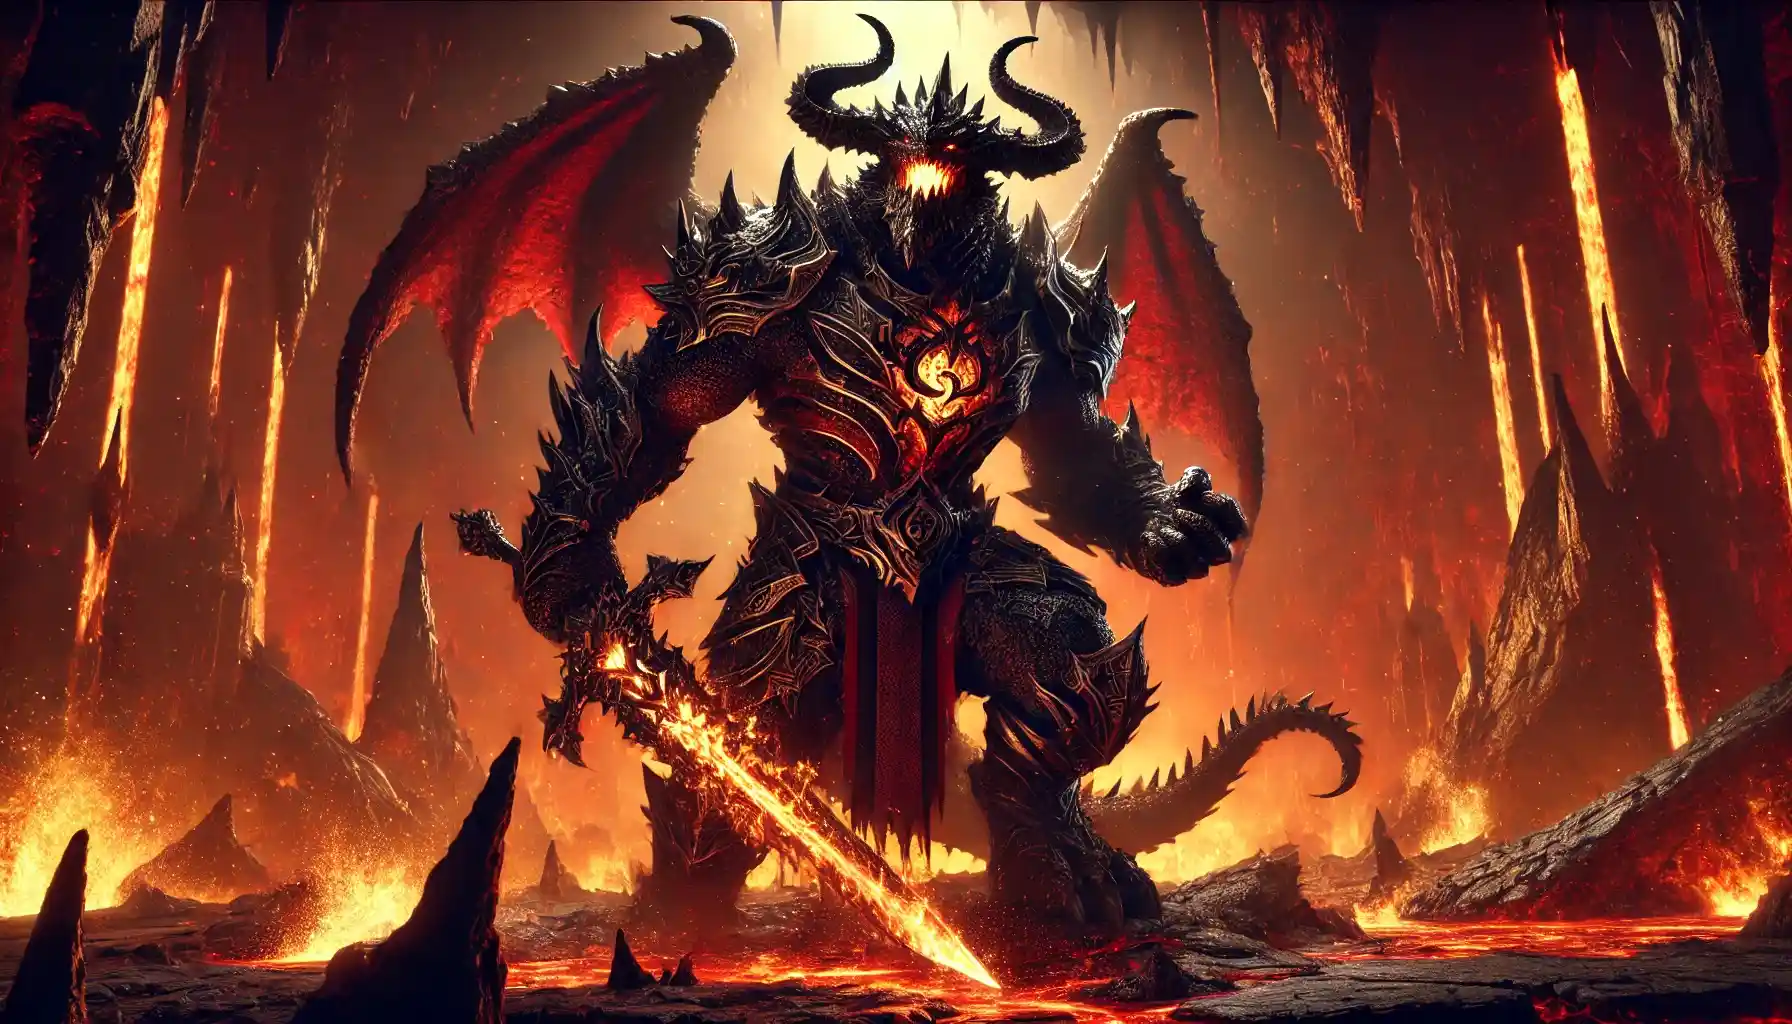
- Overlord Wyrmthalak — A towering dragonkin with dark scales and a menacing maw. He is adorned with ornate, fiery armor and wields a flaming sword.
Upper Blackrock Spire (Upper BRS)
- Pyroguard Emberseer — A fiery elemental, with a body composed of molten rock and flames. He radiates intense heat, and his eyes burn with an inner fire.
- Warchief Rend Blackhand — A formidable orc chieftain, clad in blackened plate armor. He wields a massive, fiery axe and has a commanding presence, with dark, piercing eyes.
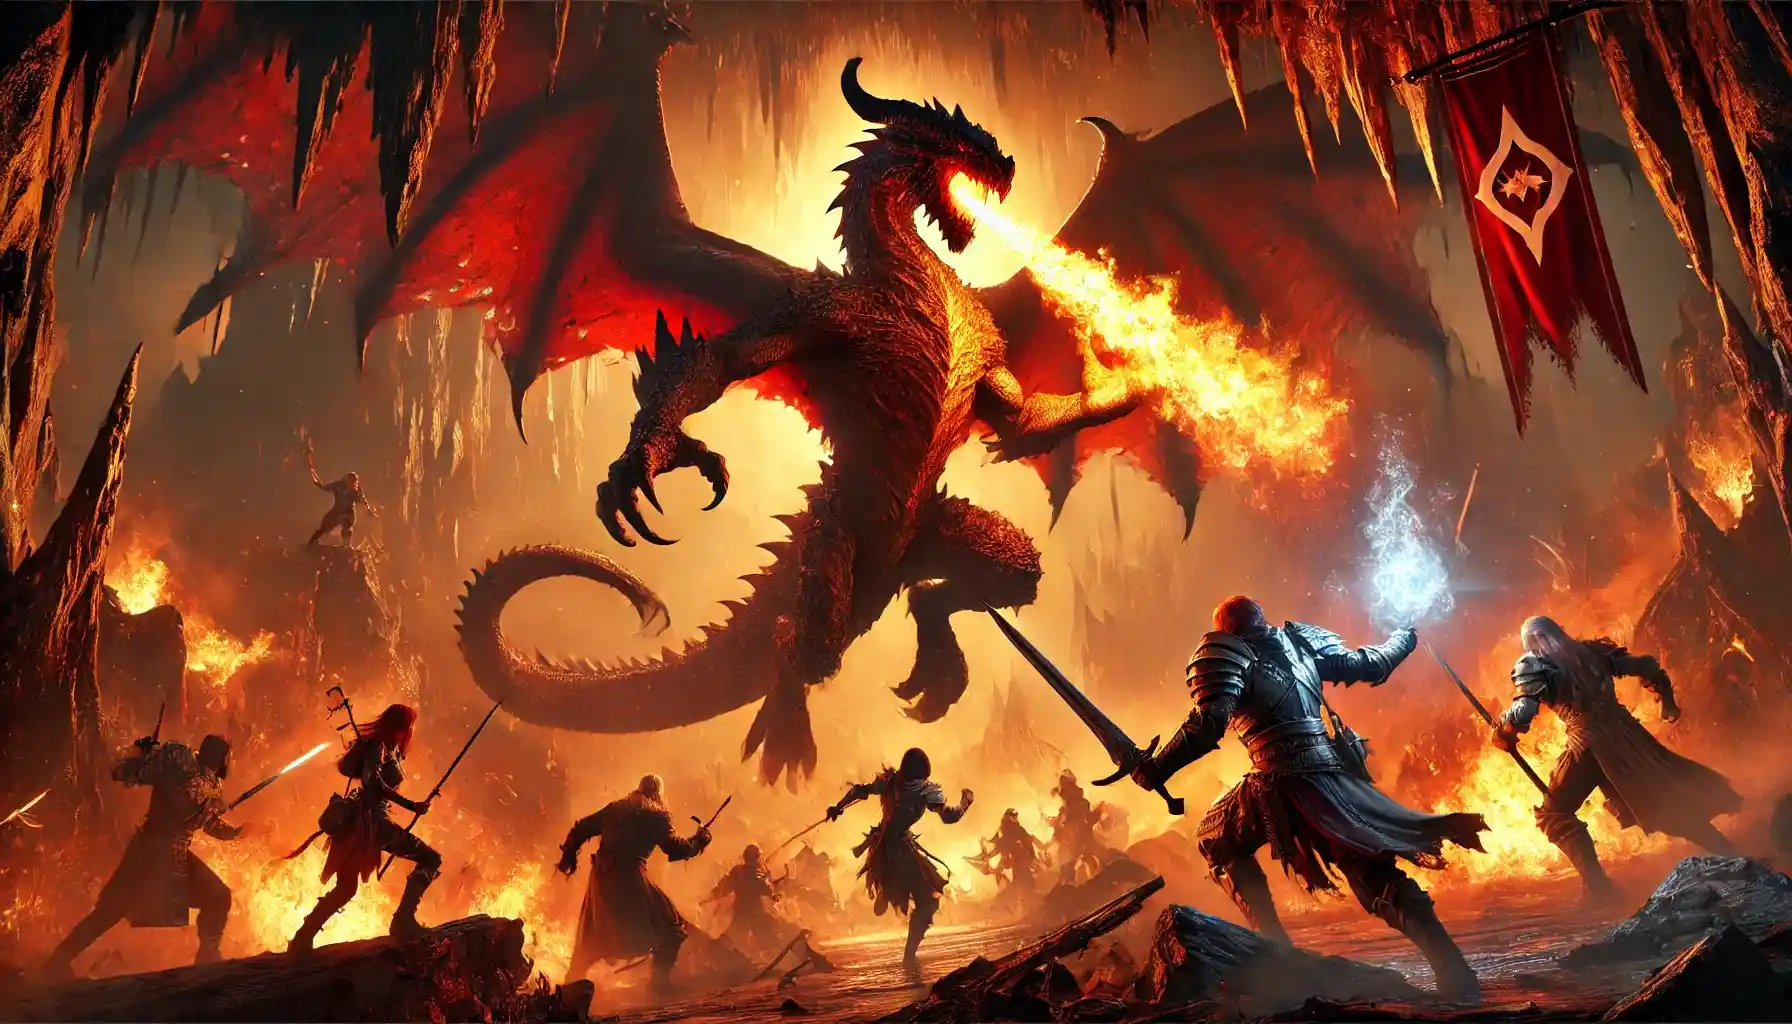
- Gyth — A fearsome dragon, with shimmering red scales and a pair of mighty wings. His eyes glow with a fierce intelligence, and his claws are razor-sharp.
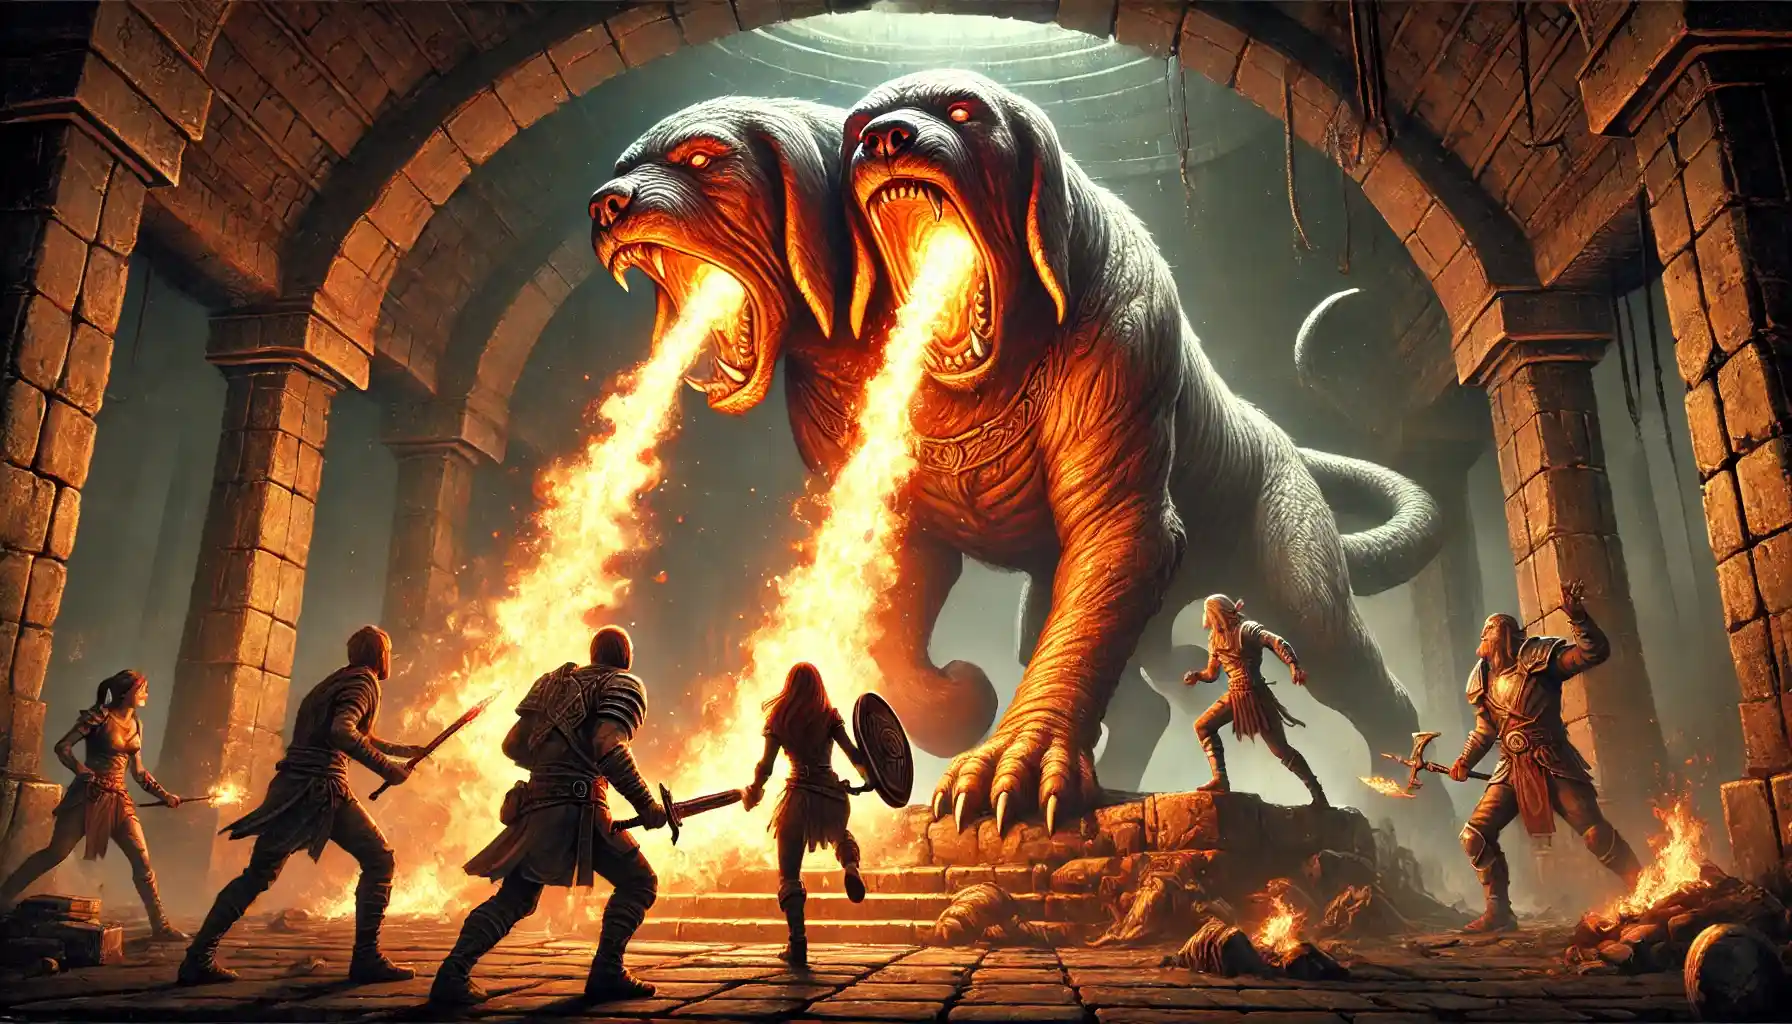
- The Beast — A massive, hulking core hound with two heads. Each head has glowing, red eyes and fiery breath, and its body is covered in thick, dark fur and spikes.
- General Drakkisath — A mighty dragonkin general, with dark red scales and a commanding stance. He wears heavy, ornate armor and wields a large, flaming sword.
- Solakar Flamewreath — A dragonkin sorcerer with scales that glow with an inner fire. He wields powerful fire magic and is adorned with fiery robes and a staff.
- Jed Runewatcher (rare spawn) — A cunning orc shaman, with dark, ritualistic tattoos and a variety of shamanic totems. He carries a staff imbued with runic power.
- Goraluk Anvilcrack — A burly orc blacksmith, with muscles hardened by years of labor. He wears a leather apron and wields a massive hammer, always ready to forge weapons for his allies.
Wow SoD Highlord Omokk BRS guide

Today, we’re off to battle Highlord Omokk in Wow Sod 4 Lower Blackrock Spire. He’s a big, tough ogre boss that loves to swing hard and knock heroes around. Get ready, because he’s not playing nice!
DPS (Damage Per Second) Recommendations
- Cleave — Stay to the side, don’t stand in front!
- Enrage — Hit hard when he’s angry, but be ready to run!
- Knock Away — Don’t get too close, or you’ll go flying!
Tank Recommendations
- Cleave — Keep him facing away from your friends.
- Enrage — Brace yourself, he hits harder!
- Knock Away — Fight with your back to a wall to avoid a surprise flight.
Healer Recommendations
- Cleave — Stay clear of the front.
- Enrage — Get ready for big heals; he’ll be hurting your tank a lot!
- Knock Away — Make sure you’re not next in line for a smack.
| Boss Ability | Wipe Potential | Quick Fix | Commentary |
| Cleave | High | Avoid front | Don’t stand in front of him, or it’s chop-chop time! |
| Enrage | High | Heal More | He’s mad! Keep those heals coming! |
| Knock Away | Medium | Position well | Keep your back to the wall or get ready to fly! |
SoD BiS Gear Boost
Let our experts tackle the dreary work for you!

Wow SoD Shadow Hunter Vosh’gajin BRS guide

Shadow Hunter Vosh’gajin in Wow Sod 4 Lower Blackrock Spire. She’s a sneaky troll boss who loves to cast tricky spells and mess with your team. Get your spells and swords ready!
DPS (Damage Per Second) Recommendations
- Curse of Blood — Watch out for this curse! Help cleanse it if you can.
- Hex — Spread out to avoid getting all turned into frogs at once.
- Strategy — Take out her Smolderthorn Shadow Priest buddies first to make the fight easier.
Tank Recommendations
- General — Keep Vosh’gajin away from your group to reduce the impact of her Hex.
- Crowd Control — Help manage the crowd by keeping one priest controlled while the group handles the other.
Healer Recommendations
- Curse of Blood — Be ready to remove this curse quickly—it makes you take more damage.
- Hex Watch — Keep an eye out for Hex on team members, especially if it hits other healers or the tank.
| Boss Ability | Wipe Potential | Quick Fix | Commentary |
| Curse of Blood | Medium | Remove curse | Get that curse off quick, or it’ll hurt! |
| Hex | High | Spread out | Don’t bunch up, or she’ll turn you all into critters! |
| Adds Control | High | CC and focus | Control those priests, or we’re toast! |
Wow SoD War Master Voone BRS guide
War Master Voone in Wow Sod 4 Lower Blackrock Spire. He’s a big, strong troll who loves to battle and is pretty tough. So grab your gear, and let’s get ready to rumble!
DPS (Damage Per Second) Recommendations
- Cleave — Stay away from the front of Voone, so you don’t get hit by his wide swings.
- General — Stop attacking if he starts looking at you, wait for the tank to get his attention back.
Tank Recommendations
- General — Keep Voone close to a wall to avoid being knocked back.
- Cleave — Face him away from the group to keep your friends safe.
Healer Recommendations
- General — Keep an eye on everyone’s health, especially the tank, because Voone hits really hard.
- Cleave — Watch out that you’re not standing in front of him during the fight.
| Boss Ability | Wipe Potential | What to Do | Commentary |
| Cleave | Medium | Stay back | Don’t get in front, it’s choppy! |
| Aggro Swap | High | Pause DPS | Stop hitting if he looks at you! |
Wow SoD Mother Smolderweb BRS guide
we’re going to meet a creepy crawly boss named Mother Smolderweb in Wow Sod 4 Lower Blackrock Spire. She’s a big spider who loves to surprise adventurers with her sticky webs and stunning surprises. Get ready, because it’s going to be a spooky fight!
DPS (Damage Per Second) Recommendations
- Crystallize — Don’t stand in front of her, or you’ll get stunned.
- Mother’s Milk — Spread out to avoid getting stunned by the poison.
Tank Recommendations
- Crystallize — Keep her facing away from your friends to protect them.
- Mother’s Milk — Try to isolate yourself when affected to keep the poison from spreading.
Healer Recommendations
- Crystallize — Be ready to help anyone who gets stunned.
- Mother’s Milk — Have some poison-curing spells ready to help clean up the stun effect quickly.
| Boss Ability | Wipe Potential | What to Do | Commentary |
| Crystallize | Medium | Face away | Keep her turned! Don’t let her stun the group! |
| Mother’s Milk | High | Spread, cure | Spread out and clean that stun quick, or we’re stuck! |
Remember, don’t get too close, watch out for her stunning tricks, and keep clean from her poisons.
Wow SoD Urok Doomhowl BRS guide

Let’s gear up to meet Urok Doomhowl, a big and scary boss hiding in Wow Sod 4 Lower Blackrock Spire. He’s summoned using a special pile of ogre heads, and he’s not happy to be woken up!
DPS (Damage Per Second) Recommendations
- Intimidating Roar — Spread out to avoid everyone getting feared.
- Rend — Don’t let this bleed stick on you for too long, ask for heals!
- Strike — Keep an eye on your health when he hits hard.
Tank Recommendations
- Intimidating Roar — Be ready to regain control quickly after the fear effect.
- Rend and Strike — Keep Urok facing away from the group to protect your teammates.
Healer Recommendations
- Intimidating Roar — Prepare to heal up any frightened friends.
- Rend — Keep those bleed effects cleaned up or healed through quickly.
- Strike — Watch the tank’s health closely because these hits can be brutal.
| Boss Ability | Wipe Potential | What to Do | Commentary |
| Intimidating Roar | High | Spread, calm | Stay cool and spread out to avoid group fear! |
| Rend | Medium | Heal bleed | Heal up those bleeds or they’ll chew through HP! |
| Strike | High | Keep health up | Watch out, his hits pack a wallop! |
There you go, heroes! That’s how you take on Urok Doomhowl in WoW SoD 4 Lower Blackrock Spire. Remember to manage those ogre waves cleverly, watch out for his scary roar, and keep those heals handy.
Wow SoD Quartermaster Zigris BRS guide
Quartermaster Zigris in Wow Sod 4 Lower Blackrock Spire. He’s a tough boss who guards all the loot, so he’s not going to give it up easily!
DPS (Damage Per Second) Recommendations
- Stay Mobile — Zigris likes to move around, so keep up with him without getting in front of him.
- Focus Fire — When he’s pulled, everyone needs to hit him hard and fast before he can use his tricks.
Tank Recommendations
- Hold Attention — Keep Zigris focused on you and away from your teammates.
- Steady Positioning — Try to keep him in one spot so your DPS can do their work without chasing him around.
Healer Recommendations
- Stay Alert — Be ready to heal quickly because Zigris can dish out some serious damage.
- Keep Distance — Stay a little back from the fight to avoid any surprise attacks from Zigris.
| Boss Ability | Wipe Potential | What to Do | Commentary |
| Mobile Attack | Medium | Keep up | Chase him down, but don’t get in front! |
| Heavy Damage | High | Heal fast | Keep those heals ready, he hits hard! |
There’s your plan to take down Quartermaster Zigris. Remember to keep moving, hit him hard, and stay healed up.
Wow SoD Halycon BRS guide

Halycon, a big, scary worg boss in Wow Sod 4 Lower Blackrock Spire. She’s got a pack of little worg pups with her, so get ready for a wild fight!
DPS (Damage Per Second) Recommendations
- Clear the Adds — First, take out all the little worg pups before focusing on Halycon.
- Avoid Frontal Attacks — Stay away from her front to dodge her nasty bites.
Tank Recommendations
- Grab Attention — Make sure Halycon focuses on you and not your friends.
- Steady Control — Keep her in one spot to make it easier for your DPS to do their job.
Healer Recommendations
- Watch the Tank — Halycon hits hard with Rend and Thrash, so keep the tank’s health up.
- Stay Alert — Be ready to heal anyone who gets bitten by the pups.
| Boss Ability | Wipe Potential | What to Do | Commentary |
| Rend | Medium | Heal it up | Patch up those bites, or they’ll bleed out! |
| Thrash | High | Keep steady | Hold her steady or she’ll thrash us all! |
WoW Classic Discovery Boost & Carry
LGold, Leveling boosts? Pro team’s got you covered!!
That’s your guide to taking down Halycon. Remember, clear her little pups first, then focus all your strength on her. Once Halycon is down, get ready quickly for the next challenge—Gizrul the Slavener is up next!
Wow SoD Gizrul the Slavener BRS guide
Gizrul the Slavener in Wow Sod 4 Lower Blackrock Spire. He’s a big, fierce wolf boss that heals himself while fighting, so he’s not easy to take down!
DPS (Damage Per Second) Recommendations
- Infected Bite — Stay healed up, as this bite will hurt over time.
- Fatal Bite — Hit him hard and fast before he can heal too much from this attack.
Tank Recommendations
- General — Keep Gizrul’s attention on you and away from your teammates.
- Positioning — Stand firm and don’t let him push you around.
Healer Recommendations
- Infected Bite — Keep cleansing the poison off your friends quickly.
- Keep Everyone Healthy — Gizrul hits hard, so keep those heals coming!
| Boss Ability | Wipe Potential | What to Do | Commentary |
| Fatal Bite | High | Quick DPS | Hurry and hit him hard before he heals up! |
| Infected Bite | Medium | Cleanse, heal | Clean those bites or they’ll wear us down! |
Remember, he’s tough with his healing bites, so keep the pressure on him, cleanse quickly, and stay healed. After you defeat him, prepare for the next challenge as you move on to face Overlord Wyrmthalak.
Wow SoD Overlord Wyrmthalak BRS guide
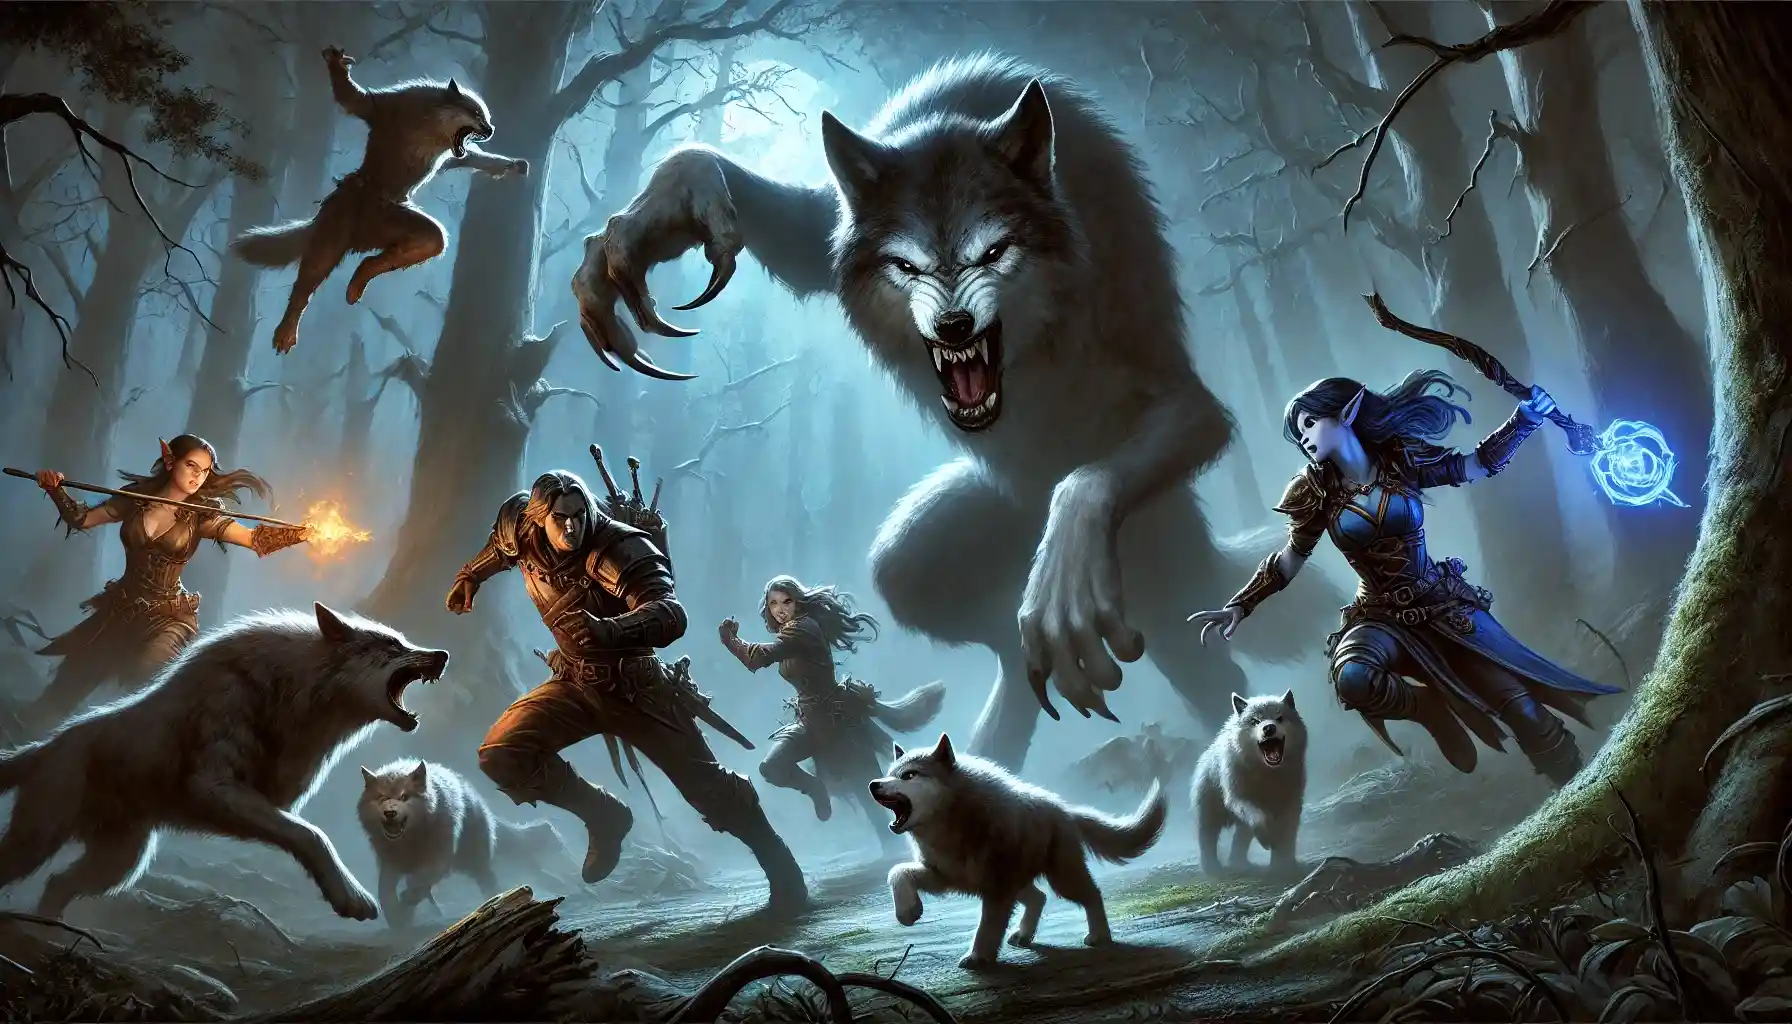
Overlord Wyrmthalak, the final big boss of Wow Sod 4 Lower Blackrock Spire. He’s a really tough leader who isn’t going to give up without a big fight!
DPS (Damage Per Second) Recommendations
- Stay Behind Him — Avoid his powerful Cleave by staying behind or to the sides.
- Demoralizing Shout — This will weaken your attacks, but keep up the pressure.
- Sweeping Slam — Spread out to minimize the impact of this knockback.
Tank Recommendations
- Face Away — Keep Overlord Wyrmthalak facing away from the rest of the group to protect them from his Cleave.
- Stable Positioning — Position yourself with your back against a wall to avoid knockbacks.
- Manage Adds — Prepare to handle additional enemies when he reaches 50% health.
Healer Recommendations
- Boost Healing — Increase healing efforts when Demoralizing Shout is active, as the group will take more damage.
- Stay Alert — Be ready for increased healing demand when the adds appear and during Sweeping Slam.
| Boss Ability | Wipe Potential | What to Do | Commentary |
| Cleave | Medium | Avoid front | Stay behind to avoid big hits. |
| Demoralizing Shout | Medium | Heal more | Ramp up heals when this shout is on. |
| Sweeping Slam | High | Spread out | Don’t bunch up, or you’ll all go flying! |
| Adds | High | Control adds | Control or kill adds quickly to focus on the boss. |
Continue to fight smart, focus on your positioning, and handle the adds effectively to defeat Overlord Wyrmthalak.
Wow SoD Pyroguard Emberseer BRS guide

Pyroguard Emberseer, a big fiery boss in Wow Sod 4 Upper Blackrock Spire. He’s a huge elemental that needs to be freed before you can fight him. Let’s heat things up!
DPS (Damage Per Second) Recommendations
- Clear Adds Quickly — Use area attacks (AoE) to quickly take down the Incarcerators around him.
- Fire Nova — Stay away from Emberseer to avoid getting burned by his fire nova.
Tank Recommendations
- Positioning — Keep Emberseer away from the group to minimize the damage from his fire abilities.
- Hold Aggro — Make sure he’s always focused on you and not wandering towards your team.
Healer Recommendations
- Watch for Fire Damage — Be ready to heal up any burns from the fire nova quickly.
- Stay Spread Out — Keep a safe distance from others to avoid spreading the fire damage if hit.
| Boss Ability | Wipe Potential | What to Do | Commentary |
| Fire Nova | High | Stay clear | Keep your distance, or you’ll get toasted! |
| Adds | Medium | AoE fast | Blast those jailers quickly to free Emberseer! |
That’s how you tackle Pyroguard Emberseer. Remember, free him first by defeating the guards, then focus on staying cool while you heat up the fight.
Wow SoD Warchief Rend Blackhand BRS guide

Warchief Rend Blackhand, the tough leader riding on Gyth, a fierce dragon, in Wow Sod 4 Upper Blackrock Spire. This battle happens after a long fight with lots of enemies, so be ready for a big showdown!
DPS (Damage Per Second) Recommendations
- During Gyth — Focus on Gyth first. Stay away from the front to avoid breath attacks.
- After Rend is dismounted — Switch to Rend quickly, avoid standing too close during his whirlwind and cleave.
Tank Recommendations
- During Gyth — Keep Gyth facing away from the raid to protect them from breath attacks.
- After Rend is dismounted — Grab Rend quickly, position him away from the group.
Healer Recommendations
- Throughout the fight — Keep everyone’s health up, especially during Rend’s whirlwind and cleave.
- Mana Management — Conserve mana through the earlier waves so you have enough for the main fight.
| Boss Ability | Wipe Potential | What to Do | Commentary |
| Corrosive Acid Breath | High | Face away | Keep Gyth turned away or his breath will roast us! |
| Thunderclap | High | Stay back | Back off when Rend spins or you’ll get chopped! |
| Cleave | Medium | Avoid front | Don’t stand in front of Rend, his cleave hurts! |
Wow SoD Gyth BRS guide

Gyth is a big, scary dragon that Warchief Rend Blackhand rides into battle in Wow Sod 4 Upper Blackrock Spire. Before you can fight Rend, you have to deal with Gyth and his fiery breath!
DPS (Damage Per Second) Recommendations
- Avoid the Front — Stay away from Gyth’s front to dodge his breath attacks.
- Quick Focus — When Gyth lands, hit him fast and hard before switching to Rend.
Tank Recommendations
- Face Away — Keep Gyth turned away from the rest of the group to block his breath from hitting everyone.
- Steady Hold — Maintain control and keep him steady to make it easier for your team to attack.
Healer Recommendations
- Breath Watch — Be ready to heal a lot when Gyth uses his breath attacks; they can hurt everyone in front of him.
- Stay Alert — Keep everyone’s health up as the fight can get intense with the combination of dragon and boss.
| Boss Ability | Wipe Potential | What to Do | Commentary |
| Freeze | High | Avoid front | Don’t get melted! Stay away from his mouth! |
| Corrosive Acid Breath | High | Avoid front | Watch out for fire! It’s super hot! |
| Flame Breath | Medium | Keep warm | Shake it off quick, or you’ll be an ice cube! |
Remember, Gyth is just the first challenge. Once you’ve got him down, get ready quickly because Warchief Rend Blackhand will be waiting to jump into the fray.
Wow SoD The Beast BRS guide

The Beast in Wow Sod 4 Upper Blackrock Spire. He’s a giant monster with some fiery tricks, so get ready for a hot battle!
DPS (Damage Per Second) Recommendations
- Avoid Front — Stay away from the front to dodge his Immolate and Flamebreak.
- Spread Out — Keep distance from others to reduce the risk from his Fear and Flamebreak.
Tank Recommendations
- Stay Alert — Be ready for The Beast’s Berserker Charge. Make sure he always comes back to you.
- Back to Wall — Position yourself with your back against a wall to avoid being knocked back by Flamebreak.
Healer Recommendations
- Range Positioning — Stay at max range to avoid Fear and minimize damage from Flamebreak.
- Quick Healing — Be quick to heal any damage from Immolate and the knockback effects.
| Boss Ability | Wipe Potential | What to Do | Commentary |
| Berserker Charge | Medium | Top Aggro | Tank must be ready to regain The Beast quickly! |
| Immolate | Medium | Avoid front | Don’t get burned! Stay clear of the front! |
| Flamebreak | High | Back to wall | Watch out for knockback—stay near walls! |
| Fear | Medium | Spread out | Spread out to lessen the scare from Fear! |
Remember, The Beast is tough with his charging and fiery moves, so stay sharp, manage your positioning well, and keep the heat on him.
Wow SoD General Drakkisath BRS guide
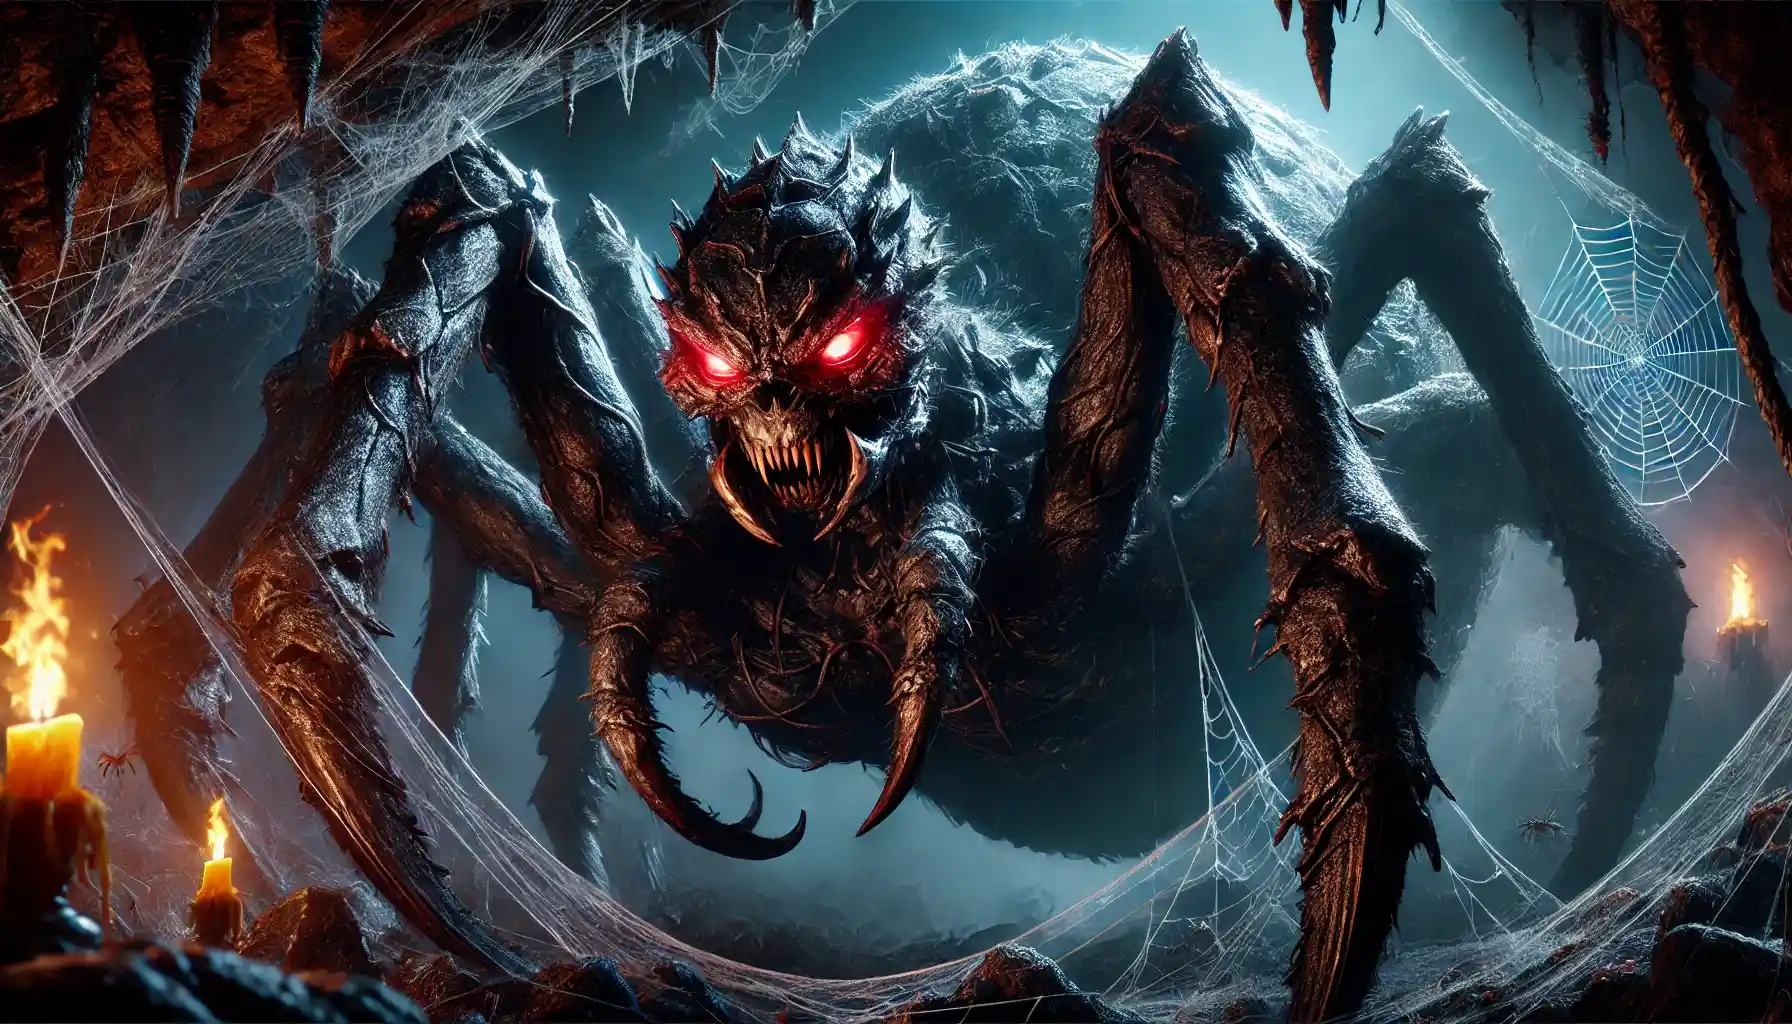
General Drakkisath is the final and toughest boss in Wow Sod 4 Upper Blackrock Spire. He’s got big, fiery attacks and some powerful guards. Defeating him means you’ve conquered UBRS!
DPS (Damage Per Second) Recommendations
- Kite or Burn Adds — If using the kiting method, wait for the adds to be burned down before focusing on Drakkisath. If not, focus on the guards first.
- Avoid Front — Stay behind him to dodge Flame Breath and Cleave.
Tank Recommendations
- Add Control — Grab a Chromatic Elite Guard quickly and hold it until it’s dead.
- Positioning — Keep Drakkisath facing away from the group to minimize Flame Breath damage.
Healer Recommendations
- Manage Burst — Be ready to heal through heavy damage, especially from Flame Breath and Conflagration.
- Stay Spread Out — Avoid clumping to minimize the impact of AoE attacks like Thunderclap.
| Boss Ability | Wipe Potential | What to Do | Informal Commentary |
| Cleave | Medium | Avoid front | Stay behind him or get sliced! |
| Conflagration | High | Spread out | Spread out to avoid burning everyone! |
| Flame Breath | High | Avoid front | Don’t get roasted! Stay out of his face! |
| Thunderclap | Medium | Heal up | Big shockwave! Heal fast! |
Wow SoD Solakar Flamewreath BRS guide

Solakar Flamewreath is a fiery dragon boss in Wow Sod 4 Upper Blackrock Spire. You’ll face waves of enemies before he appears, so get ready for an intense battle!
DPS (Damage Per Second) Recommendations
- Focus Hatchers — Kill the Rookery Hatchers quickly to stop them from breaking more eggs.
- Clear Whelps — Use AoE attacks to clear the whelps fast.
- Keep Distance — Stay at range to avoid his War Stomp.
Tank Recommendations
- Control Guardians — Grab the Rookery Guardians and hold them against the wall.
- Position Solakar — Keep Solakar along the wall to control his movements and protect the group.
Healer Recommendations
- Stay Spread — Keep the group spread out to minimize the impact of War Stomp.
- Heal Quickly — Be ready to heal through the damage from multiple mobs and Solakar’s attacks.
| Boss Ability | Wipe Potential | What to Do | Informal Commentary |
| War Stomp | Medium | Stay at range | Keep back or get stunned! |
| Hatchers | High | Kill quickly | Take down those Hatchers fast! |
| Whelps | Medium | AoE them down | Clear the whelps before they overrun you! |
SoD BiS Gear Boost
Let our experts tackle the dreary work for you!

To start the encounter, hug the northern wall and clear out some eggs if you can. Take down the dragonspawn before starting the event. Click Father Flame to begin and loot the item. Focus on killing the Rookery Hatchers first, then deal with the whelps. Tanks should control the Rookery Guardians and keep them along the wall. Once Solakar appears, position him carefully, finish off any remaining whelps, and then burn him down. Hug the wall to avoid cracking more eggs as you move out.
Wow SoD Jed Runewatcher (rare spawn) BRS guide

Jed Runewatcher is a rare boss you might find in Wow Sod 4 Upper Blackrock Spire. He’s not too hard to beat, but finding him is a special treat!
DPS (Damage Per Second) Recommendations
- Stay at Range — Keep your distance to avoid his Charge and Shield Bash.
- Quick Focus — Burn him down quickly once the tank has him positioned.
Tank Recommendations
- Against the Wall — Keep Jed against the wall to control his movement.
- Hold Aggro — Make sure Jed stays focused on you, especially after his Charge.
Healer Recommendations
- Watch for Charges — Be ready to heal anyone hit by Jed’s Charge.
- Steady Healing — Maintain a steady flow of healing to counter his Heroic Strike.
| Boss Ability | Wipe Potential | What to Do | Informal Commentary |
| Charge | Medium | Stay at range | Stay back or get knocked around! |
| Shield Bash | Medium | Stay at range | Avoid getting bashed, keep distance! |
| Heroic Strike | Low | Heal up | Keep healing, it’s a strong hit but manageable. |
To defeat Jed Runewatcher, keep him against the wall and stay at range to avoid his Charge and Shield Bash. Focus your attacks, heal steadily, and you’ll bring down this rare boss with ease.
Wow SoD Goraluk Anvilcrack BRS guide

Goraluk Anvilcrack is a tough blacksmith boss in Wow Sod 4 Upper Blackrock Spire. He’s strong and hits hard, so be ready for a solid fight!
DPS (Damage Per Second) Recommendations
- Stay at Range — Keep your distance to avoid his melee attacks.
- Focus Fire — Burn him down quickly once the tank has him positioned.
Tank Recommendations
- Against the Wall — Keep Goraluk against the wall to control his movement.
- Hold Aggro — Make sure Goraluk stays focused on you, especially after his Backhand and Head Crack attacks.
Healer Recommendations
- Watch for Backhand — Be ready to heal anyone stunned by his Backhand.
- Steady Healing — Maintain a steady flow of healing to counter his Heroic Strike.
| Boss Ability | Wipe Potential | What to Do | Informal Commentary |
| Backhand | Medium | Stay at range | Keep back to avoid the stun! |
| Head Crack | Medium | Heal fast | Quickly heal anyone hit by this! |
| Heroic Strike | Low | Heal up | Just keep healing through his hits! |
To defeat Goraluk Anvilcrack, keep him against the wall and stay at range to avoid his Backhand and Head Crack. Focus your attacks, heal steadily, and you’ll bring down this tough blacksmith with ease.
WoW Sod 4 BRS | Quests

These quests are designed to help you defeat powerful bosses, collect valuable loot, and complete important missions. Whether you’re exploring Lower Blackrock Spire (LBRS) or Upper Blackrock Spire (UBRS), there’s always something thrilling to do!
| Quest Name | Upper or Lower BRS | Informal Description of Task |
| Put Her Down | Lower | Wow Sod 4 lower blackrock spire quest to kill the big wolf, Halcyon. |
| Bijou’s Belongings | Lower | Wow Sod 4 lbrs quest to find Bijou’s lost items and defeat bosses for cool rewards. |
| The Pack Mistress | Lower | Wow Sod 4 lbrs quest to take down Halcyon, given by Galamav the Marksman. |
| Warlord’s Command | Lower | Wow Sod 4 lbrs quest for Onyxia Attunement, needing you to defeat several bosses in LBRS. |
| En-Ay-Es-Tee-Why | Lower | Wow Sod 4 lower blackrock spire quest to collect spider eggs from Mother Smolderweb. |
| Kibler’s Exotic Pets | Lower | Wow Sod 4 lbrs quest to capture a Worg Pup by Halcyon for a cute pet. |
| The Final Tablets | Lower | Wow Sod 4 lbrs wow classic quest to collect tablets from Shadow Hunter Vosh’Gajin and War Master Voone. |
| The Darkstone Tablet | Upper | Wow Sod 4 ubrs quest to find the Darkstone Tablet in the Rookery room. |
| For The Horde! | Upper | Wow Sod 4 ubrs wow quest for Horde Onyxia Attunement to kill Warchief Rend Blackhand and bring back his head. |
| Doomrigger’s Clasp | Upper | Wow Sod 4 ubrs quest to retrieve Doomrigger’s Clasp from the Father Flame room in UBRS. |
| General Drakkisath’s Demise | Upper | Wow Sod 4 upper blackrock spire quest to kill General Drakkisath for powerful trinkets. |
| Eye of the Emberseer | Upper | Wow Sod 4 ubrs quest to bring back the Eye of the Emberseer from Pyroguard Emberseer. |
| Blackhand’s Command | Upper | Wow Sod 4 upper blackrock spire entrance quest to start the attunement for Blackwing Lair by getting the item from the Quartermaster. |
| The Matron Protectorate | Upper | Wow Sod 4 ubrs quest to help Awbee and eventually get the Breastplate of the Chromatic Flight or Legguards of the Chromatic Defier. |
| Pip Quickwit, At Your Service! | Upper | Wow Sod 4 ubrs wow classic quest to skin The Beast and have Finkle appear to get a special item. |
| The Demon Forge | Upper | Wow Sod 4 upper blackrock spire quest for Blacksmithing, to kill Goraluk Anvilcrack and use the Blood Stained Pike on his corpse, then find the Unforged Rune Covered Breastplate. |
Buy WoW SOD Gold
Dominate the Game: Acquire WoW SOD Gold Today!

WoW Sod 4 BRS | Loot Table

From magical books like the Grimoire of Inferno for Warlocks to deadly weapons like the Felstriker dagger and Blackhand Doomsaw polearm. We’ve got epic armor pieces like the Eye of Rend leather armor and Bonespike Shoulder mail armor. Need some sweet rings and trinkets? Check out the Flaming Band or the Heart of Wyrmthalak. And don’t forget those rare plans and patterns for you crafters out there, like the Plans — Arcanite Reaper and Pattern — Robe of the Archmage.
SoD BiS Gear Boost
Let our experts tackle the dreary work for you!

WoW Sod 4 BRS | Plot

A long time ago, there was this big civil war among the dwarves called the War of the Three Hammers. The Dark Iron clan, led by Sorcerer-Thane Thaurissan, decided to summon a big fiery guy named Ragnaros the Firelord to help them out. Bad idea. Ragnaros caused a massive volcanic explosion, and boom! Blackrock Mountain was born. This place became a burning, molten mess with Ragnaros chilling at the bottom.
Lower Blackrock Spire (LBRS) Now, in the lower levels of Blackrock Spire, it’s a real mess. You’ve got the Blackrock Clan orcs running wild, along with ogres, trolls, and all sorts of nasties. Leaders like Highlord Omokk, Shadow Hunter Vosh’gajin, and War Master Voone are making sure this place stays chaotic.

Upper Blackrock Spire (UBRS) Upstairs, in Upper Blackrock Spire, things are even more intense. Warchief Rend Blackhand, the son of the original Warchief Blackhand, is in charge. He’s got help from dragonkin and the black dragon Nefarian. Nefarian’s got big plans to make a new, stronger dragonflight, so UBRS is a big deal for him.
Conclusion

This dungeon has two parts — Lower Blackrock Spire (LBRS) and Upper Blackrock Spire (UBRS). Both are filled with tough bosses and scary enemies.
In LBRS, you’ll meet big bosses like Highlord Omokk, a giant ogre, and Mother Smolderweb, a huge spider. Each boss has special powers that make the fights hard but fun. In UBRS, the bosses are even tougher. You’ll fight Warchief Rend Blackhand, who rides a dragon named Gyth, and General Drakkisath, a powerful dragonkin. These bosses have many tricky moves and bring friends to help them.
To enter these dungeons, you have to go through Blackrock Mountain, complete special quests, and find keys. Getting into UBRS is like a secret club—you need to collect special items and complete a quest.
Each boss fight needs everyone to work together. You need to dodge attacks, handle extra enemies, and heal lots of damage. Everyone in the group has a big job to do. Whether you are doing lots of damage (DPS), keeping the boss in the right spot (tank), or healing your friends (healer), you all need to help each other.
The loot in Blackrock Spire is awesome. You can find powerful weapons, armor, and cool items. Beating bosses and finishing quests gives you great rewards and makes you feel proud.
In the end, defeating the bosses in Blackrock Spire feels amazing. It takes strategy, skill, and teamwork, making the adventure unforgettable.
Epiccarry: best wow boost and coaching services
Frequently Asked Questions
What is Blackrock Spire in WoW — Season of Discovery Phase 4?
Blackrock Spire is a large, exciting dungeon in World of Warcraft — Season of Discovery Phase 4. It is split into two parts — Lower Blackrock Spire (LBRS) and Upper Blackrock Spire (UBRS). Each part has its own set of tough bosses and fierce enemies, making it a thrilling place to explore and conquer.
How many bosses are in Blackrock Spire?
In Lower Blackrock Spire (LBRS), there are 9 bosses to defeat, including Highlord Omokk and Mother Smolderweb. Upper Blackrock Spire (UBRS) has 8 bosses, such as Warchief Rend Blackhand and General Drakkisath. Each boss has unique abilities that require teamwork and strategy to overcome.
What are the main enemies in Blackrock Spire?
The main enemies you will encounter in Blackrock Spire are ogres, orcs, trolls, spiders, wolves, and dragonkin. Each enemy type presents its own challenges, making every fight unique and engaging.
What is the goal of exploring Blackrock Spire?
The main goal in Blackrock Spire is to defeat the bosses, collect valuable loot, and complete quests. The dungeon is designed to test your skills and teamwork, offering great rewards for those who succeed.
How do I get to the entrance of Blackrock Spire?
To reach Lower Blackrock Spire (LBRS), head to Blackrock Mountain, located between the Burning Steppes and Searing Gorge. The entrance is inside Blackrock Mountain, on the lower levels past the large chains. The entrance to Upper Blackrock Spire (UBRS) requires you to complete a special attunement quest to get a key that unlocks the door.
What is the attunement process for Upper Blackrock Spire?
To enter UBRS, you need to complete a quest called Seal of Ascension. This involves finding a character named Vaelan in LBRS, collecting gems from certain bosses, and then taking these items to a blacksmith in Blackrock Depths (BRD) to craft the key. Once you have the key, you can unlock the door to UBRS and start your adventure.
Who is Highlord Omokk in Blackrock Spire Wow SoD 4?
Highlord Omokk is a big ogre in Lower Blackrock Spire LBRS. He swings his club hard and knocks players back. Tanks should keep him turned away from the group. DPS should avoid standing in front of him. Healers need to be ready for big heals when he gets angry.
Who is Shadow Hunter Vosh’gajin in Blackrock Spire Wow SoD 4?
Shadow Hunter Vosh’gajin is a sneaky troll in LBRS. She casts curses and turns players into frogs. Tanks should keep her away from the group. DPS should kill her helpers first. Healers need to remove curses quickly.
Who is War Master Voone in Blackrock Spire Wow SoD 4?
War Master Voone is a tough orc in LBRS. He hits hard and has a powerful swing. Tanks should keep him facing away from the group. DPS should avoid his front. Healers need to watch the tank’s health closely.
Who is Mother Smolderweb in Blackrock Spire Wow SoD 4?
Mother Smolderweb is a giant spider in LBRS. She stuns players and spreads poison. Tanks should keep her facing away from the group. DPS should spread out. Healers need to remove poison and heal stunned players.
Who is Urok Doomhowl in Blackrock Spire Wow SoD 4?
Urok Doomhowl is a scary orc in LBRS. He roars to scare players and hits hard. Tanks should be ready to regain control after fear. DPS should spread out and keep an eye on their health. Healers need to cleanse bleeds and heal heavy hits.
Who is Quartermaster Zigris in Blackrock Spire Wow SoD 4?
Quartermaster Zigris is a goblin in LBRS. He moves a lot and hits hard. Tanks should keep him focused and steady. DPS should stay mobile and hit hard. Healers need to stay alert and keep their distance.
Who is Halycon in Blackrock Spire Wow SoD 4?
Halycon is a big wolf in LBRS. She comes with little wolf pups. Tanks should grab Halycon and the pups. DPS should kill the pups first. Healers need to keep the tank’s health up and heal anyone bitten.
Who is Gizrul the Slavener in Blackrock Spire Wow SoD 4?
Gizrul the Slavener is a fierce wolf in LBRS. He bites and heals himself. Tanks should keep his attention. DPS should hit hard to reduce his healing. Healers need to cleanse poison and keep everyone healthy.
Who is Overlord Wyrmthalak in Blackrock Spire Wow SoD 4?
Overlord Wyrmthalak is the final boss in LBRS. He shouts to weaken players and knocks them back. Tanks should face him away from the group. DPS should avoid his front and spread out. Healers need to heal more during his shout and be ready for extra enemies.
Who is Pyroguard Emberseer in Blackrock Spire Wow SoD 4?
Pyroguard Emberseer is a fiery elemental in Upper Blackrock Spire UBRS. He needs to be freed before the fight. Tanks should keep him away from the group. DPS should quickly kill the guards. Healers need to heal burns quickly and stay spread out.
Who is Warchief Rend Blackhand in Blackrock Spire Wow SoD 4?
Warchief Rend Blackhand rides the dragon Gyth in UBRS. Tanks should keep Gyth facing away from the raid. DPS should focus on Gyth first and then switch to Rend. Healers need to manage mana and keep everyone’s health up.
Who is Gyth in Blackrock Spire Wow SoD 4?
Gyth is a big dragon in UBRS. Tanks should keep Gyth turned away from the group. DPS should avoid his front and hit hard. Healers need to heal a lot during breath attacks and keep everyone’s health stable.
Who is The Beast in Blackrock Spire Wow SoD 4?
The Beast is a giant monster in UBRS. Tanks should be ready for his charge and position themselves with their back to a wall. DPS should stay away from his front and spread out. Healers need to stay at range and heal quickly.
Who is General Drakkisath in Blackrock Spire Wow SoD 4?
General Drakkisath is the final boss in UBRS. Tanks should control his guards and keep him facing away from the group. DPS should wait if kiting or focus on the guards first. Healers need to heal heavy damage and keep everyone spread out.
Who is Solakar Flamewreath in Blackrock Spire Wow SoD 4?
Solakar Flamewreath is a fiery dragon in UBRS. Tanks should control the guardians and position Solakar along the wall. DPS should kill the hatchers quickly and clear the whelps. Healers need to keep the group spread out and heal through multiple attacks.
Who is Jed Runewatcher in Blackrock Spire Wow SoD 4?
Jed Runewatcher is a rare boss in UBRS. Tanks should keep him against the wall. DPS should stay at range and focus fire. Healers need to watch for charges and keep steady healing.
Who is Goraluk Anvilcrack in Blackrock Spire Wow SoD 4?
Goraluk Anvilcrack is a tough blacksmith in UBRS. Tanks should keep him against the wall. DPS should stay at range and burn him down. Healers need to be ready to heal stuns and maintain steady healing.
