Nokhud Offensive Dungeon Guide Dragonflight Season 4 | MDI | MDT | Tricks | Abilities | Strategies | Tactics
Published on: 18 April, 2024 | Last Updated on: 26 April, 2024
The Nokhud Offensive — yet another Dungeon, specifically designed for World of Warcraft: Dragonflight. It was introduced in the first season as a plot-oriented dungeon. However, with the coming World of Warcraft: 10.2.7 Season 4, many things are changing. That’s why we’ve decided to create a specific Nokhud Offensive dungeon guide. If you read us often, you already know that this guide is strictly divided into two different parts: one for newbies (where we explain the entrance, loot, and plot), and one for experts. So, prepare to learn about:
- The best MDI tricks.
- All Nokhud Offensive dungeon trash along with their abilities and hints.
- The best MDT routes, which are adapted for Season 4 of World of Warcraft: Dragonflight.
- The loot table with all those crests.
- The tactics for each boss.
- Personal hints on how to optimize your routes.
Of course, we’ll cover each boss with tactics, tricks, and key abilities. So, without further ado… Oh wait. Again, we forgot to mention that this article is not a standalone guide; it’s part of our Dragonflight Season 4: Mythic+ guide, so, catch all our Dungeon guides
| Algath’ar Academy | Azure Vault | Brackenhide Hollow |
| Halls of Infusion | Neltharus | Nokhud Offensive |
| Ruby Life Pools | Uldaman | Dragonflight dungeons overview! |
IMPORTANT NOTE:
Dive deeper into the article to find a special PROMOCODE for a Discount to CUT ON ALL YOUR BOOSTS.
And we’re move towards
Nokhud Offensive Mythic+ Dungeon | Entrance

The Nokhud Offensive is nestled in the Ohn’ahran Plains, providing a dynamic setting for players to navigate through multiple boss fights, from the initial skirmishes to the climactic battle with Balakar Khan. This dungeon not only tests your ability to dodge unavoidable damage and handle random targets but also requires strategic movement within melee range to optimize both damage output and healing.
Approximate coordinates: /way 62.01 42.44
| Faction | Route |
| Alliance | Fly to Valdrakken, then east to the plains. |
| Horde | Head north from Maruukai, straight to the dungeon entrance. |
LEVELING SERVICE WOW PANDARIA REMIX
Rise fast – Be on the Edge – Unlock all Content
Nokhud Offensive Mythic+ Dungeon | Timer
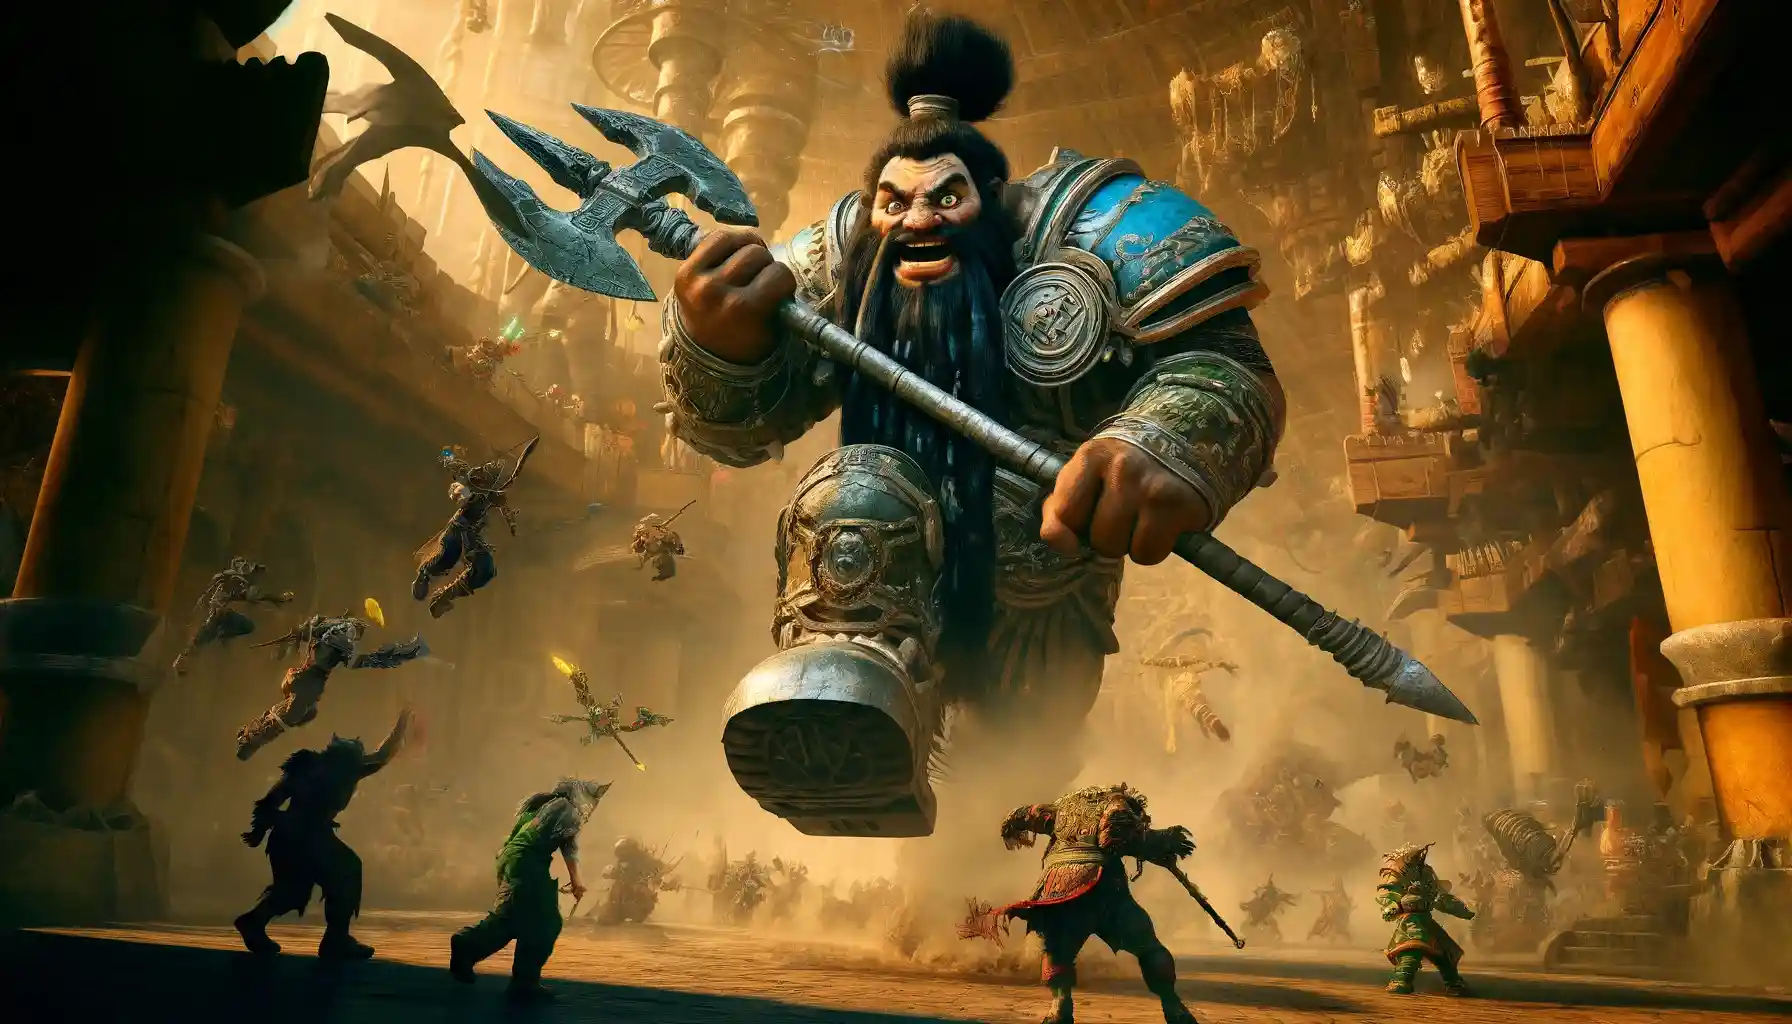
For Mythic Season 4, there’s no timer on Nokhud Offensive keys from +2 to +10. When you push past that, timers kick in. You gotta keep sharp, especially with boss fights like the speedy Raging Tempest and the tough final showdown with Balakar Khan. You’ll be juggling healing cooldowns, dodging nasty bleeds, and handling those high-priority mini bosses. As the levels go up, so does the need to nail every move.
| The Nokhud Offensive | 40:00 | 32:00 | 24:00 |
Buy Mythic+ Dungeons Boost
Claim New Loot And Great Vault Rewards
Nokhud Offensive Mythic+ Dungeon | MDT routes
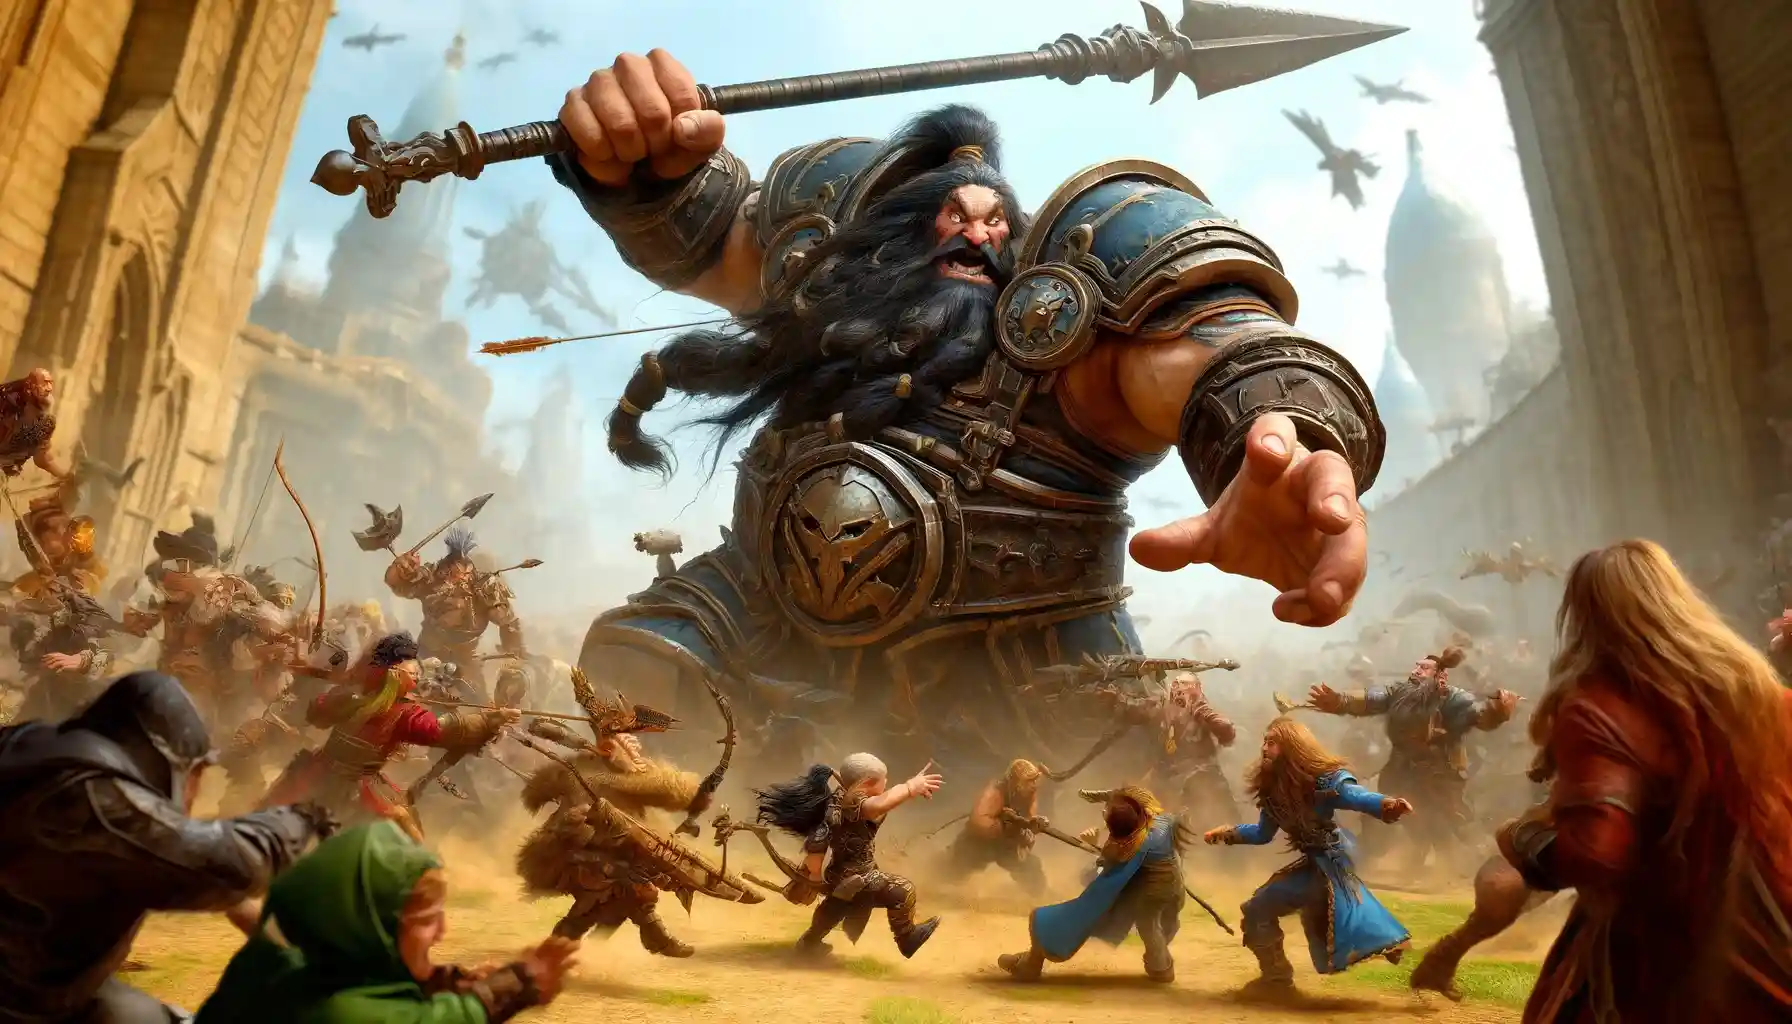
So, the time has come. We know that most of you visit this Nokhud dungeon guide for one thing—to download and import MDT strings to optimize your routes and tackle the dungeon at +3 exactly in Season 4. So we do things the traditional way, which is why we’re able to provide you:
- Common Raider.io Route – passes for most people.
- The affixes based routes. For storming, afflicted, and others.
- The tyrannical specific route.
- The shroud route.
- The no Shroud route.
- The Pug Safe route.
- The Tank Route for pugs no shroud.
- The Fun route.
- The route for high keys.
- The top MDI route from previous season.
- The alternate route.
| Route Name | Who’s it for | Informal Commentary |
| Common Raider.io Route | General public | A solid pick for most folks. Handles boss fights and trash without too much fuss. |
| Affixes Based Routes | Specific affix weeks | Customized to tackle nasty affixes like storming or afflicted. Keeps you out of critical health. |
| Tyrannical Specific Route | Tyrannical weeks | Amps up strategies for the tougher boss encounters. Get ready to pop those cooldowns! |
| Shroud Route | Stealth lovers | Sneak past those pesky non boss enemies. Smooth sailing and fewer headaches. |
| No Shroud Route | Straightforward crews | No tricks, just a brawl with every mob. Brace for unavoidable AOE damage. |
| Pug Safe Route | Pug groups | Keeps it simple and safe, minimizing wipes with less risky moves. |
| Tank Route for Pugs No Shroud | Tanks in pug groups | Direct and deadly, focusing on keeping aggro without the frills. |
| Fun Route | Just for kicks | For when you’re not sweating the timer. Go nuts with less conventional plays! |
| Route for High Keys | High key pushers | For the seasoned squad aiming to maximize efficiency and handle high-key pressure. |
| Top MDI Route from Last Season | Competitive players | The creme de la creme from last season’s MDI. For when you want to play like the pros. |
| Alternate Route | Those who like variety | Switches things up from the usual grind, adding some spice to the routine. |
Buy Cheap WoW Gold
WoW Gold: Your Key to Greatness!

These 11 routes, are designed especially for getting the best results based on the chosen tasks.
Nokhud Offensive Mythic+ Dungeon | Thrash abilities

From static mobs that rain arrows down on you to pesky casters that can mess up your day with a single spell, this guide’s got the scoop on what to smack, dodge, or just plain avoid. Remember, handling these guys smoothly can be as crucial as the boss fights themselves!
| Mob Name | Ability Name | What to Do | Which Boss Is This Mob Near | Informal Commentary |
| Nokhud Lancemaster | Cleaving Strikes | Dodge | Granyth | Don’t get in front of these guys unless you wanna get sliced. Keep them faced away from the party. |
| Nokhud Lancemaster | War Stomp | Dodge | Granyth | It’s a ground-pounder. Jump away unless you want to be part of the floor decoration. |
| Nokhud Lancemaster | Disruptive Shout | Kick | Granyth | Lock this one down with a kick. You don’t want them locking out your spells. |
| Nokhud Longbow | Shoot | Ignore | Granyth | Unavoidable, just soak it up. |
| Nokhud Longbow | Rain of Arrows | Dodge/CC | Granyth | If you can’t stun it, then dance out of those drop zones. |
| Nokhud Warspear | Swift Stab | Focus | Granyth | Fast and nasty. Prioritize taking this one down quick to save your healer some headache. |
| Nokhud Warspear | Pierce | Focus | Granyth | Tanks, watch your stacks unless you fancy bleeding all over. |
| Nokhud Hornsounder | Rally the Clan | CC | Granyth | Can’t kick it, so stun or disturb to stop the buff party. |
| Primalist Arcblade | Arcing Strike | Dodge | The Raging Tempest | Keep your distance unless you want a haircut by sword. |
| Stormcaller | Totemic Overload | Ignore/Push | The Raging Tempest | Just get clear if you can’t nuke them down from a safe distance. The blast is too big to dodge easily. |
| Primalist Stormspeaker | Stormbolt | Kick | The Raging Tempest | Keep these kicks ready; you don’t want this hitting your tank. |
| Primalist Stormspeaker | Tempest | Kick | The Raging Tempest | Stack that AoE damage can get out of control, so shut it down fast. |
| Primalist Thunderbeast | Chain Lightning | Dodge | The Raging Tempest | Spread out! It’s like tag, but you don’t want to be ‘it’. |
| Primalist Thunderbeast | Thunder Clap | Dodge | The Raging Tempest | If you’re up close, scoot your boots when you see this coming. |
| Primal Stormshield | Stormshield | Purge | The Raging Tempest | Strip that shield off or you’ll be there all day. |
| Primal Stormshield | Shield Bash | Dodge | The Raging Tempest | If you’re ranged, keep your distance. Melee, just step to the side. |
| Soulharvester | Death Bolt Volley | Kick | Teera and Maruuk | Massive shadow damage incoming. Kick it or wear it. |
| Soulharvester | Shatter Soul | Dodge | Teera and Maruuk | Getting your soul shattered sounds as bad as it is. Dodge it! |
| Ukhel Deathspeaker | Chant of the Dead | Move/Knock-back | Teera and Maruuk | Move it or knock it back—don’t let it boost others. |
| Desecrated Ohuna | Rotting Wind | Kick | Teera and Maruuk | A storm of decay that you definitely want to interrupt. |
| Ukhel Beastcaller | Sundering Slash | Dodge | Teera and Maruuk | Tanks, dodge this or you’re in for a world of hurt |
| Ukhel Beastcaller | Desecrating Roar | Ignore | Teera and Maruuk | Can’t stop the roar, so just deal with the adds. |
Buy Amirdrassil Heroic Boost
Obtain premium loot with expert help
Nokhud Offensive Mythic+ Dungeon | Boss tactics
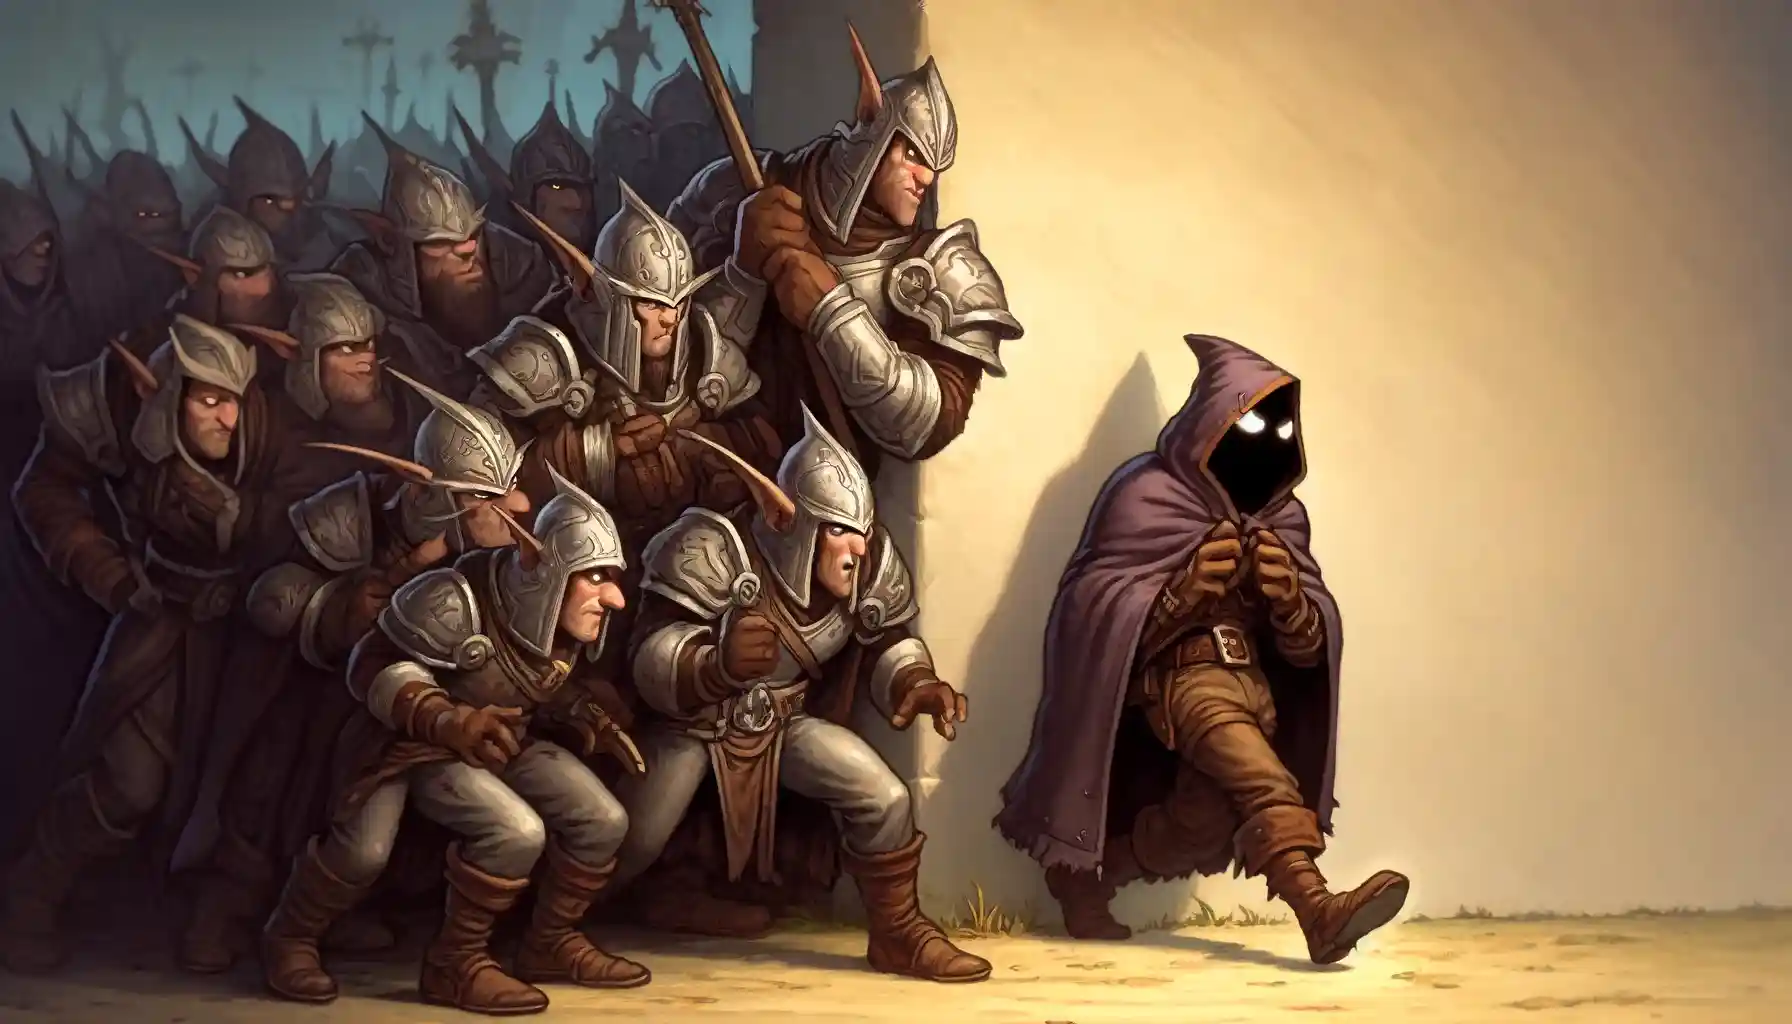
Check out the big bads of the Nokhud Offensive — each one’s got a unique twist to keep your crew on its toes.
- Granyth: Wild, windy beast.
- The Raging Tempest: Pure stormy chaos.
- Teera and Maruuk: Twin centaur trouble.
- Balakar Khan: Ultimate boss brawl.
Granyth

Granyth’s up first in the Nokhud Offensive, and this beast is not here to play games. Get ready to dodge, weave, and strike as this boss throws everything at you, from seismic shocks to a deadly eruption that can wipe your team if you’re not on your toes.
Tactics for Tanks
- Key Abilities: Eruption, Tectonic Stomp
- Keep Granyth on the move and watch for Eruption—when it starts charging, hit those Dragonkiller Lances fast to avoid a team wipe.
- Tectonic Stomp will knock you back if you’re caught, so keep those feet moving!
Tactics for Healers
- Key Abilities: Eruption, Shards of Stone
- Eruption can devastate your party. Have those big healing cooldowns ready.
- Shards of Stone deals serious damage; keep an eye on party health bars and be ready to top everyone off.
Tactics for DPS
- Key Abilities: Eruption, Tectonic Stomp
- Focus on DPSing Granyth down while watching for the Eruption cue to interact with Dragonkiller Lance.
- Avoid the slam area of Tectonic Stomp to keep up your attack without interruption.
Key Features of Granyth
- High AoE damage potential with Eruption.
- Mobility is crucial to avoid Tectonic Stomp and position correctly for using Dragonkiller Lances.
Table of Boss Abilities:
| Boss Ability | Wipe Potential | What to Do | Informal Commentary |
| Eruption | High | Use Dragonkiller Lance | Hit those lances or kiss your butt goodbye! |
| Tectonic Stomp | Medium | Dodge | Dance away unless you fancy a sky-high view. |
| Shards of Stone | Medium | Heal through | Keep those heals flowing, it’s gonna sting. |
Buy WoW Level Boost!
Let professionals expedite your power leveling
Keep these tips in mind, and Granyth won’t know what hit ’em!
The Raging tempest
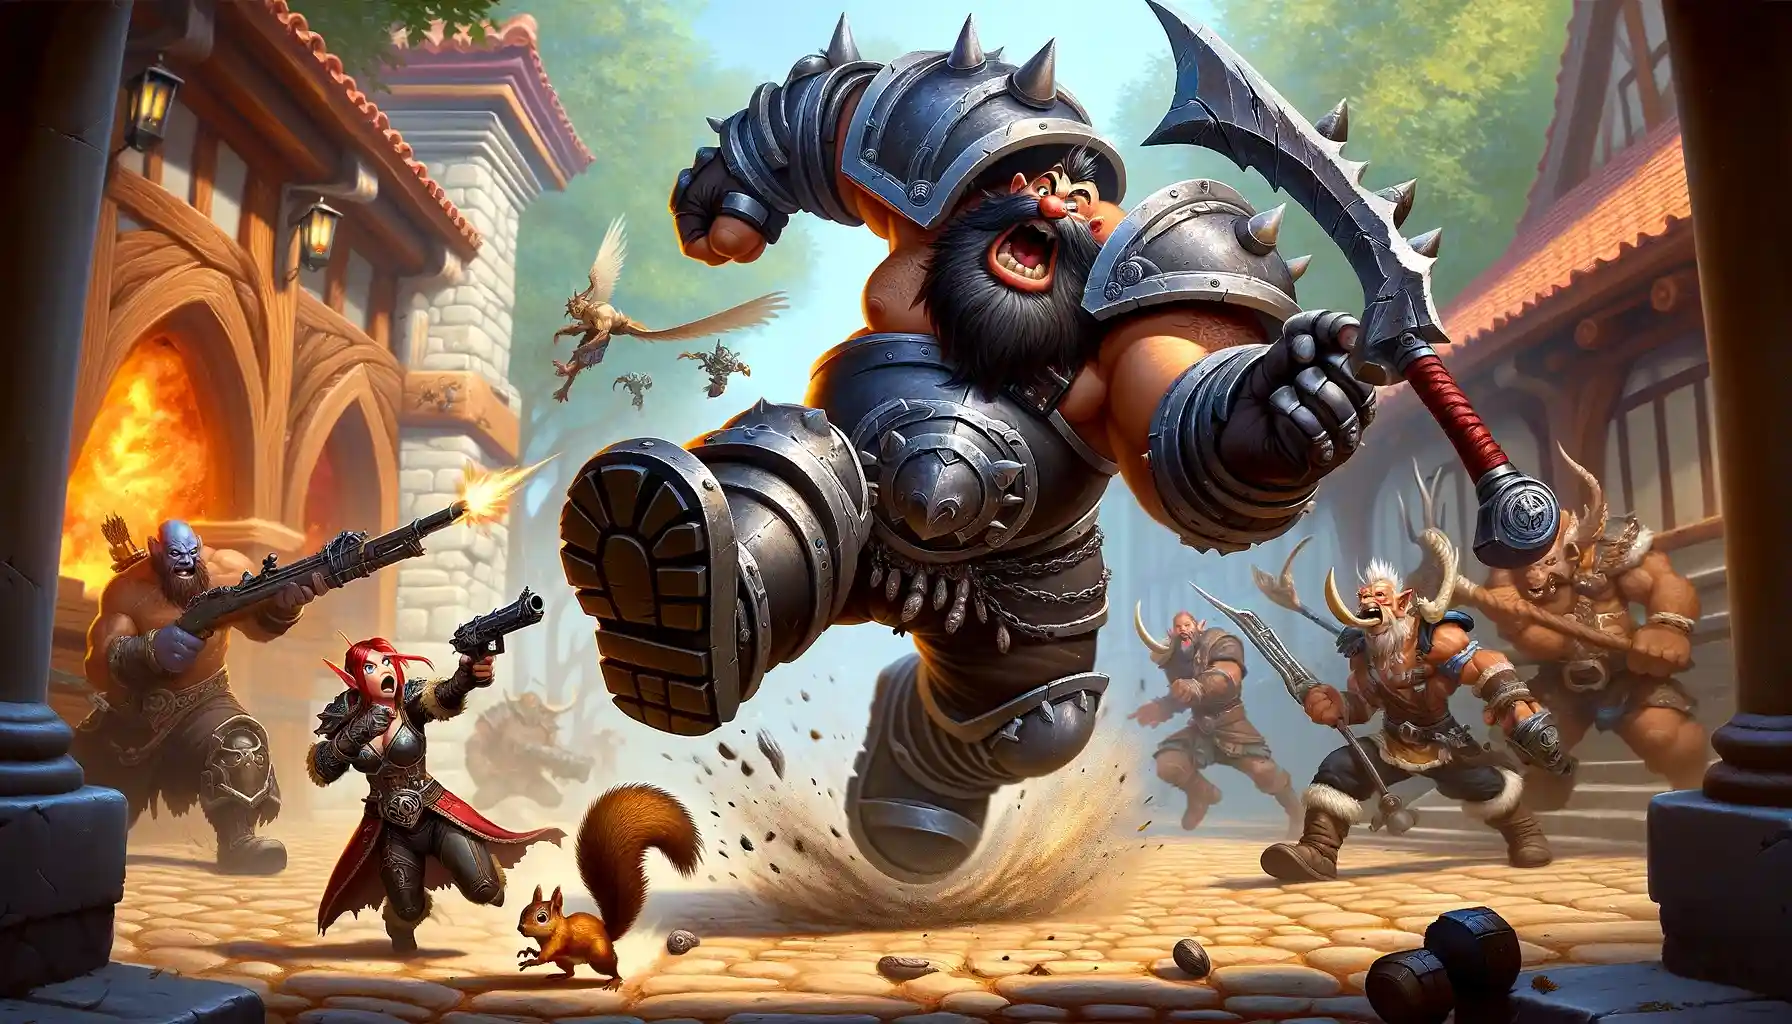
Welcome to the storm party! Meet The Raging Tempest, a boss that’s all about turning up the weather to extreme. This stormy fiend loves to toss around lightning strikes and wind bursts, so keep your feet moving and your eyes peeled.
Tactics for Tanks
- Key Abilities: Wind Burst, Energy Surge
- You’re on dodge duty. Avoid Wind Burst to stay in melee range and be ready to absorb the Energy Surge without getting blown away.
Tactics for Healers
- Key Abilities: Lightning Strike, Energy Surge
- This fight’s all about managing AoE damage from Lightning Strike and keeping the tank topped off through Energy Surge. Quick reflexes with those healing cooldowns are a must.
Tactics for DPS
- Key Abilities: Lightning Strike, Electrical Storm
- Spread out to minimize the damage from Lightning Strike. When Electrical Storm hits, pump out as much damage as you can, using movement speed boosts to dodge incoming damage.
Key Features of The Raging Tempest
- Massive AoE and environmental hazards.
- An energy bar that dictates the fight’s pace, resetting with each phase.
| Boss Ability | Wipe Potential | What to Do | Informal Commentary |
| Wind Burst | Medium | Dodge | Keep those dancing shoes on unless you fancy flying. |
| Energy Surge | High | Absorb/Tank | Soak it up! It’s like catching a fastball with your face. |
| Lightning Strike | High | Spread/Dodge | Don’t bunch up—this isn’t a group hug! |
| Electrical Storm | Extreme | Max DPS/Move | Unleash hell and keep moving, or it’s lights out. |
Buy Plunderdstorm Boost
Get the Best PvP Carry — Claim Your Victory!
Stay sharp, keep moving, and let’s turn the storm against itself!
Teera and Maruuk

Step into the ring with Teera and Maruuk, the tag-team centaur duo of the Nokhud Offensive. These two are all about synergy and coordination, hitting hard and fast with a series of powerful attacks that’ll test your group’s ability to handle multiple threats at once. Keep your eyes peeled and your feet ready to move, because these two don’t play nice.
Tactics for Tanks
- Key Abilities: Spirit Leap, Earthsplitter
- Keep Teera and Maruuk close together to benefit from their shared health pool. This is crucial as their coordinated attacks like the Earthsplitter can deal massive damage if not handled correctly. Watch for Spirit Leap and be ready to reposition quickly to maintain cleave efficiency.
- Dodge Maruuk’s Earthsplitter; it’s a killer if it connects, representing a high threat target with extreme wipe potential.
Tactics for Healers
- Key Abilities: Gale Arrow, Earthsplitter
- Expect heavy bursts of AoE physical damage, especially from Earthsplitter. Gale Arrow will challenge you to keep moving while keeping the entire party healed.
- Dispense those healing cooldowns generously when Earthsplitter hits to maintain maximum health across the party, ensuring no one drops to critical health levels.
Tactics for DPS
- Key Abilities: Gale Arrow, Earthsplitter
- Focus damage evenly to take advantage of the Life Link. This not only helps in dealing damage effectively but also in managing the health pool of both targets.
- Mobility is key; keep moving to avoid area effects and mitigate damage from Gale Arrow and Earthsplitter. Your positioning can prevent random targets from coming under severe threat.
Key Features of Teera and Maruuk boss
- Shared Health Pool: Makes focused, coordinated damage crucial.
- High Mobility Fight: Significant area of effect damage challenges the mobility and agility of the entire team.
| Boss Ability | Wipe Potential | What to Do | Informal Commentary |
| Spirit Leap | Medium | Reposition | Hop to it! They’re aiming right at you as for random target. |
| Gale Arrow | High | Dodge | Don’t just stand there; move it or lose it! |
| Earthsplitter | Extreme | Dodge/Spread | Split fast or get smashed—simple as that or deal damage. |
| Life Link | N/A | Damage both | Hit ‘em both hard and fast, keep it balanced. |
Lace up those boots, keep your cool, and remember: teamwork makes the dream work, especially against this deadly duo! This boss fight isn’t just about heavy hits; it’s a ballet of battle where every move counts. Keep an eye on the energy bar, as the bosses randomly activate their abilities, pushing your mythic difficulty skills to the limit. Be ready for anything, from nature damage to savage strikes, and keep those repositioning skills sharp to protect random party members and ensure the defeat of Teera and Maruuk.
Balakar Khan
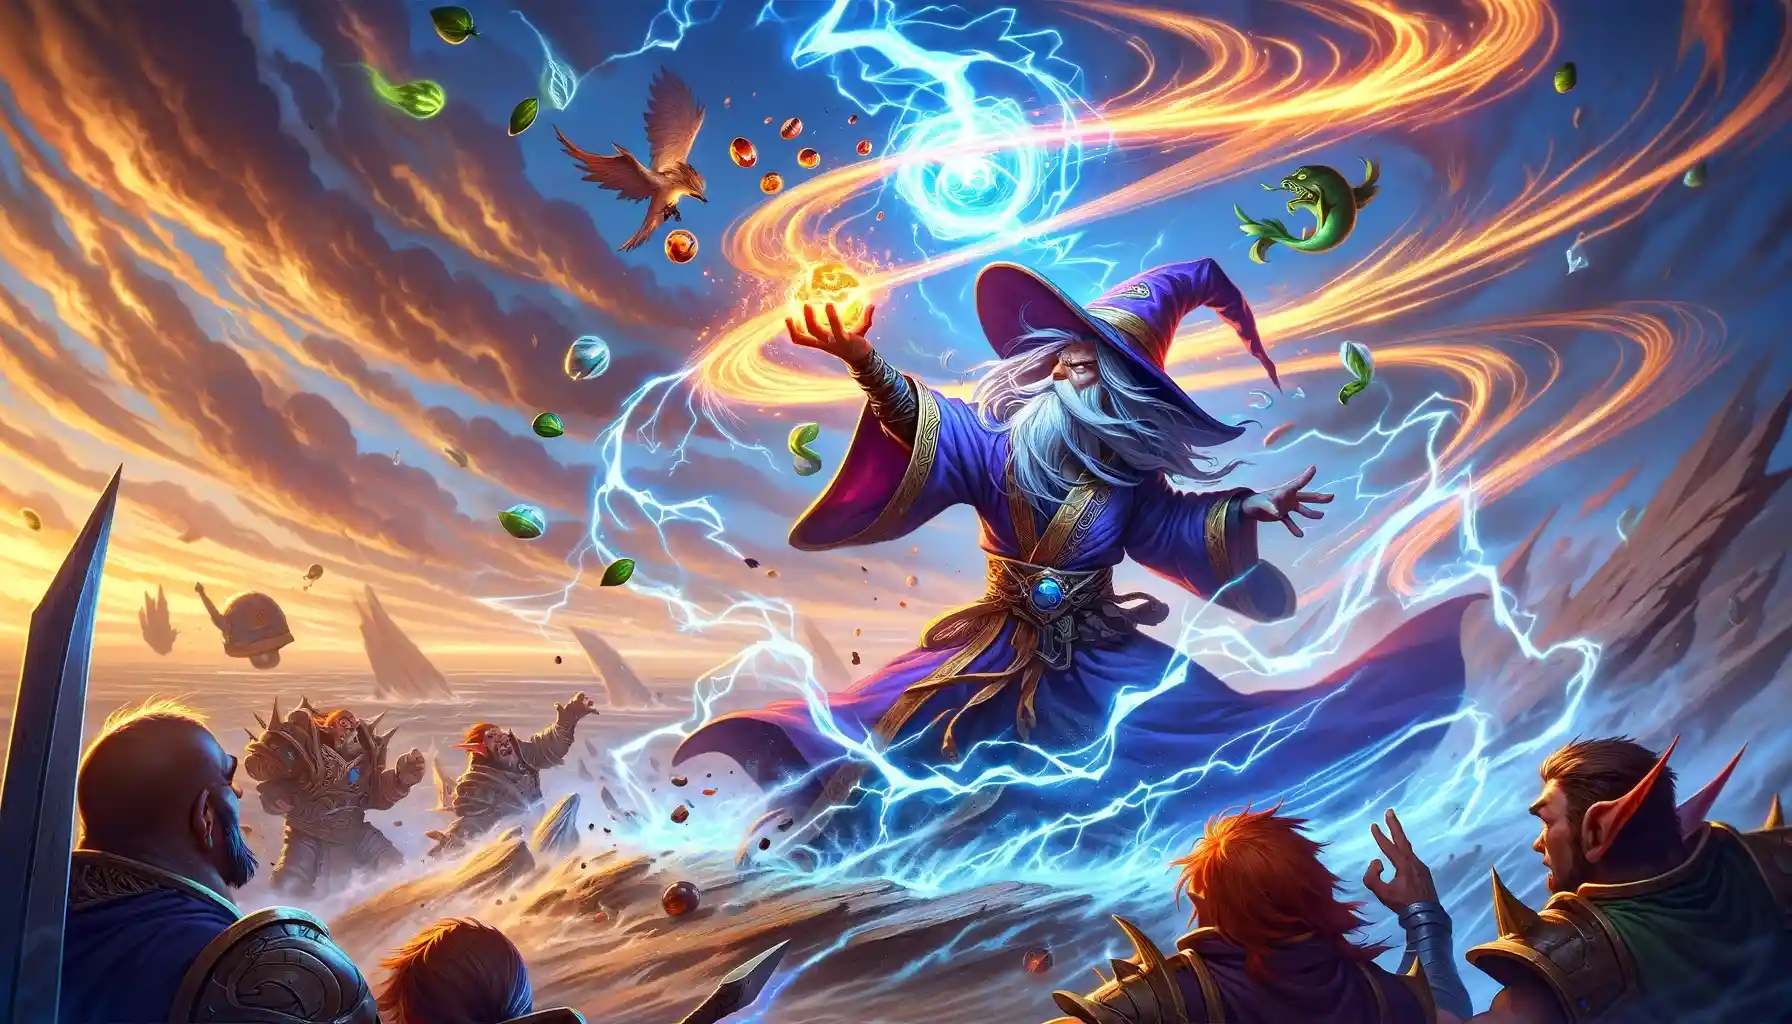
Welcome to the final showdown in the Nokhud Offensive with Balakar Khan, the towering menace waiting at the end of your dungeon run. This boss isn’t just a fight; it’s a marathon of endurance and strategy. Get ready to dodge, heal, and strike like your life depends on it—because it does!
Tactics for Tanks
- Key Abilities: Iron Spear, Rending Strike
- Balakar throws his Iron Spear targeting a random player, followed by a heavy charge. Position yourself strategically, maybe near a wall, to minimize the charge distance.
- Watch out for Rending Strike, it’s a nasty bleed that’ll whittle down your health fast. Keep those mitigation skills handy!
Tactics for Healers
- Key Abilities: Conductive Strike, Upheaval
- Expect massive AoE damage from Upheaval and keep those healing cooldowns ready. Conductive Strike will put a dispellable DoT on the tank—stay alert to cleanse it promptly.
- This fight will push your healing abilities to the limit, balancing between sudden bursts of damage and constant ticking effects.
Tactics for DPS
- Key Abilities: Iron Spear, Static Spear
- Focus on dodging Balakar’s abilities like Iron Spear and the area effects from Static Spear, which can pull you out of position.
- When Balakar activates his minions during the fight’s second phase, group them up for efficient cleaving and take them down quickly to reduce overall damage to the party.
Key Features of Balakar Khan
- The battle has two distinct phases, each testing different aspects of group coordination and individual skill.
- High damage output requires constant movement and awareness from the entire team.
Table of Boss Abilities:
| Boss Ability | Wipe Potential | What to Do | Informal Commentary |
| Iron Spear | High | Dodge, then reposition | If he points at you, it’s time to move—fast! |
| Rending Strike | High | Mitigate and heal | This bleed’s a doozy, keep those heals coming! |
| Static Spear | Medium | Avoid, reposition | Get outta the way unless you wanna be a lightning rod! |
| Upheaval | Extreme | Heal through, spread | When the ground shakes, spread out and pray! |
| Conductive Strike | Medium | Dispel | Zap that debuff off quicker than you can say ouch! |
Get PlunderWonder Boost!
Achieve Plunder Wonder Rewards — Claim Your Victory!
Get your game face on for Balakar Khan, the ultimate test of your dungeon-delving skills in the Nokhud Offensive. Keep those reflexes sharp, stay on your toes, and remember—the only way out is through!
Nokhud Offensive Mythic+ Dungeon | Loot table

Get ready to loot some serious gear! From the Quarryslayer Glaive to the Thunderous Downburst Ring, the loot table is packed with everything from armor sets like the Stoneroot Headdress and Shikaar Ranger Bracers to mighty weapons such as the Bow of the First Khanam and Koroleth’s Crackling Dagger. Don’t forget about the accessories like Ukhel Ancestry Beads and the Lightning-Charged Striders!
Buy Mythic+ Dungeons Boost
Claim New Loot And Great Vault Rewards

Nokhud Offensive Mythic+ Dungeon | Plot
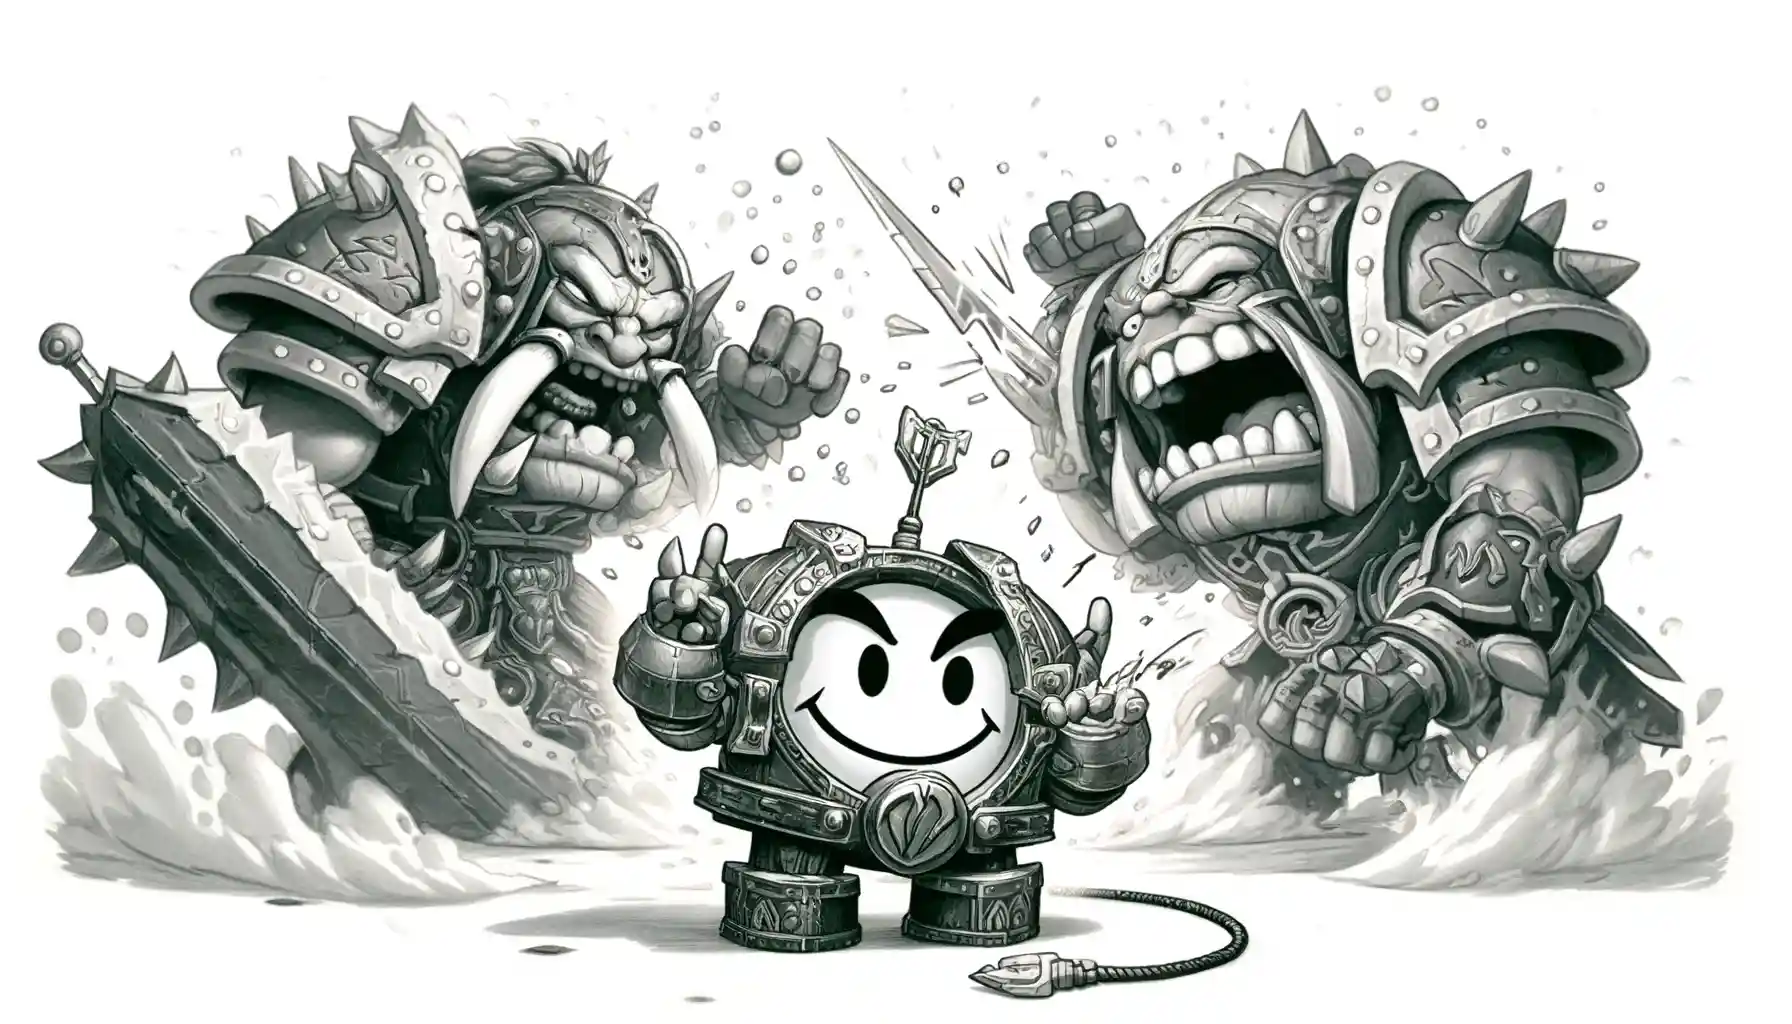
You’re stepping into a bit of a family feud with the centaur clans in the Dragon Isles. The big cheese, Balakar Khan, is trying to boss everyone around and unite all the centaur clans under his rule. As you bash through this dungeon, you’ll take on his toughest cronies and disrupt his plans. Each boss you knock down is a strike against Balakar’s power trip. So gear up, because you’re basically crashing the worst kind of power party.
As you work through, you’ll face other bosses like the most dangerous caster and some important non-boss enemies that can throw a nasty bleed effect or two your way. These encounters prep you for Balakar Khan himself, who’s got an energy bar set from the get-go and loves to randomly activate devastating attacks.
Conclusion

Nokhud Offensive, the only dungeon where you can kick up a storm from start to finish in Mythic+ mode. Remember, this isn’t just about bashing bosses; it’s about mastering the art of movement, understanding the mechanics behind each encounter, and utilizing every trick in the book to beat the clock, especially under heroic difficulty.
From dodging the Raging Tempest’s wind fury to the epic final showdown with Balakar Khan, every step and strategy has been laid out. You’ve got the MDI tricks, the MDT routes right from the nearest flight point, and tactics that’ll have you dodging lightning orbs and savage strikes like a pro. We’ve covered every boss from their high-threat abilities to the critical health levels they can smack your party into. And let’s not forget those pesky trash mobs and their annoying abilities that can turn a run south if you’re not paying attention.
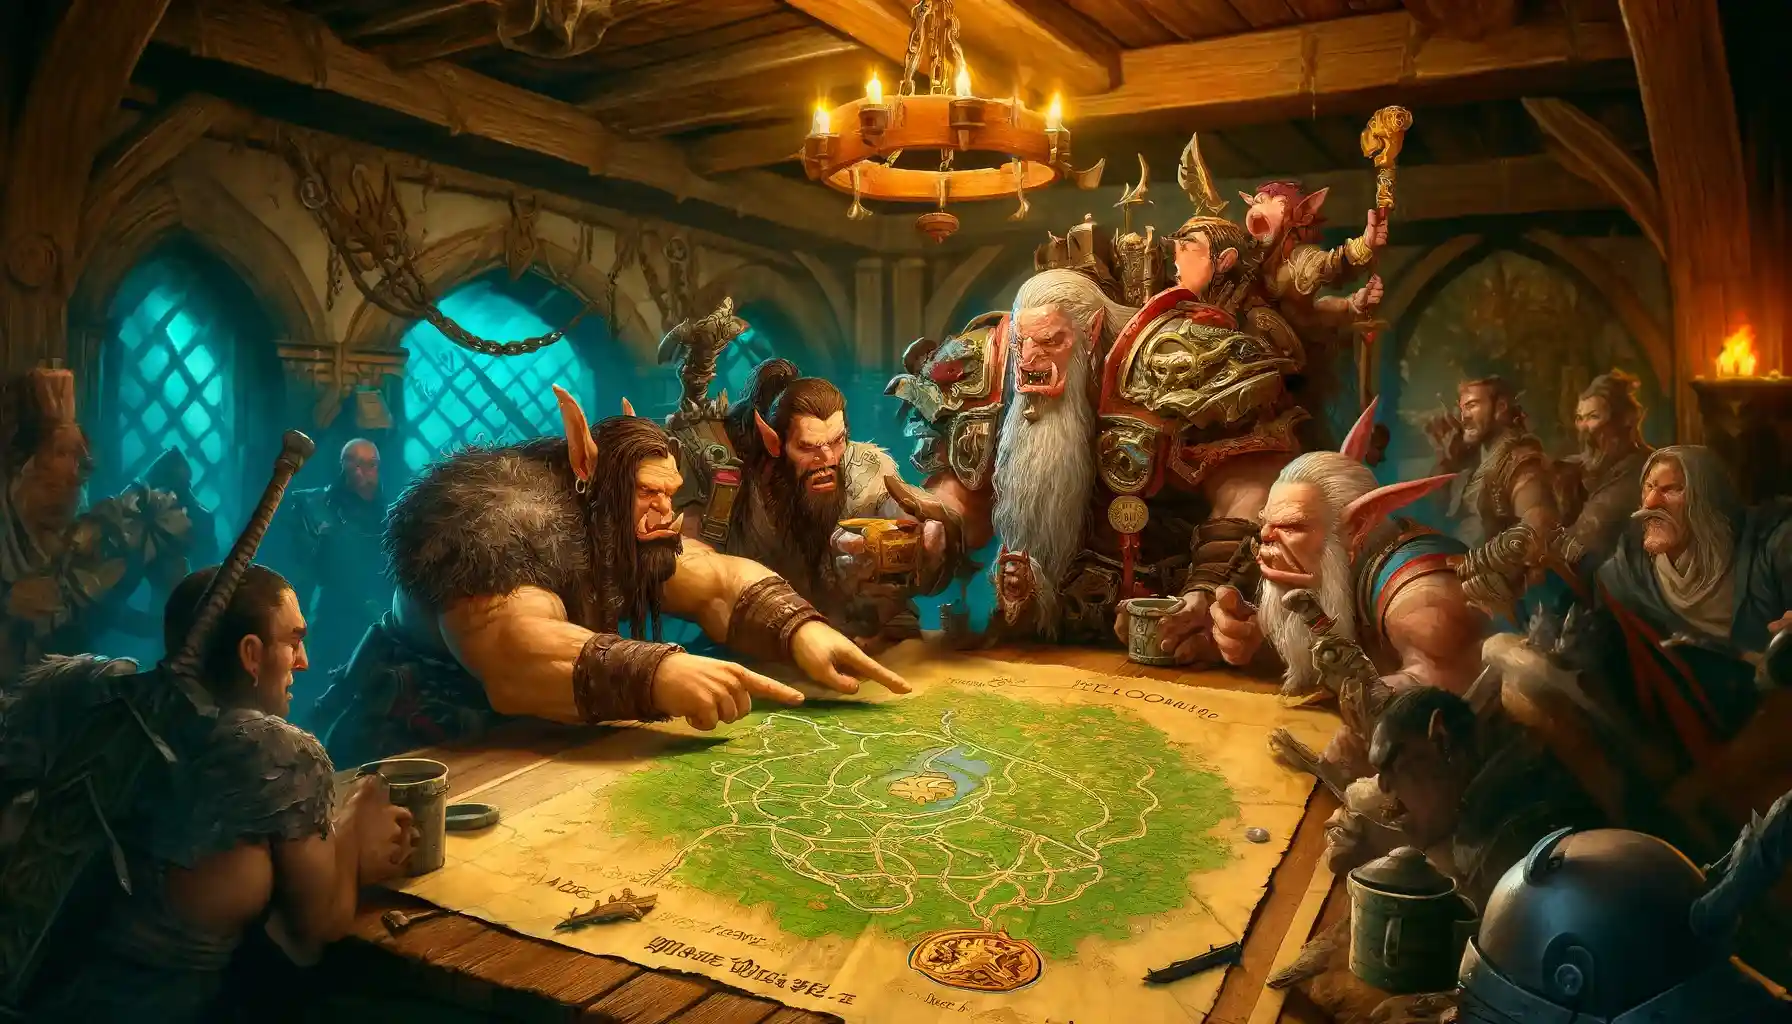
Balakar Khan isn’t just another final boss; he’s a true test of everything you’ve learned. With an energy bar that’s always a concern, he’ll throw everything at you, including random targets coming under his war axe. This battle will push you to maintain half health or better, dodge his iron spear, and manage those rending strikes that come fast and furious.
As we wrap up this guide, here’s a few important things to remember: teamwork is crucial, timing is everything, and every boss fight significantly ups the ante. Whether it’s your first rodeo or you’re a seasoned Mythic keystone enthusiast, each run through the Nokhud Offensive is a chance to hone your skills, beat your best time, and maybe, just maybe, score some epic loot that makes all the effort worth it.
