Brackenhide Hollow Mythic+ Dungeon Guide Dragonflight Season 4 + MDT
Published on: 10 April, 2024 | Last Updated on: 26 April, 2024
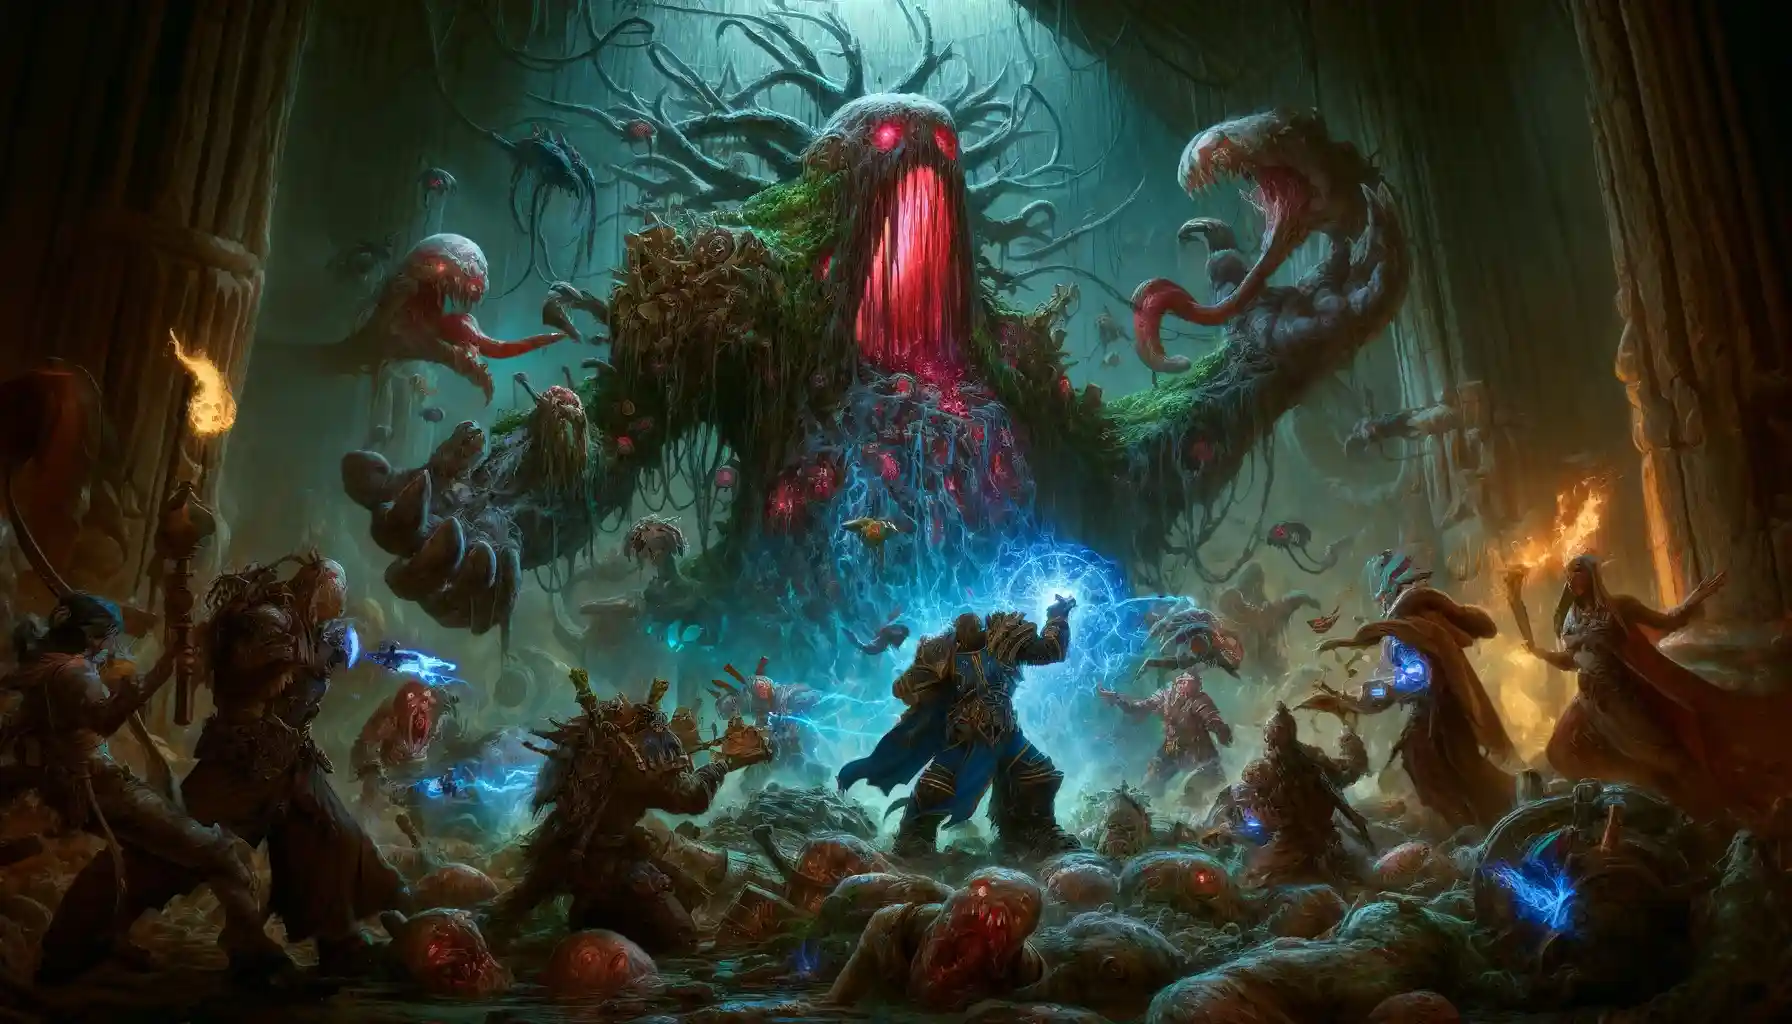
Brackenhide Hollow – an intriguing dungeon introduced specifically for Dragonflight. You might think you don’t need an updated Brackenhide Hollow Mythic+ dungeon guide, but you’d be mistaken. Why? The answer is simple – with Season 4 of the Mythic+ Dungeon guide, there have been numerous updates, both in the mechanics of the Mythic Challenge and in the current version of Brackenhide Hollow itself. Therefore, we’ve created a very specific guide for Brackenhide Hollow, tailored for both newcomers diving into Mythic+ Season 4 and veterans in need of expert tips.
In this Brackenhide Hollow guide, you’ll:
- Discover the entrance and get a fundamental overview of the Dungeon.
- Learn the MDT routes, crafted for all types of gamers, from PUGs to MDI competitors.
- Uncover the best MDI strategies, ideal for high-level keys.
- Understand every mob and boss ability within the Dungeon.
- Get acquainted with the updated Loot table and item levels for Mythic+ Season 4. Plus, you’ll find numerous tips and tricks, both minor and major, specifically designed to enhance your dungeon experience. We’re excited to get started…
Oh, and before we forget, this guide is part of our Mythic+ Season 4 dungeon compendium, where we’ve compiled all the information about the current affixes and dungeons.
| Algath’ar Academy | Azure Vault | Brackenhide Hollow |
| Halls of Infusion | Neltharus | Nokhud Offensive |
| Ruby Life Pools | Uldaman | Dragonflight dungeons overview! |
IMPORTANT NOTE:
Dive deeper into the article to find a special PROMOCODE for a Discount to CUT ON ALL YOUR BOOSTS.

So, we’re move into the main part of our guide!
Brackenhide Hollow Dungeon | Entrance
The entrance to Brackenhide Hollow sits snug at around /way 11.57 48.78 in the Azure Span. This spot is your gateway to a blend of challenges, from absorbing shields in boss encounters to dodging bone bolts thrown by trash mobs.
| Faction | Path to Brackenhide Hollow Entrance |
| Horde | Start from the nearest flight point in the Azure Span. Navigate through the landscape, avoiding or engaging unique non-boss enemies and notable trash mobs. Continue until you reach the coordinates /way 11.57 48.78, where Brackenhide Hollow’s entrance awaits. |
| Alliance | From the nearest flight point in the Azure Span, proceed through the territory, facing similar challenges with trash mobs and unique enemies. Follow the landscape to the entrance coordinates /way 11.57 48.78, leading to Brackenhide Hollow |
Brackenhide Hollow Dungeon | Timer
Brackenhide Hollow Mythic+? Think quick, move quicker. It’s a dash against the timer. Hackclaw to Wratheye, it’s non-stop action. Dodge, interrupt, and smash through. Every second counts. Beat the clock, win the game. Let’s hustle!
| Brackenhide Hollow | 36:00 | 28:48 | 21:36 |
Buy Mythic+ Dungeons Boost
Claim New Loot And Great Vault Rewards

Brackenhide Hollow Dungeon | MDT routes

Ok, as when we started to write the Brackenhide hollow dungeon, the Mythic 4 Season wasn’t started, we get an attention on the Routes which was designed before the Season 4 renovations. As our honest opinion, those routes are perfectly passed for the next season, with all major and minor improvements of the raid. So we’re become brave, and create for you list of recommended BrackenHide Hollow Dungeon MDT routes:
- Standard Raider.io Route. Passes for the most of the groups.
- MDI based route, with skips.
- No Shroud Brackenhide Hollow Dungeon route.
- Recommended Fortified Route.
- Pug Friendly route, for safety tanks.
- Recommended Tyrannical MDT route.
- Fun Route for overpowered people.
| Name of Route | Who Passes | Laconic Informal Commentary & Recommendations |
| Standard Raider.io Route | Most groups | Solid pick for those hitting Brackenhide Hollow. Handles all from Hackclaw’s crew to Wratheye’s magic. Good for a steady run, hitting all the big fights. |
| MDI Based Route, with Skips | High-speed, experienced groups | For the fast and furious. Skips the fluff, straight to the tough stuff. Spare your interrupts for the big boss casts, dodge that dark magic, and push through. |
| No Shroud Brackenhide Hollow | Groups without a Rogue | No need for stealth? No problem. This one’s for tackling every corner of Azure Span without shrouds. Brace for physical damage and keep that healing absorb ready. |
| Recommended Fortified Route | Groups on Fortified weeks | When the trash mobs bulk up, this is your go-to. Prep for more bruising battles, extra withering rot, and those pesky bone bolts. Fortify your will and your interrupts. |
| Pug Friendly Route | Safety-first tanks and groups | Ideal for when you’re not feeling too brave. Takes the safer paths, avoiding unnecessary pulls. Great for a chill run, keeping everyone’s sanity (and health bars) intact. |
| Recommended Tyrannical MDT Route | Groups on Tyrannical weeks | Bosses on steroids? This one’s tailored for the big bads of Brackenhide Hollow. Focus fire, manage those cooldowns, and don’t let Decatriarch Wratheye cast those game-enders. |
| Fun Route for Overpowered People | Overgeared, looking for kicks | If you’re here to flex and breeze through, here’s your playground. A mix of muscle and mayhem, ideal for those looking to deal damage and take names. Watch those boss health bars melt. |
Brackenhide Hollow Dungeon | Thrash abilities

Fighting the Brackenhide Hollow means facing a slew of enemies, each with their unique ability to challenge your party. From Hackclaw’s War-Band to the depths where Decatriarch Wratheye and her dark magic reign, navigating through these mobs requires a mix of strategy, speed, and the right interrupts. Here’s a quick guide on handling some of the notable trash mobs you’ll encounter, making your journey through this dungeon a tad smoother.
| Trash Mob Name | Similar Trash Mob Ability | What to Do | Informal Commentary | Boss Owned By |
| Claw Fighter | Vicious Clawmangle | CC/Kick | Dodge or kick this bad boy when it tries that Vicious Clawmangle. Don’t let it shred your tank’s armor like it’s nothing. | Hackclaw’s War-Band |
| Cruel Bonecrusher | Crushing Smash | Avoid | Sidestep that Crushing Smash unless you’re up for a slow-mo moment. Remember, speed’s your friend here. | Hackclaw’s War-Band |
| Vicious Hyena | Infected Bite | Focus | Zero in on these snarly furballs fast, especially before they gnaw your tank’s health down with that Infected Bite. | Hackclaw’s War-Band |
| Bonebolt Hunter | Bone Bolt | Dodge/Kick | Dodge their toxic traps and keep an eye out for that Bone Bolt. Kick if you can to prevent inflicting initial damage. Kick that Bone Bolt or dodge the toxic traps. Keep it simple, keep it safe. | Hackclaw’s War-Band |
| Trickclaw Mystic | Earth Bolt | Kick | Interrupt that Earth Bolt. Don’t let this static mob keep you at bay. Halt those Earth Bolts with a quick interrupt. No free shots for static mobs! | Hackclaw’s War-Band |
| Decay Speaker | Withering Burst | Kick | Top priority! Kick this to avoid the withering rot spreading to your entire party. Kick this one ASAP! Withering Burst is a no-go if you don’t want your party turning into walking decay posters. | Hackclaw’s War-Band |
| Fleshripper Vulture | Screech | Kick | Shut that screech down fast. It’s all about keeping the peace and quiet for focusing on bigger threats. A quick kick to silence that Screech will keep your ears and sanity intact. | Gutshot |
| Rotbow Ranger | Bone Bolt Volley | Dodge | Dance around this one; keep moving to avoid taking unnecessary damage. Keep those dancing shoes on. Dodge Bone Bolt Volley and avoid giving the ranger free target practice. | Gutshot |
| Stinkbreath | Violent Whirlwind | Avoid | Don’t get knocked back by this whirlwind. Keep your distance and move quickly. | Treemouth |
| Decaying Slime | Burst | Dodge/Kick | Keep these slimes under control by interrupting Burst. Avoid standing in pools of decay to prevent withering away. Avoid getting knocked into next week by that Violent Whirlwind. Remember, keep your distance, keep your cool. | Treemouth |
| Filth Caller | Decay Surge | Kick | Focus on kicking Decay Surge to prevent spreading more decay across the floor. Bursting these slimes without a plan? Prepare for a gooey floor. Interrupt or dodge, pick your poison. | Decatriarch Wratheye |
| Fetid Rotsinger | Burst of Decay | Focus/Kick | High alert! Swap and nuke it immediately to stop that withering disease effect. Decay Surge coming your way? Kick it back to where it came from. Spread no decay today! | Decatriarch Wratheye |
| Vile Rothexer | Siphon Decay | Avoid/Spread | Keep your distance to prevent this baddie from siphoning strength from your group. Spot this troublemaker casting Burst of Decay? Drop everything and focus. No letting through that withering disease effect. | Decatriarch Wratheye |
Buy Cheap WoW Gold
WoW Gold: Your Key to Greatness!

This guide’s just scratching the surface. Each mob brings a slice of chaos to the entire boss fight tableau, so keeping these tips in mind can help ease the journey through Brackenhide Hollow, whether you’re tackling it on heroic difficulty or braving the mythic keystone challenge
Brackenhide Hollow Dungeon | Boss tactics

Hackclaw’s War-Band Boss
Hackclaw’s War-Band boss fight in Brackenhide Hollow isn’t just about facing a trio of gnarly gnolls; it’s a strategic dance of interrupts, dodges, and precise targeting amidst the chaos of Dragonflight’s Season 4. This encounter demands your full attention from start to finish, challenging your group’s ability to handle simultaneous threats, pulsating AoE damage, and critical mechanics that can turn the tide of battle.
Laconically Tactics:
- DPS: Focus fire is key. Juggle your interrupts between Tricktotem’s healing and Earth Bolts. When Bloodfrenzy triggers, balance your damage to whittle them down evenly. Hextrick Totem popping up? Smash it ASAP.
- Tank: Positioning is everything. Keep Rira’s cleaves away from the group and be ready to intercept her Savage Charge to protect your mates.
- Healer: Keep an eye on those debuffs. Gashtooth’s bleed can be nasty, so be ready to cleanse or heal through it. Watch for the party’s health during Prey on the Weak; it’s your cue to go full throttle.
- Key Mechanics: Bloodfrenzy makes them hit harder as their health drops, so spread your damage. Bladestorm and Savage Charge will test your dodging and positioning skills, while Greater Healing Rapids and Earth Bolt require quick interrupts.
Tactics Table:
| Ability | Wipe Potential | What to Do | Informal Commentary |
| Bladestorm | Medium | Dodge | Rira spins to win. Don’t try to hug it out; dodge or you’ll be minced meat. |
| Savage Charge | High | Soak/Interrupt | Tanks up! Soak this or kiss a party member goodbye. Interrupt if they’re immune and feeling brave. |
| Greater Healing Rapids | High | Interrupt | Tricktotem’s got heals. Spare interrupts? Use ’em here or the fight’s never-ending. |
| Earth Bolt | Medium | Interrupt | Zap that Earth Bolt. Don’t let Tricktotem get comfy casting from afar. |
| Bloodfrenzy | High | Balance DPS | Gnolls get angry when low. Keep their health even, or they’ll tear you apart. |
| Hextrick Totem | Medium | Destroy | Totem pops, party drops. Smash it quick or prepare for panic. |
Buy Amirdrassil Heroic Boost
Obtain premium loot with expert help

Busting into Hackclaw’s War-Band isn’t just about throwing everything you’ve got at them; it’s a calculated engagement where every move, every interrupt, and every ounce of damage counts. Stay sharp, move smart, and keep those gnolls in check to emerge victorious.
Gutshot

In the heart of Brackenhide Hollow, the Gutshot boss fight stands out as a notable challenge on the path through Dragonflight Season 4’s dungeon roster. This encounter isn’t just about facing Gutshot himself; it’s about managing his pack of Rotfang Hyenas and navigating the arena filled with Ensnaring Traps. Mastering this fight requires attention to movement, precise control over adds, and timely use of interrupts and cooldowns.
Laconically Tactics:
- DPS: Focus down Rotfang Hyenas ASAP, especially when they start targeting random players post-Meat Toss. Watch for the Bounding Leap and avoid Ensnaring Traps.
- Tank: Keep those hyenas kited into Ensnaring Traps to manage the pack. Watch out for Gutshot’s Gut Shot, it packs a wallop and will send you flying.
- Healer: Ready to patch up any bleed damage from the hyenas and keep an eye out for massive damage spikes from Gut Shot.
- Key Mechanics: Rotfang Hyenas become the top priority once they’re active. Meat Toss marks a player, causing hyenas to target them. Master’s Call frees hyenas from traps and boosts their speed.
Tactics Table:
| Ability | Wipe Potential | What to Do | Informal Commentary |
| Meat Toss | Medium | Focus Hyenas | Those hyenas got a bone to pick with ya. Don’t let ’em chew you out. Focus ’em down quick. |
| Bounding Leap | High | Dodge | See that shadow? Leap’s coming. Move it or get squashed. |
| Gut Shot | High | Tank absorb/Avoid | Tanks, brace for impact. Others, steer clear unless you wanna test your flying skills. |
| Master’s Call | Medium | Interrupt | He’s rallying the pack! Shut it down or get ready to run faster. |
| Ensnaring Trap | Low | Lure Hyenas/Dodge | Use those traps to your advantage. Lure hyenas in, but don’t get caught in the web yourself. |
Buy WoW Level Boost!
Let professionals expedite your power leveling
Facing Gutshot is a dance on the razor’s edge between managing adds and dodging area effects, all while keeping the pressure on the boss. It’s a test of coordination, speed, and the ability to adapt to the dynamism of the encounter. With the right strategy and quick reflexes, Gutshot and his hyenas can be handled, paving the way deeper into Brackenhide Hollow.
Treemouth

Treemouth, a formidable presence in Brackenhide Hollow, turns the environment itself against adventurers with its decay magic and ability to summon allies. This encounter challenges players to manage both space and time effectively, as Treemouth’s abilities can quickly overwhelm unprepared groups. Success against this behemoth requires understanding its key mechanics and executing a solid strategy to mitigate its devastating effects.
Laconically Tactics:
- DPS: Prioritize Decaying Slimes immediately to prevent area denial through their decay pools. Watch for Grasping Vines and prepare to be consumed; it’s not personal, just nature.
- Tank: Keep Treemouth positioned away from decay pools. The Vine Whip is your dance; lead it away from your allies.
- Healer: Players under the Consume effect will need significant healing. Keep the party’s health up to reduce the damage from Withering Away! and the final boss’s enraged phases.
- Key Mechanics: Grasping Vines and Consume are central. Being consumed isn’t the end; it’s a phase to endure and emerge from stronger. The spread of decay demands mobility and spatial awareness.
Tactics Table:
| Ability | Wipe Potential | What to Do | Informal Commentary |
| Decay Spray | High | Dodge | Like a skunk but worse. Dodge or you’re standing in the stink. |
| Grasping Vines | High | Prepare | It’s cuddle time, but you won’t enjoy it. Get ready to be yanked and munched on. |
| Consume | Extreme | Heal/Break free | Getting eaten is bad, obviously. Healers, overcharge your spells; DPS, hit like you mean it. |
| Decaying Slimes | High | Focus down/Interrupt | These slimes are a slippery slope to defeat. Focus or interrupt them before they turn the ground to goo. |
| Vine Whip | Medium | Tank lead away | Tanks, whip it good. Keep those vines swinging away from the rest of us. |
Get PlunderWonder Boost!
Achieve Plunder Wonder Rewards — Claim Your Victory!
Treemouth’s encounter is a testament to the dungeon’s theme of natural chaos and decay, encapsulated by the fight’s mechanics demanding constant movement, target prioritization, and adaptability. Mastery of this fight lies not just in understanding Treemouth’s abilities but in effectively communicating and coordinating with yo
Decatriarch Wratheye
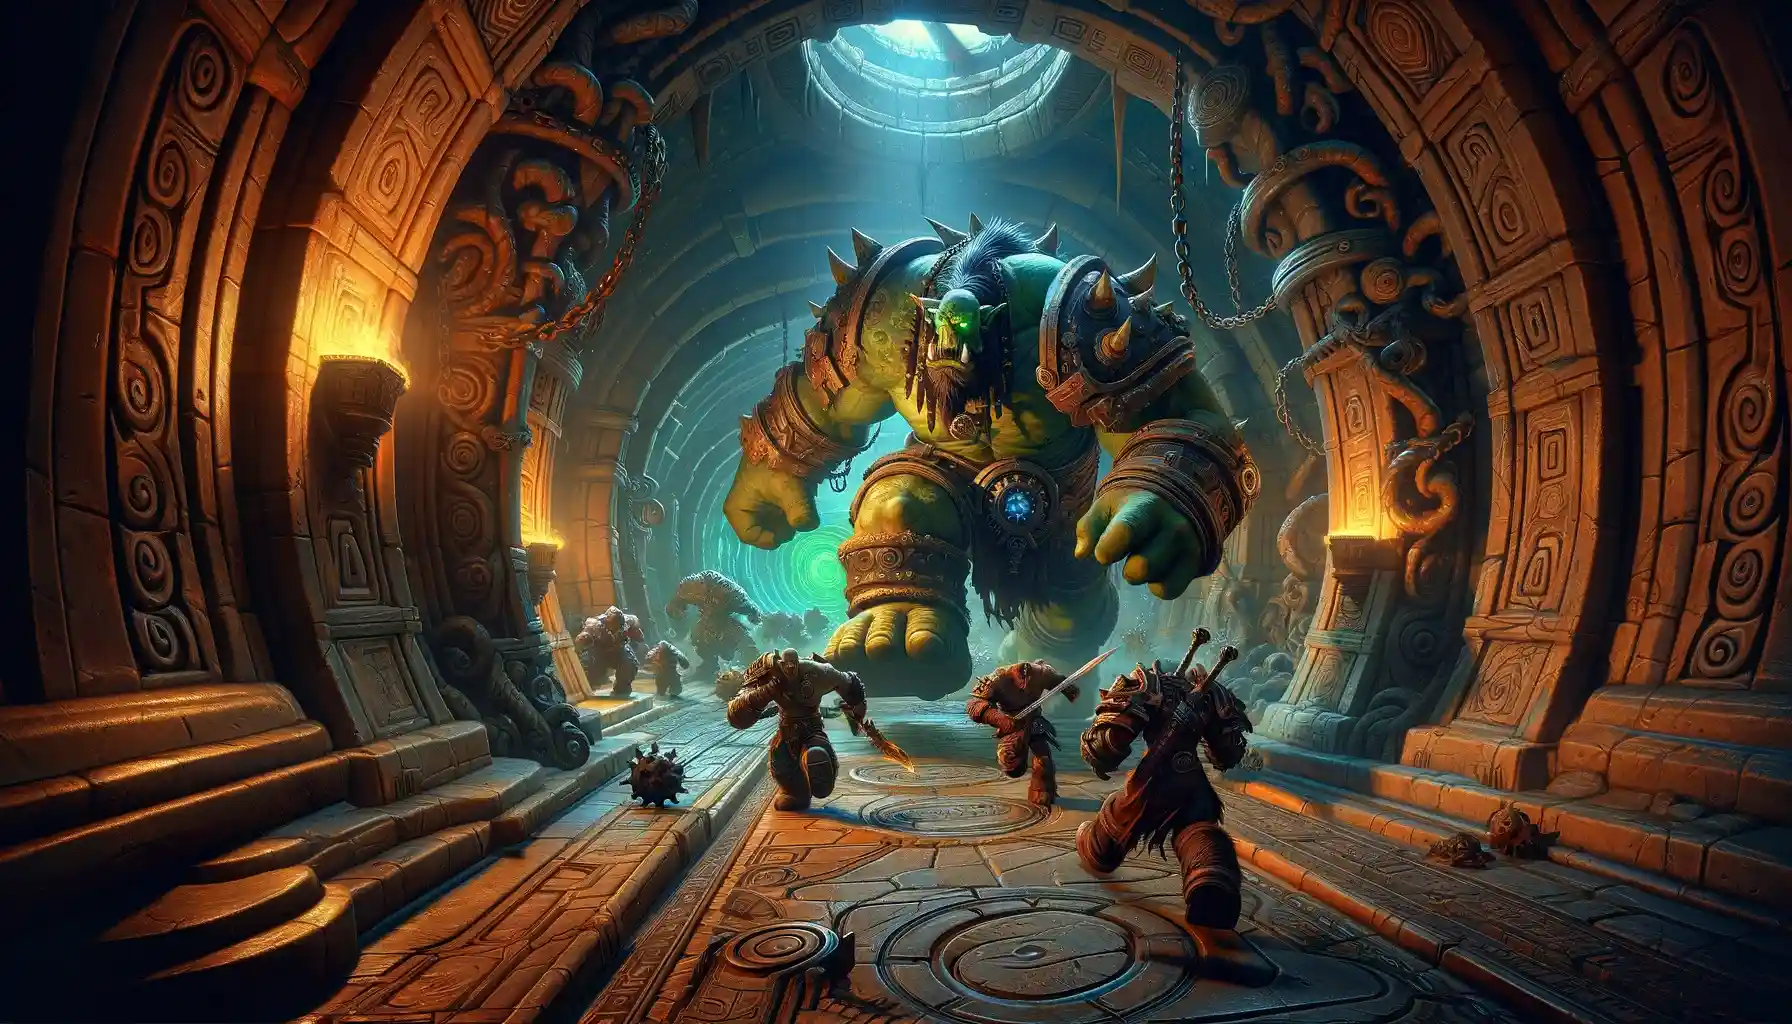
Decatriarch Wratheye stands as the final challenge in Brackenhide Hollow, a beacon of decay and destruction. With her mastery of decay magic, she tests adventurers with a fight that demands precision, quick reactions, and strategic use of the environment. This encounter pushes parties to their limits, combining the need for strong crowd control, damage mitigation, and healing to withstand Wratheye’s relentless assault.
Laconically Tactics:
- DPS: Focus on Rotburst Totems as soon as they appear to prevent the spread of Withering Rot. Use damage buffs wisely to mitigate the boss’s absorb shield during Consume.
- Tank: Keep Wratheye positioned to facilitate attacking both her and the totems. Use external defensive cooldowns to manage the stacking Decaystrike and Bloody Bite.
- Healer: Prepare for heavy group healing during Withered Eruption and keep an eye on Decayed Senses to quickly dispel. Healer focus is crucial to surviving Wratheye’s onslaught.
- Key Mechanics: Avoiding Choking Rotcloud and managing Withering Rot stacks are pivotal. Coordination is key when dealing with Consume, ensuring the right party member gets consumed to minimize the impact.
Tactics Table:
| Ability | Wipe Potential | What to Do | Informal Commentary |
| Choking Rotcloud | High | Avoid | Don’t breathe in the nasty when boss casting it. Dodge clouds like you’re avoiding spoilers online. |
| Withering Rot | High | Avoid/Dispel | Like the worst kind of rash. Keep it off or it’ll make everything else hurt more than you can deal physical damage. |
| Rotburst Totem | Extreme | Destroy immediately | Priority numero uno. Smash those totems before they turn the floor into a no-go zone. |
| Consume | High | Break absorb shield | Get nommed, break free. It’s like being in a really bad relationship with a plant. |
| Decaystrike | Medium | Use mitigation | Tanks, flex those cooldowns. You’re getting smacked with the ugly stick, so wear it like armor. |
| Withered Eruption | Extreme | Spread/Heal | Everyone’s popping! Stay apart, heal through the burst, or we’re all going to look like overripe fruit. |
Buy Plunderdstorm Boost
Get the Best PvP Carry — Claim Your Victory!

Facing Decatriarch Wratheye discovered decay magic for a random target with a poor creature’s mind to all the enemies is a true test of a group’s ability to manage and survive her deadly arsenal of decay magic. This battle is not just about brute force; it’s about smart play, quick thinking, and teamwork. Every ability Wratheye throws out has the potential to turn the tide of battle, making every moment and every move count.
Brackenhide Hollow Dungeon | Loot Table

Brackenhide Hollow’s loot table, it’s like hitting a jackpot for anyone ready to amp up their game. Picture this: You’re squaring off against the final boss and her crew, battling through decaying forests, dodging toxic traps left and right, and taking on trash mobs that are anything but trashy. They’re decked out with abilities that’ll test your tank’s healing intake and make you rethink your combat reset abilities.
Once you’ve powered through, showing off those predator instincts against targets simultaneously, the treasure’s all yours. From the Treemouth’s Festering Splinter to the Idol of Pure Decay, these trinkets aren’t just shiny—they’re game-changers. Cloth wearers can snag the Mask of Imperishable Leaves or Boastful Stalker’s Epaulets, while leather fans get the Ancient Rotwalkers and Blightweaver’s Clutches, all designed to keep you ahead of the decay spread.
Mail armor users? Rooted Shoulders of Putrefaction and Tassets of Densified Ooze have got your back, literally, with that extra bit of health and damage buff. Plate armor lovers aren’t left out with the Binders of the Moldering and Trapmaster’s Utility Belt, because who doesn’t love a good stacking bleed effect resistance?
Weapon-wise, whether it’s cleaving through enemies with the Bough of Deterioration or skewering them with the Poached Kalu’ak Spear, there’s something for every arm. And let’s not forget the accessories that round out your ensemble: Tuskarr Bone Necklace and Bloodied Wedding Ring, because every hero needs their bling.
Buy Mythic+ Dungeons Boost
Claim New Loot And Great Vault Rewards

Brackenhide Hollow Dungeon | Plot

You’ve got Decatriarch Wratheye, this big bad at the end, totally bent on making everything rot. From the get-go, tanks gotta chug potions like there’s no tomorrow because everything here wants to gnaw your health down with stacking bleeds and withering rot. You’re dodging toxic traps, sprinting from spawn point to spawn point, all while dealing with trash mobs that have more tricks up their sleeves than a shady magician.
First boss to the final showdown, it’s all about juggling your cooldowns and keeping an eye on the healer’s mana, because, let’s be honest, everyone’s taking hits. You’re freeing Chief Softpaw—kinda like a side quest that makes you feel good—but also ramps up the fight against decay. The entire dungeon is a race against the clock, especially with the mythic keystone difficulty making even the bravest heroes sweat.

You’ve got mobs that call hyenas, spread disease effects, and bosses that need to be taken down simultaneously or risk beefing up the challenge. It’s a whirlwind of prioritizing targets, managing movement speed to dodge and weave, and making sure you’re not the same person getting hit over and again.
Conclusion

this dungeon is a masterclass in adapting to the unpredictable. Whether you’re dodging toxic traps laid by crafty trash mobs or facing down the decay magic of Decatriarch Wratheye, every encounter is a test of skill, speed, and strategy. From the very first trash mob to the final boss, players must navigate a maze of challenges, each more daunting than the last.
The dungeon’s layout, full of devious creatures bent on spreading decay, requires a keen eye to prioritize targets and dodge deadly effects. Every corner could hold a new enemy or a toxic trap ready to spring, demanding constant vigilance. For tanks, the healing intake is critical, with auto attacks that cleave and random targets becoming a norm, forcing quick thinking and even quicker reflexes.


The loot table promises rewards that are as varied as the challenges, with gear designed to bolster the battle against the rot that has settled in every nook and cranny. Whether it’s weapons that cleave through the darkness or armor that offers a buffer against the withering poison, every piece is a trophy earned in the fight to reclaim the Hollow.
In the end, Brackenhide Hollow is more than just a series of fights; it’s a journey through decay, a test of endurance, and a tale of triumph over the encroaching rot. It’s a reminder that in the face of overwhelming darkness, the right combination of skill, strategy, and a bit of luck can see you through to the dawn.
