Atal’dazar M+ Guide | MDT | BUILDS | Dungeon ROUTES | MDI TRICKS
Published on: 22 November, 2023 | Last Updated on: 22 April, 2024

Pusher? Hey, is that you, M+ key Pusher? Then I have a wow Atal dazar guide for you. It’s not just another atal’dazar m+ guide with tons of unnecessary information. Today, we’re focusing on the essentials:
- Which route is the best for Fortified, according to our Wow Atal’Dazar guide.
- How to adapt your route for Tyrannical weeks and specific affixes.
- What about Thrash abilities? Which of them should you focus on?
- Boss tactics.
- Pushing groups with bosses using a special M+ atal dazar route route.
- Loot table.
All of this is pretty standard, but you must read this information before you attempt Atal’Dazar Mythic Plus.
We’ll also answer some newbie questions, like why you can’t enter Black Rook Hold even if you’re a key holder and why there are so many wipes on the Wow Dinomancer boss.
WE UPDATED THE INFORMATION, PASSED to the 4th SEASON. READ THIS TO BEING ON THE EDGE!
| Dungeon guides | Mythic Affix Guides |
| Algath’ar Academy | THE WOW AFFLICTED AFFIX with afflicted souls |
| Azure Vault | Bolstering affix |
| Brackenhide Hollow | Sanguine Affix |
| Halls of Infusion | Storming affix |
| Neltharus. | Fortified affix |
| Nokhud Offensive | Bursting Affix |
| Ruby Life Pools | Tyrannical Affix |
| Uldaman | Spiteful affix |
| Dragonflight dungeons overview! | Incorporeal affix |
| VOLCANIC AFFIX | Entangling affix |
| Raging Affix | Spiteful Affix+ |
Wow Atal’dazar MDT best route for the +1 | +2 | +3

Okay, here’s a little mixed situation. On the one hand, we have a pretty PuG guide that avoids the reanimated honor guard and most of the ancient kings. But on the other hand, some guides that can help you pass keys higher than 20+ require different routes. And on the third hand—yes, we have a third hand—there’s an overgear atal’dazar route for farming keys with a well-coordinated party or with big DK’s pulls.
Additionally, there are MDT routes for the meta and for breaking the meta (how about a atal’dazar guide for the Arcane mage with their specific pulls, or for Survival hunters). So, we were in doubt about telling you how to deal damage and avoid your own dark machinations. That’s why we’ve compiled all the existing MDT routes for you, but without extensive commentaries. We simply note which of the routes are the safest, which are for the meta and overgear, and which can get you keys higher than +21.
| MDT route for atal’dazar’s golden sanctum | Who better passes for it | Important commentary about the atal’dazar route |
| Voulk + 3 stars route (click to view) | PUG route from classical atal dazar guide | Route with commentaries and annotations, what to dispel and kick. |
| Dratnos high key Meta route (click to view) | Rogue Route (passes higher than 15+). | This route requires skips with a rogue, or preparing the invisible pots. Remind that with the invisible pots, you’re unavailable to use your burst pots with atal dazar mythic if you choose this. |
| Fresh route from Tactyks | Basic atal’dazar mythic guide, passes through all level difficulty, from +2 to +19. The Editor’s office Choice | The safest route, which is dodge the random wipes in random wow atal’dazar location with a players affected to a wracking pain. Best ataldazar route to achieve atal’dazar achievements. |
| Russian route (be careful, it’s tricky) | atal’dazar m+ route optimized to pass Atal’dazar from a left wing. | This route help you to pass through a dungeon in heroic difficulty. And it pass to play higher than 20 keys, if you have well-coordinated group. In other ways, you will wipe with getting massive damage from bone piles in mythic difficulty. |
| Reloe Best route | No shroud atal dazar m+ route. The editor’s office Choice. | This route is passes for bad-coordinated, but huge dps groups, who are now basement mechanics of the mythic difficulty, and can dodge the toxic leap, and do not stay in the line of sight. |
Please, note about it doesn’t matter which route you will choose, the best way to pass through an atal’dazar dungeon in atal dazar m+ guide key run, is manage your defensive cooldownds, and correctly dodge physical damage.
Atal’dazar mythic+ dungeon timer Dragonflight season 3

If you choose one of our routes to pass through the atal’dazar with our the mythic+ dungeon timer Dragonflight season 3 guide, please catch this. It may be useful, then you first time strive to close it for a +3.
| Atal’Dazar | Battle for Azeroth | 30:00 (+1) | 24:00 (+2) | 18:00 (+3) |
Buy Mythic+ Dungeons Boost
Claim New Loot And Great Vault Rewards

Atal’dazar mythic plus | atal’dazar location in retail WoW

Atal’Dazar, Zandalar (Coordinates: 43.2, 39.8)
If you ain’t got a stone, you an get the coordinates upper this string! You’ll see it on your map in Zandalar. It’s got some wild stuff going on with atal dazar location:






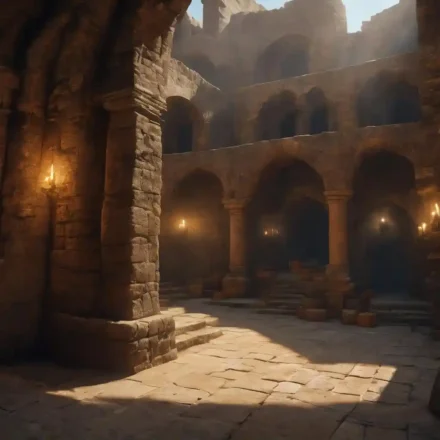

- There’s this boss called Vol’kaal who’s gonna hit you with a terrifying screech and a terrifying visage.
- Watch out for the periodic damage and the damage dealt by those reanimated raptors.
- They’ll spew toxic pools, causing lingering nausea.
- And don’t forget about the reanimation totem – it’s a real pain.
- Inside, you’ll find pyramids, but they ain’t what they seem.
- The place used to house the deceased’s vast treasures, but now it’s only a twisted husk.
- As you progress, ruler as new rooms open up.
Atal’dazar Thrash list abilities to attention in high keys Dragonflight season 3

In Dragonflight Season 3, Atal’Dazar’s trash mobs are like the honor guard of problems, each with their own quirky way to mess up your day.
| Mob | Abilities to Focus On | Action (Ignore/Kick/Dispel/Focus) | Related Boss | Informal Commentary |
| Dazar’ai Honor Guard | Fervent Strike | CC to stop | Priestess Alun’za | These honor guards hit like trucks! CC is your friend here to prevent that terrifying Fervent Strike. Think of them as the bouncers of Atal’Dazar, making sure you’re worthy to proceed. Keep healing cooldowns ready, as they don’t shy away from dealing heavy damage |
| Dazar’ai Juggernaut | Merciless Assault | Dodge | Priestess Alun’za | This one’s all about the dodgeball game with its Merciless Assault. Imagine playing tag with someone who’s not only massive but also incredibly angry. Designate a swift party member to lead this dance away from the rest |
| Dazar’ai Confessor | Bwonsamdi’s Mantle, Mending Word | Kick/CC | Priestess Alun’za | Interrupting Bwonsamdi’s Mantle is like stopping a major healing cooldown for the enemy. These guys are like the party poopers, trying to heal when you’re all about dishing out damage. Keep an eye out, or you’ll find the encounter dragging on longer than expected. |
| Dazar’ai Augur | Fiery Enchant, Wildfire | Kick | Priestess Alun’za | Kicking Fiery Enchant is crucial unless you fancy becoming a human torch. AOE damage from Wildfire can quickly escalate, so focus on these augurs first to keep the party’s health in check |
| Dazar’ai Colossus | Soulburn | Focus | Priestess Alun’za | Soulburn is no joke, dealing heavy damage and requiring focused DPS to bring down these giants. It’s like they have a vendetta against your max health. Prioritize these to avoid a lengthy battle |
| Shadowblade Stalker | Stealth, Nature Damage | Dispel Poison | Vol’kaal | Stealthed and deadly, these mobs are all about surprise attacks. Having a poison dispel ready is key, as they love targeting random players with nature damage. Your awareness here saves lives |
| Reanimated Honor Guard | Rending Maul | Focus on Totem | Vol’kaal | Killing the Reanimation Totem takes top priority unless you want an endless army of honor guards at your heels. It’s a race against the clock, with these mobs testing your ability to focus fire under pressure of rending Maul |
| Shieldbearer of Zul | Bulwark of Juju, Shield Bash | CC/Kick | Vol’kaal | CC and interrupts are your best bet against Bulwark of Juju and Shield Bash. It’s like playing whack-a-mole with a mob that’s not only tanky but also packs a punch. Coordination is key! |
| Zanchuli Witch-Doctor | Venom Blast, Unstable Hex | Interrupt/Dispel | Vol’kaal | These witch doctors are notorious for their Venom Blast and Unstable Hex, dealing high magic damage and causing chaos among party members. Interrupts and dispels here can mean the difference between victory and a wipe. |
| Toxic Saurid | Toxic Leap | Stay Spread out the toxic saurids | Rezan | Staying spread is essential to mitigate their Toxic Leap, especially since it targets random players and deals AOE damage. Think of it as a toxic game of leapfrog where you really don’t want to be caught. |
| Feasting Skyscreamer | Terrifying Screech | Interrupt. | Rezan | Interrupting Terrifying Screech is extremely important unless you’re into the whole group experiencing an AOE fear. It’s all about keeping a cool head and quick reflexes. |
| Dinomancer Kish’o | Dino Might, Deadeye Aim | Interrupt. | Rezan | Interrupting Dino Might is crucial to prevent excessive damage to the party from dealind damage random targets a mobs away from the boss. Keep an eye on Deadeye Aim, too, as it targets random players. It’s like a deadly game of darts where you definitely don’t want to be the bullseye |
Buy Mythic+ Dungeons Boost
Claim New Loot And Great Vault Rewards

Atal’dazar bosses overview Dragonflight 10.2
When you first time visit the Atal’dazar, among the tons of thrash, there’re four bosses you must to pass. So here there’re:
- Priestess Alun’za: Classic gold-obsessed priestess. She’s all about that corrupted gold and loves a good Transfusion cast. Watch out for her tainted blood pools and interrupt when she’s channeling that noxious stench. Remember, don’t stand in the bad stuff!
- Vol’kaal: This reanimated raptor handler’s pastime is summoning more raptors. Expect rapid decay and a lingering nausea in his once-pristine halls. Dodge his toxic leaps and break the line of sight to avoid wracking pain. When Vol’kaal begins his main act, focus on those pesky reanimation totems.
- Rezan: Once a loa, now a terrifying visage with serrated teeth. His gilded claws bring untimely death, so melee players, keep your defensive cooldowns handy. Avoid his frenzied charge and watch out for the shadowy remains of his victims.
- Defeat Yazma: The final boss, a former lieutenant with a penchant for soul link and fanatic’s rage. Her shadow magic and summoning of spider minions will test your crowd control skills. Interrupt her casts, especially the unstable hex, to avoid a chaotic dance of avoiding venom-tipped blades.
Priestess Alun’za among the ancient kings

Priestess Alun’za, guarding her deceased’s vast wealth, is all about that corrupted gold and tainted blood. She’s like the ancient Zandalari version of a hoarder but with deadly magic and a mean streak.
What to Do
- Tanks: Watch out for her Gilded Claws cast. It’s like she sharpens her nails with serrated teeth – hurts a lot.
- Healers: Dispel Molten Gold ASAP. It’s like hot lava on your buddies – not fun.
- DPS: Kill those adds munching on blood puddles. Left alone, they’re like kids in a candy store but way more destructive.
Critical Focus to Dodge Wipe
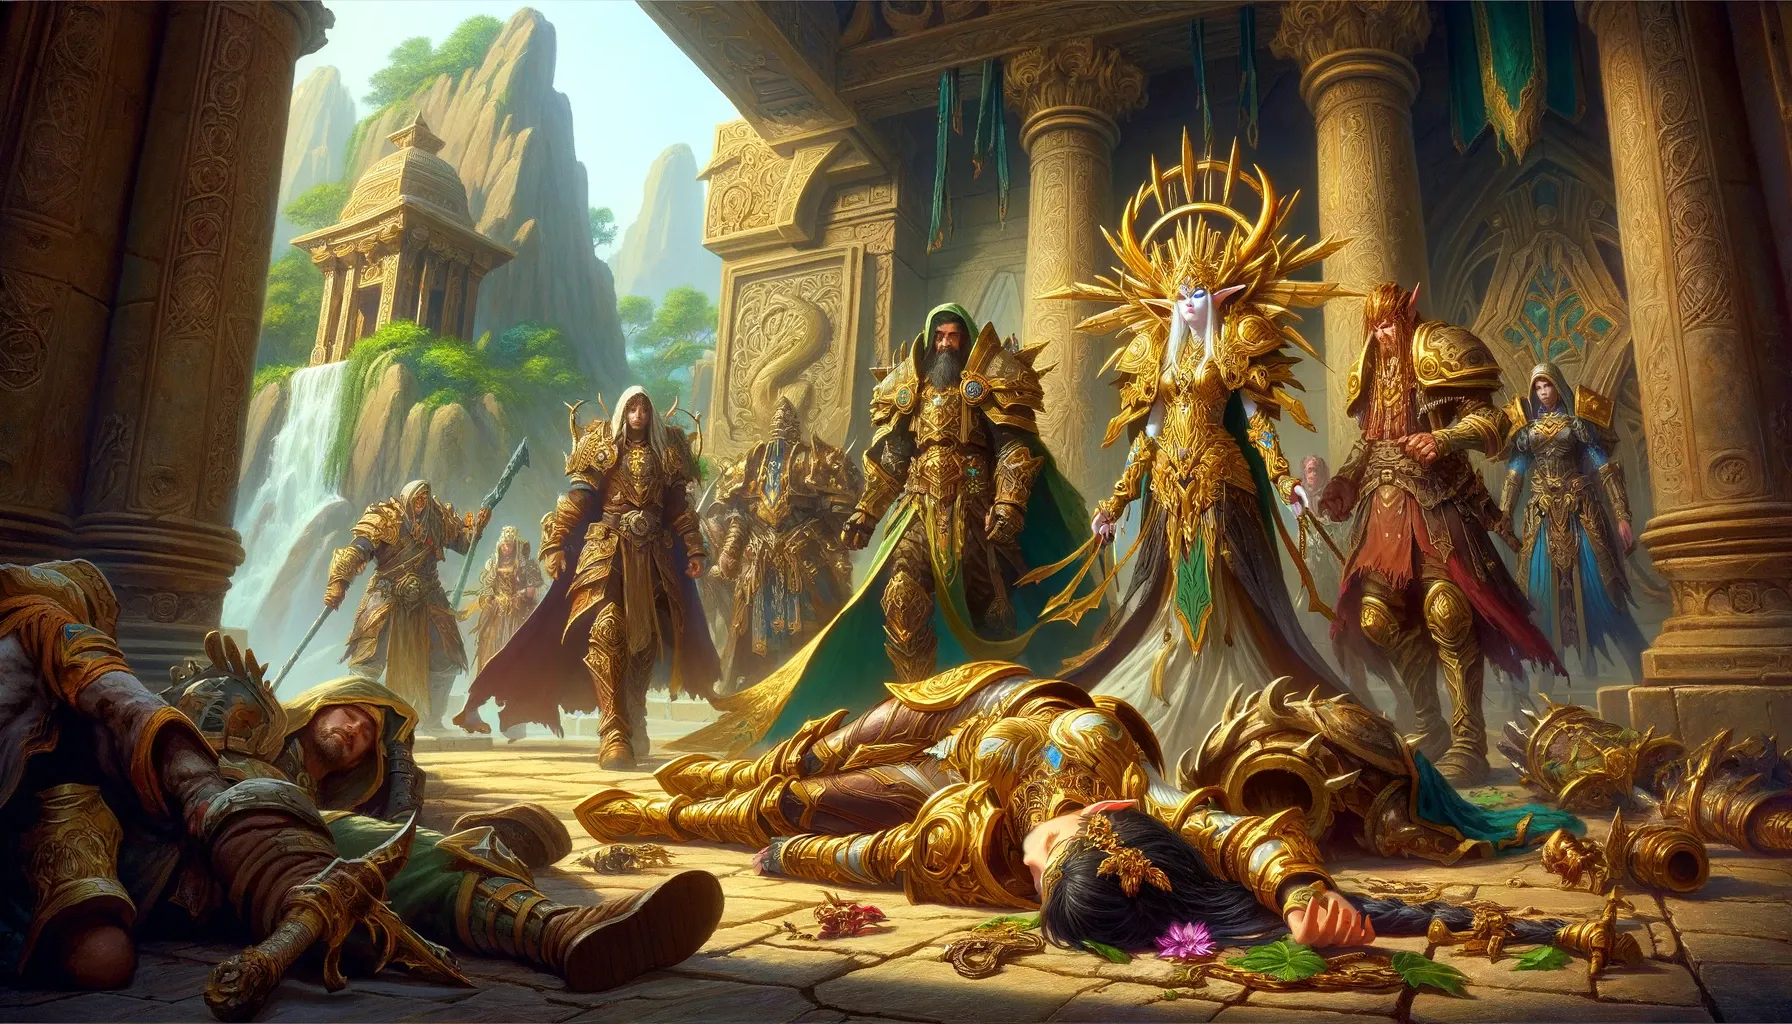
Keep an eye on the Transfusion cast. It’s a game-changer. Use crowd control effectively on adds, and don’t let the blood puddles get eaten – that’s your ticket to beating her before she casts transfusion.
Abilities Table
| Ability | Wipe Potential | Informal Laconic Commentary |
| Transfusion | High | The main show. She tries to heal using blood puddles. Stop this, or it’s game over. |
| Gilded Claws | Medium | Sharp, shiny, and painful. Tanks, brace yourselves when this happens. |
| Molten Gold | Medium | It’s raining gold, but the molten kind. Healers, dispel this fast or it’s curtains. |
| Add Spawn | High | Annoying minions trying to mess up the plan. CC and kill these pests quickly. |
Buy Cheap WoW Gold
WoW Gold: Your Key to Greatness!

Rezan — with huge bone piles

Rezan: The dino boss with a bite worse than his roar. He’s like a walking, chomping piece of millennia-old Zandalari history, only more terrifying.
What to Do
- Tanks: Time to show off those defensive skills when Rezan hits you with Serrated Teeth. Think of it as a dino nibble that really, really hurts.
- Healers: Play whack-a-mole with dispels if someone gets feared, and keep an extra eye on the tank during that bleed.
- DPS: Got tagged for Pursuit? Time to run like you’re in a Jurassic chase scene. Use any trick you have to drop aggro.
Critical Focus to Dodge Wipe
Steer clear of purple puddles – unless you want extra friends joining the fight. Hide like a pro during Terrifying Visage to avoid mass fear, and tanks, manage that bleed in mythic difficulty.

Abilities Table
| Ability | Wipe Potential | Informal Laconic Commentary |
| Serrated Teeth | High | It’s like Rezan’s giving a very personal, very sharp hug. Tanks, brace yourselves. |
| Terrifying Visage | High | Peekaboo with a twist. If you see him, you scream and run. Break line of sight or get feared. |
| Pursuit | Medium | It’s tag, but you really, really don’t want to be ‘it’. Kite or face dino wrath. |
| Purple Puddles | Medium | These are not grape juice spills. Step in them and it’s add city. It’s like a cast fiery enchant but with a big purple energy bar |
Buy Amirdrassil Heroic Boost
Obtain premium loot with expert help

Battling Rezan is all about managing his unique dino quirks. Avoid stepping in bone puddles unless you want extra adds slowing you down. When Rezan’s about to unleash his Terrifying Visage, play hide and seek – out of sight, out of mind (and fear). Tanks, you get the special job of dealing with his Serrated Teeth, so pop those defensives. DPS, if Rezan fancies you for a bit of Pursuit, it’s time to showcase your best kite moves. Keep these in check, and you’ll have Rezan back to being a shadowy remain of the past in no time.
Vol’kaal

Vol’kaal: the mini-boss with a passion for reanimation totems and a serious case of noxious breath. Think of him as a party crasher from the millennia of the Zandalari kings.
What to Do
- Tanks: Play ‘kite-the-boss’ around puddles in phase 2. In phase 1, either chase him down post-leap or wait for him to waddle back.
- Healers: Get ready for a healing marathon in phase 2. Keep an eye on the lingering disease DoT from Noxious Stench, and shout out if you need help.
- DPS: Be an interrupt hero on Noxious Stench. Stay close in phase 2 – think of it as a huddle for warmth, but with more danger.
Critical Focus to Dodge Wipe
Synchronize the takedown of Reanimation Totems at the start. In phase 2, efficient kiting and managing the room space are key. Interrupt Noxious Stench like it’s your day job to avoid massive damage.

Abilities Table
| Ability | Wipe Potential | Informal Laconic Commentary |
| Reanimation Totems | High | Like whack-a-mole but with totems. Sync your whacks or face the consequences. |
| Toxic Leap | Medium | Frogger time! Dodge or dance, your choice. |
| Noxious Stench | High | Smells worse than it sounds. Interrupt or it’s lights out. |
| Lingering Disease DoT | Medium | It’s like a bad cold that won’t go away. Healers, keep those tissues handy. |
| Puddle Kiting (Phase 2) | High | Tanks, think of it as messy floor art. Keep it neat or it’s a trip to wipe city. |
Buy WoW Level Boost!
Let professionals expedite your power leveling

Yazma with own dark machinations

Yazma: The spider-loving, soul-rending last boss of Atal’Dazar. She’s like that creepy arachnid enthusiast but with dark magic and a thing for souls like the millennia the zandalari kings.
What to Do
- Tanks: Get your defensive game on for Skewer. Play a strategic tango with Yazma, dodging soulspawns and spiders like you’re in a deadly dance-off.
- Healers: Brace for burst healing when souls get hit. It’s like patching up after a soul-punch.
- DPS: Be the interrupt king or queen for Wracking Pain. Curse dispel? Bring it – better safe than sorry.
Critical Focus to Dodge Wipe
Managing Soulrend is key – drop those souls far away and exterminate them ASAP. Stack up to herd those pesky spiders, and make sure to give Soulrend a wide berth.
Abilities Table
| Ability | Wipe Potential | Informal Laconic Commentary |
| Soulrend | High | It’s raining souls, and not in a good way. Drop them far, kill them fast. |
| Skewer | Medium | Like getting jabbed with a venom-tipped blade. Tanks, be tough. |
| Wracking Pain | Medium | The headache from hell. Interrupt or suffer the wrath. |
| Spiders | Low | Creepy crawlies everywhere. Stack up to squash them together. |

Buy Mythic+ Dungeons Boost
Claim New Loot And Great Vault Rewards

Yazma’s fight is like a deadly game of keep-away with your soul. Soulrend is the star of the show – drop those souls far from her and smash them before they reach her, or it’s DoT city. Tanks, ‘Skewer’ is your cue to show off your mitigation skills. Healers, get ready for some intense soul-healing action. DPS, Wracking Pain is your nemesis – shut it down. Keep the spiders under control by stacking, and dance around the room to avoid soulspawns. Manage all this, and Yazma’s reign as the passing ruler of Atal’Dazar will come to an end
Atal’dazar Loot table Dragonflight season 3

You’re able to get from one to two items as a party member of satisfied completed key. The item level depends on key level, and vary from 440 to 480. That’s why in this table, we’re put the middle item level for each item you can get from the chest in the end of the instance for random player.
Atal’dazar plot instead of conclusion

Atal’Dazar’s got a wild plot. It’s basically a troll dungeon with a whole lot of history and craziness:
So, once upon a time, Atal’Dazar was a sacred burial place for the Zandalari trolls. They used to stash all their fancy treasures and important peeps there.
But then, things went south. Some troll named Vol’kaal decided he wanted to be a big shot and started messing with dark voodoo stuff. He even summoned a bunch of undead raptors. Not cool, dude!









Now, the place is all messed up. You gotta go in there, deal with the reanimated nasties, and put an end to Vol’kaal’s shenanigans. Oh, and watch out for toxic pools and terrifying stuff along the way.
That’s the lowdown on Atal’Dazar. It’s a sacred temple turned into a dungeon with a whole lot of troll trouble, and you’re the hero who’s gotta clean it up. Good luck! And remember, defensive cooldowns and Deals heavy damage mitigation are your friends when dealing with those gilded claws and frenzied charges

