We’re tired of waiting, but it’s finally happened — the 4th phase of the Season of Discovery is already here. Or almost here. We’ve finally reached the level cap, unlocked all talents, and explored all opportunities, which are multiplied by new runes, new classes, a total rework of all classes, and more. So it’s time to review the SOD Molten Core Raid guide. This iconic raid is not just another raid that has been minorly reworked for SOD. It’s a completely new raid that has nothing in common with its classic version. In our Season of Discovery Molten Core Raid guide, you will find information about:
- What’s new in the SOD Molten Core Raid compared to the classic version?
- Where the entrance of the Molten Core is and how to reach it when you’re playing the Season of Discovery for the first time.
- The specific tactics you need to learn if you want to defeat all the Molten Core bosses.
- The loot table in the reworked Season of Discovery Phase 4: Molten Core.
- The quests you need to collect in the open world to get the most out of this raid.
And also, some minor and major advice to help you pass through this iconic reworked raid. And of course, a piece of the Molten Core raid plot! So, my little Discovery Raider, prepare for a tough battle, we’re already warmed up!
You may also interested in How to Get Fire Resistance in WoW Season of Discovery
Buy WoW Discovery Level Boost
Expert Leveling Boost, Choose Speed Over Grind
SOD Molten Core Raid | Raid Overview

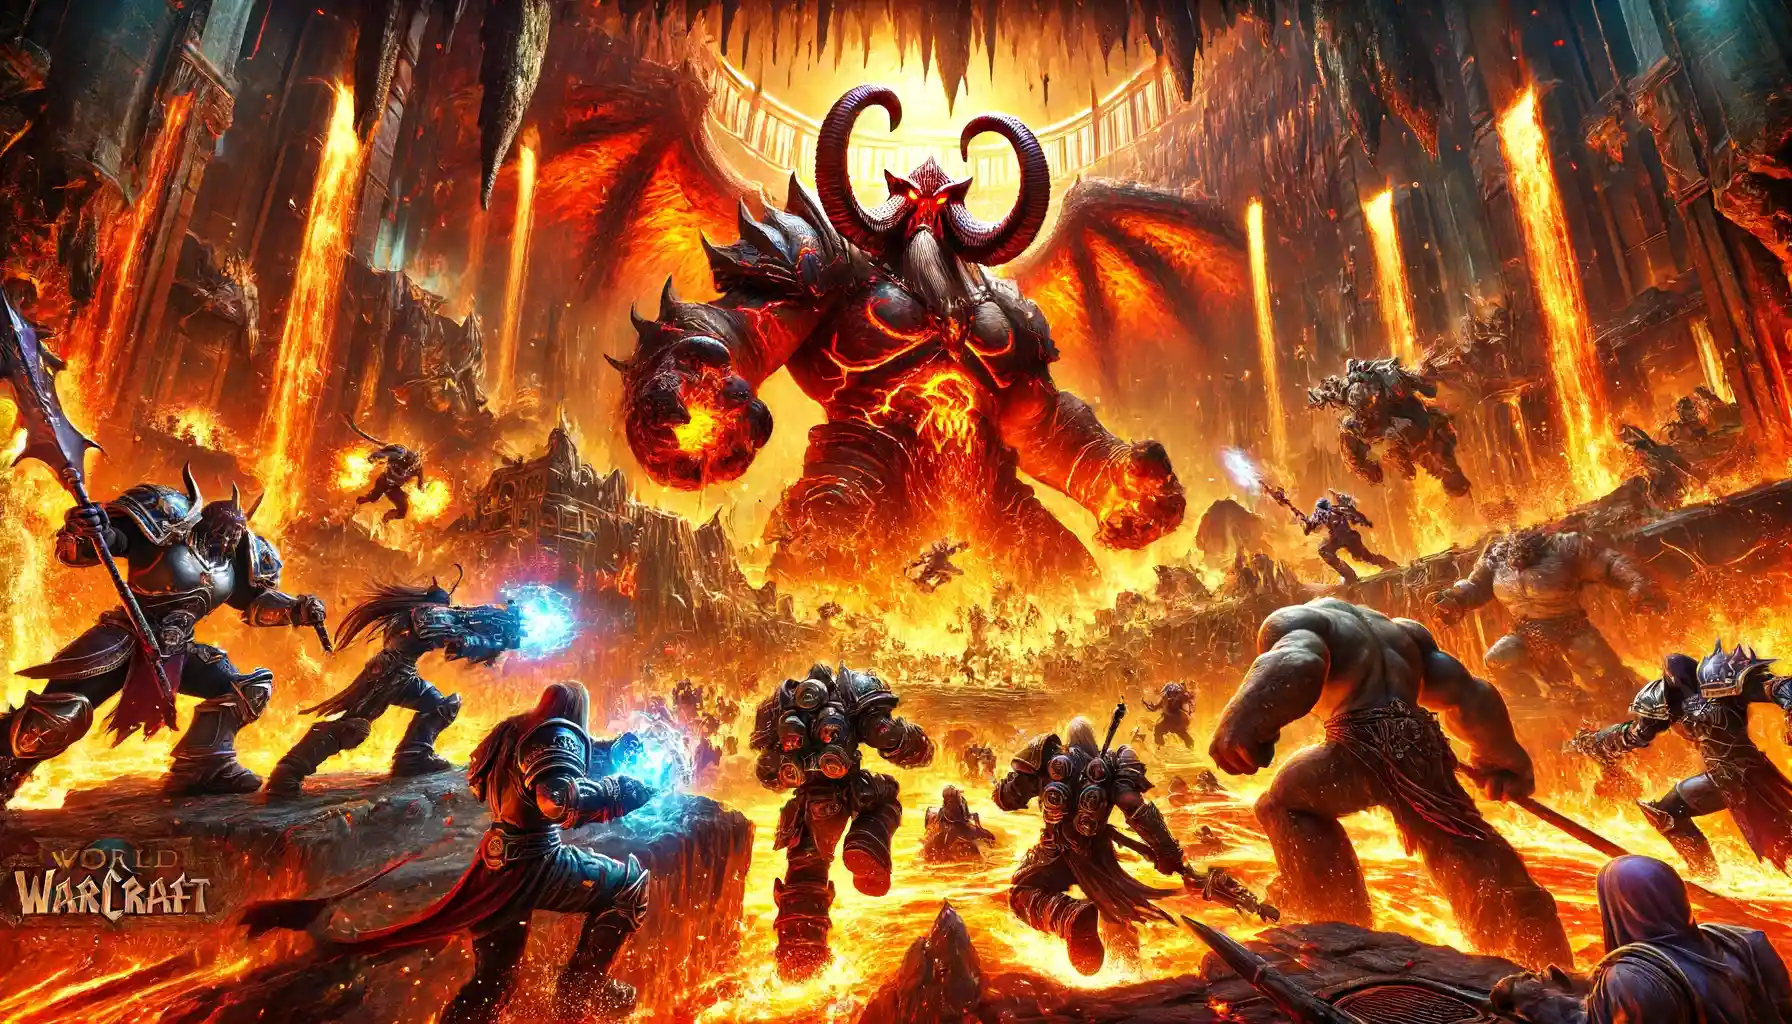
Molten Core is a fiery dungeon in World of Warcraft Classic’s Season of Discovery (SoD). It’s inside Blackrock Mountain and filled with big, scary fire monsters! You need a special key to enter Molten Core, called the Molten Core attunement. This dungeon is famous for its tough bosses and awesome treasure.
In the Season of Discovery, everything is new and exciting. Get ready to face fire elementals, molten giants, and the mighty Fire Lord, Ragnaros!
| Feature | Description |
| Realm | Season of Discovery (SoD) |
| Level Range | Capped at 60 |
| Location | Blackrock Mountain |
| Entrance Location | You need to complete a quest in Blackrock Depths to enter |
| Group Size | Up to 40 players in a raid group |
| Notable Areas | The Fiery Depths, home to fire elementals and molten giants |
| Key Loot | Special gear from bosses like the Fire Lord and Baron Geddon |
| Quests | Quests that lead you to fight the main boss and explore the raid |
| Final Boss | The Fire Lord, a very powerful enemy with tough abilities |
| Unique Aspects | A big fiery dungeon with tough enemies and lots of treasure |
Buy WoW SOD Gold
Dominate the Game: Acquire WoW SOD Gold Today!
SOD Molten Core Raid | Entrance

The entrance to Molten Core is tucked inside Blackrock Depths, deep within Blackrock Mountain. It’s not just a walk in the park—this place is like the belly of a volcano! The coordinates for the Molten Core entrance are approximately [29.0, 72.6]. But remember, just walking up to the door isn’t enough. You need to be attuned, or you can’t get in!
Once you’re attuned (after nabbing that Core Fragment we talked about), you can use the shortcut portal by chatting with Lothos Riftwaker, who hangs out right outside the dungeon entrance. This portal is a big time-saver, skipping a whole lot of trash mobs and lava.
Both factions have their trek cut out for them, but here’s the simplest way for each:
| Faction | Route Description |
| Horde | Head to Kargath in Badlands, then go west into Blackrock Mountain. You can sneak through the upper levels of Blackrock Spire or fall straight into the Depths. The portal is quicker if you’re attuned! |
| Alliance | Travel from Ironforge to Loch Modan, then southwest to Blackrock Mountain. Same deal—upper or lower paths lead you there, but with attunement, skip straight to the raid via the portal. |
SoD BiS Gear Boost
Let our experts tackle the dreary work for you!

SOD Molten Core Raid | Attunement
When you’re gearing up to storm into Molten Core in WoW Classic and snag all that epic loot, you first gotta get yourself attuned:
Quick Guide to Molten Core Attunement
- Head to Lothos Riftwaker — This dude is chilling right outside the entrance to Blackrock Depths in Blackrock Mountain. If you’re all about those coordinates, you can find him around [36.0, 77.8].
- Snag the Quest — Lothos will hook you up with a quest called Attunement to the Core. Just chat him up and accept it.
- Fall into Blackrock Depths — You gotta venture deep into this dungeon. It’s a bit of a hike, so grab some snacks.
- Grab the Core Fragment — Near the end of Blackrock Depths, just by the portal to Molten Core, there’s a shiny Core Fragment. Snatch it! It’s your golden ticket.
- Head Back to Lothos Riftwaker — Once you’ve got the fragment, zip back to Lothos and turn in the quest. Boom! You’re now attuned and can jump straight into Molten Core via the portal next to him whenever you want.
SOD Molten Core Raid | Trash abilities
These aren’t your garden-variety baddies—they pack a punch with unique abilities that can turn your raid night from a loot-fest into a wipe-fest real quick! Here’s a rundown on who these mobs are, what they do, and how to handle their special moves without letting them derail your raid.
Molten Core Trash Mob Guide
| Mob Name | Key Ability | Action | Associated Boss | Commentary |
| Ancient Core Hound | Fire Breath | CC | – | Watch out for the flame breath; it burns! |
| Core Hound | Fiery Bite | Ignore | Magmadar | Just a nip, but keep them off the healers. |
| Core Rager | Rage | Push | Golemagg | Push ’em hard before they get angrier. |
| Firelord | Spawn Lava | Kill | – | Kill spawns ASAP or they’ll overrun you! |
| Firesworn | Explosive Burst | Stack | Garr | Stack and soak the burst or boom time! |
| Firewalker | Fire Nova | Stack | – | Gather up to heal through those novas. |
| Flame Imp | Fireball Volley | CC | – | Crowd control helps to dampen the firestorm. |
| Flameguard | Cleave | Avoid | – | Don’t get in front, that cleave is nasty. |
| Flamewaker | Dual Wield | CC | – | Tie these guys up, they hit fast and hard. |
| Flamewaker Healer | Heal | Interrupt | – | Stop those heals or we’ll be here all night! |
| Flamewaker Priest | Dark Mending | Interrupt | – | Keep those interrupts on point, team! |
| Flamewaker Protector | Shield Wall | CC | – | Break through that shield or switch targets. |
| Lava Annihilator | Smash | Avoid | – | Dodge the smash or get squashed! |
| Lava Elemental | Throw Lava | Dodge | – | Duck and dodge the lava blobs! |
| Lava Reaver | Overrun | Avoid | – | Don’t get trampled; keep moving! |
| Lava Surger | – | Spread | – | Spread out, or the surge will wipe us! |
| Molten Giant | Stomp | Spread | – | Stomp hits hard; don’t bunch up! |
| Son of Flame | Mini Nova | Ignore | Ragnaros | Little burst, little worry. Focus boss. |
WoW Classic Discovery Boost & Carry
LGold, Leveling boosts? Pro team’s got you covered!!
This should help you get a grip on the varied and fiery foes inside Molten Core. Remember, knowing what to expect and how to handle it can make the difference between snagging that epic molten core loot and having to regroup at the graveyard.
SOD Molten Core Raid | Boss tactics
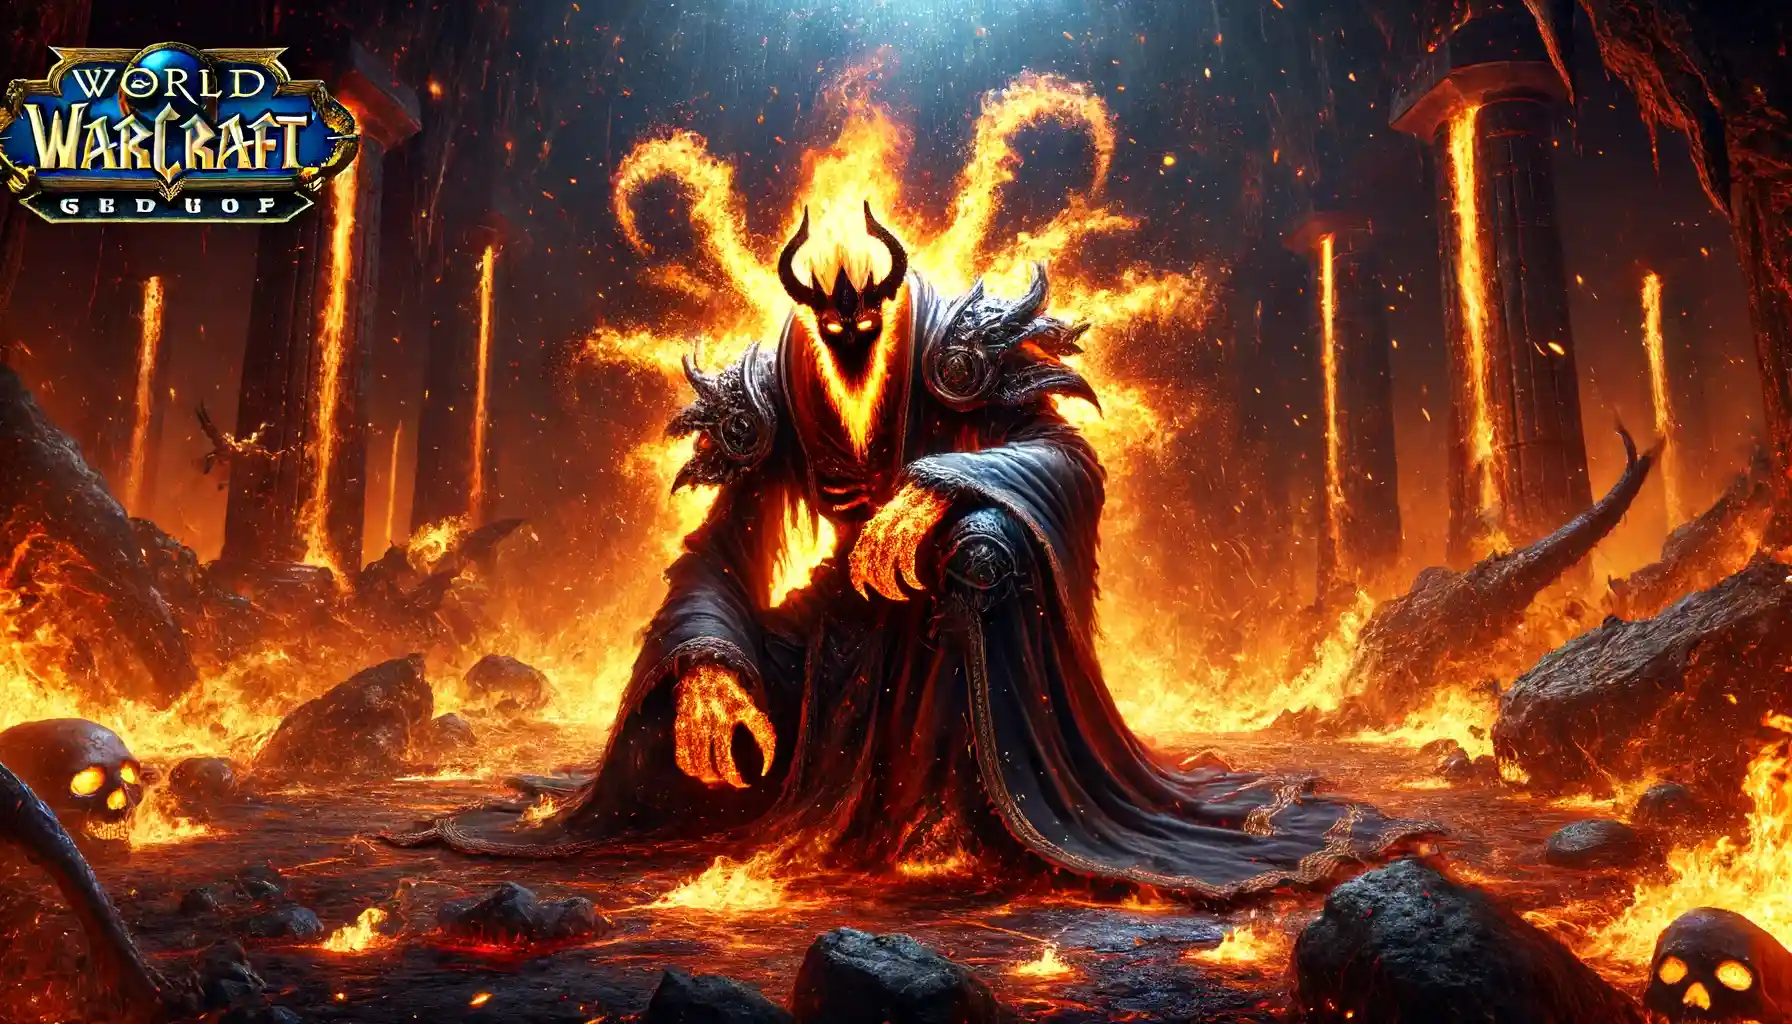
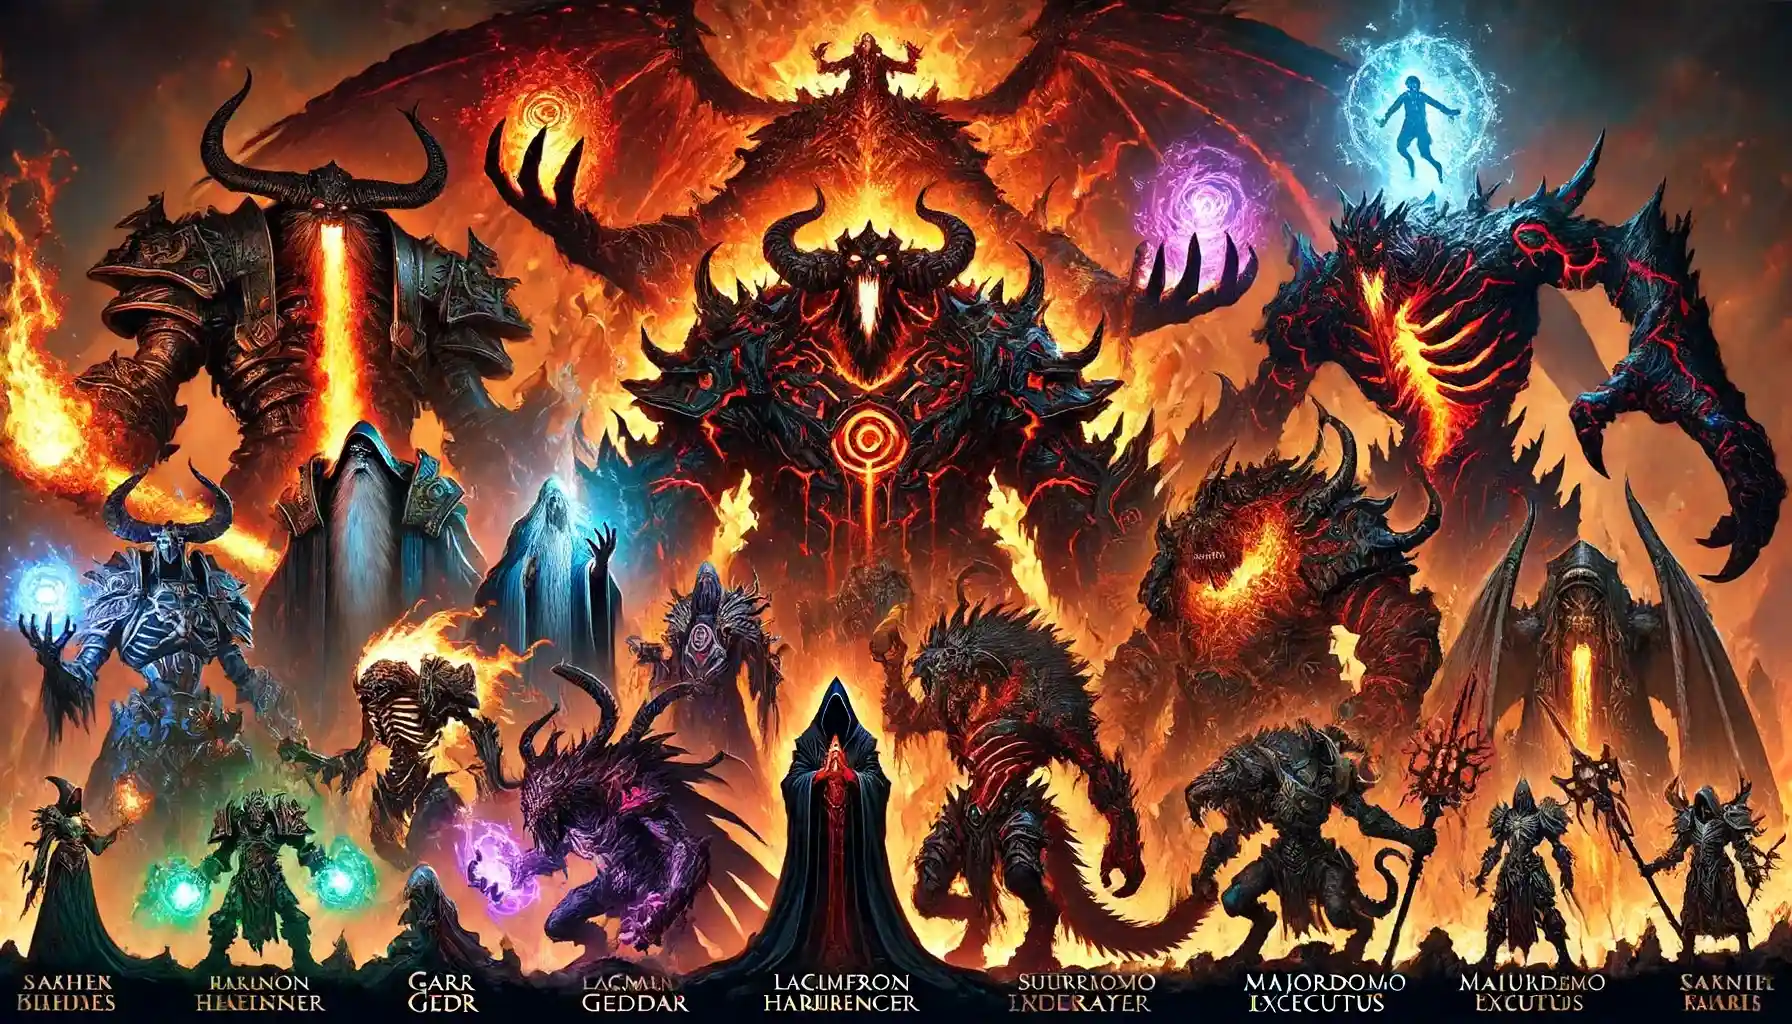
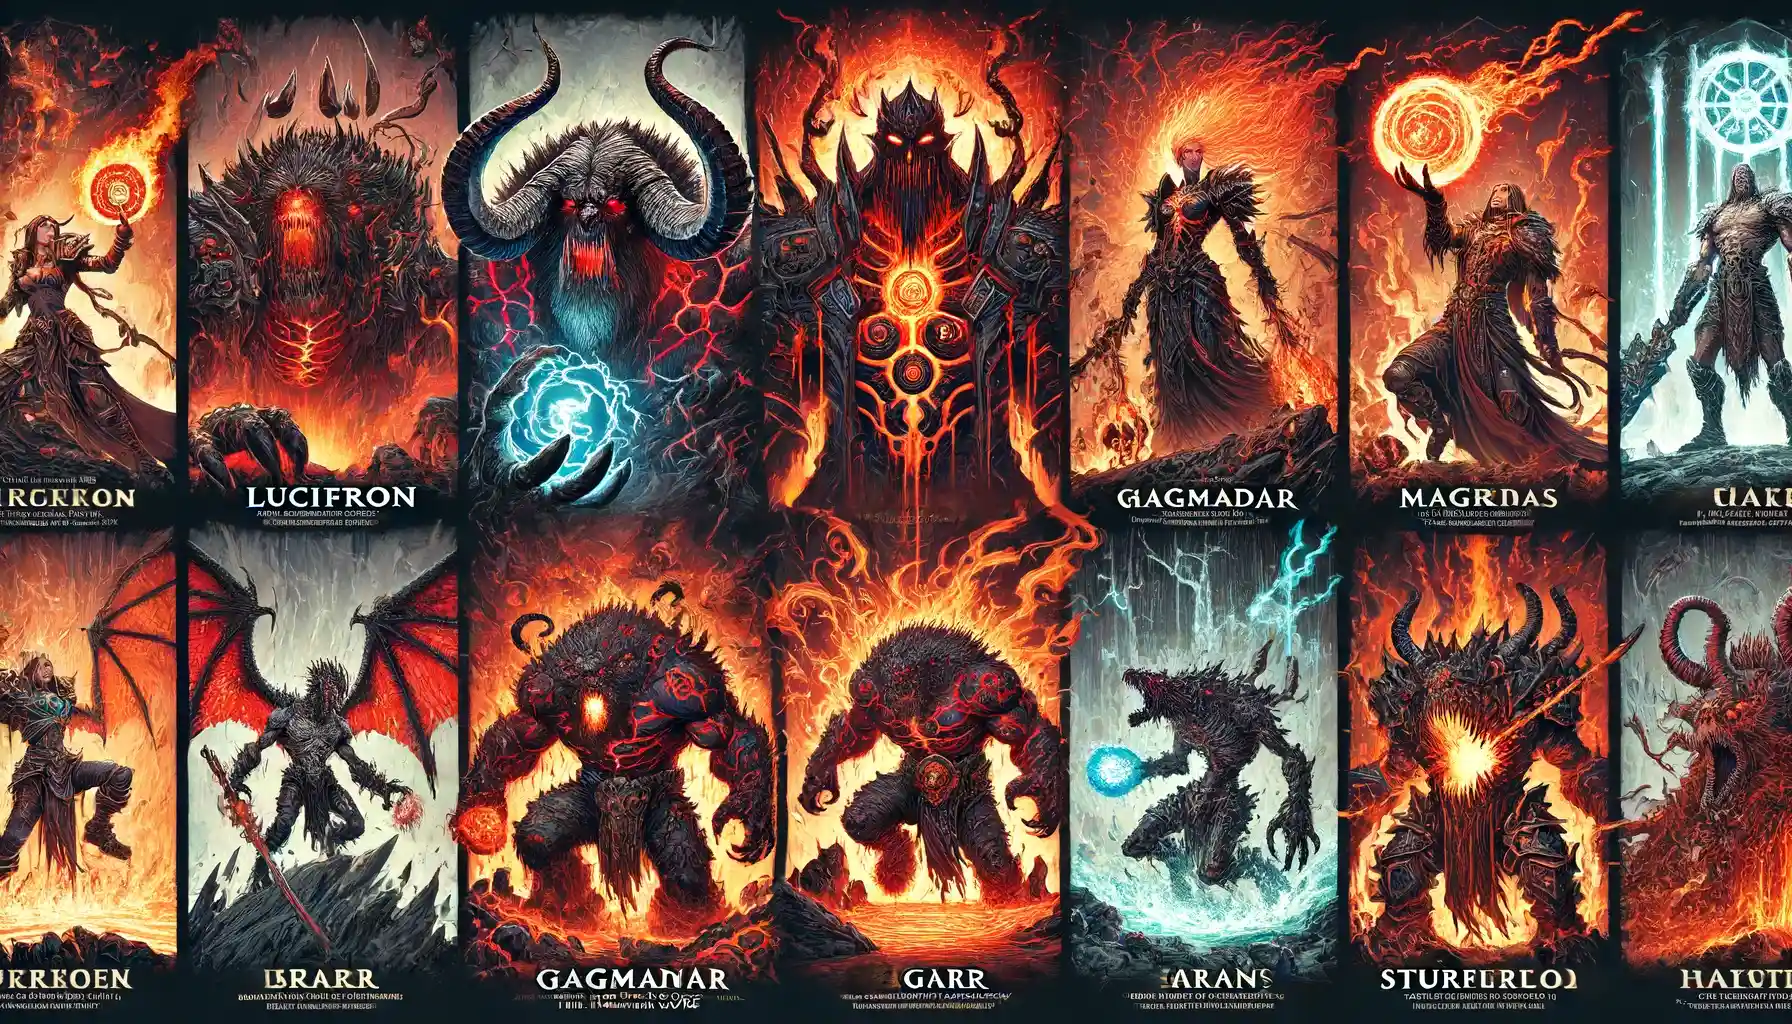
so you’ve made it through the molten core trash and you’re ready to take on the big bad bosses of Molten Core. This raid is packed with some seriously iconic fights that require a solid group composition and good coordination. Each boss has unique abilities that can be tricky, so be prepared! Here’s a quick rundown of who you’ll face and what to watch out for:
Molten Core Bosses
- Lucifron — Curse Master
- Magmadar — Fearsome Hound
- Gehennas — Fire Rain
- Garr — Add Control
- Baron Geddon — Living Bomb
- Shazzrah — Arcane Explosion
- Sulfuron Harbinger — Healing Adds
- Golemagg the Incinerator — Giant Doggies
- Majordomo Executus — Add Management
- Ragnaros — Fire Lord
These bosses are no joke. Lucifron’s curses can mess up your whole raid if not dealt with quickly. Magmadar’s fear can scatter your group, making coordination a nightmare. Gehennas rains fire that will burn through unprepared groups. Garr’s abilities will test your add control skills to the max. Baron Geddon can turn players into living bombs, adding extra damage to the fight. Shazzrah’s arcane explosions can detract significantly from your raid’s health. Sulfuron Harbinger’s healing adds need to be interrupted fast. Golemagg comes with his giant core hounds that require off-tanks to handle. Majordomo Executus is all about managing his adds without getting overwhelmed. And finally, Ragnaros, the Fire Lord himself, will push your raiding skills to the limit with his powerful attacks and fire-themed abilities.
Lucifron Boss tactics & Strategies
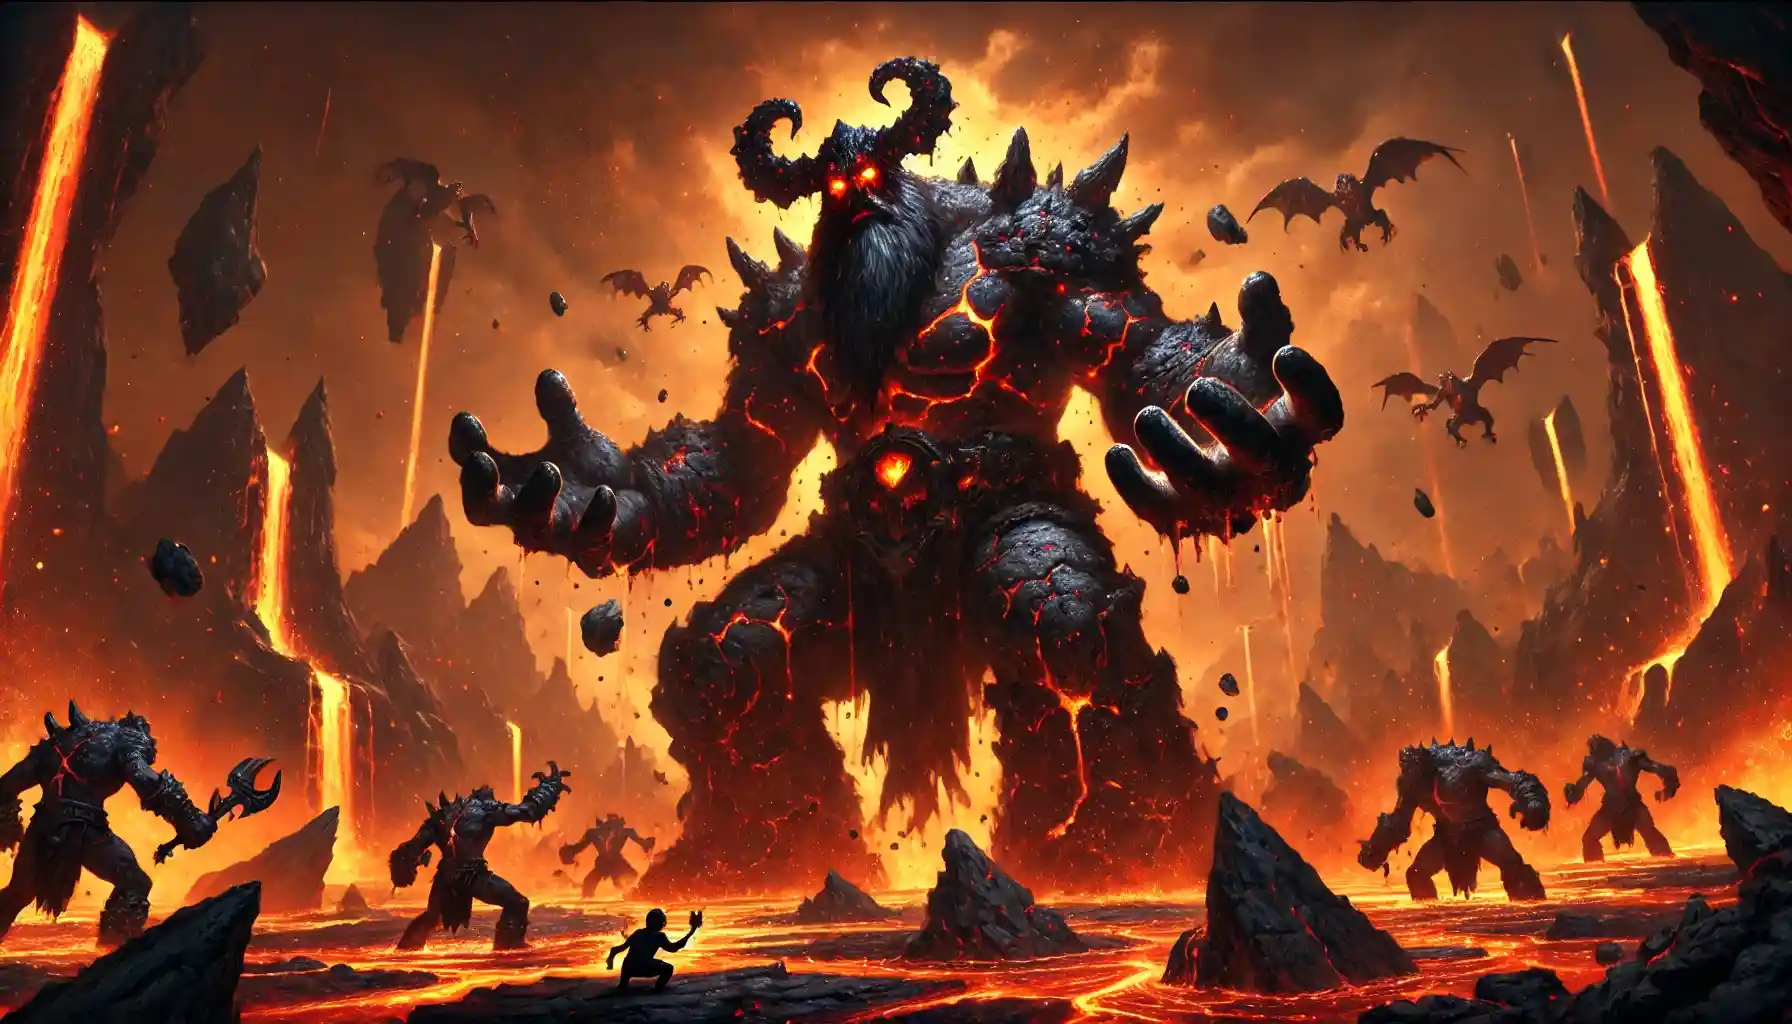
Lucifron, the gatekeeper of Molten Core, is your first major hurdle in this fiery pit. His unique abilities and the two Flamewaker Protectors that flank him make this fight a real test of your raid’s coordination and skill. Handling him and his adds smoothly sets the tone for the rest of the raid, so be ready to bring your A-game!
Tanks
- Abilities: Impending Doom, Lucifron’s Curse, Shadow Shock
- Handle Lucifron and position the Flamewaker Protectors so that their Cleave doesn’t hit other players. It’s crucial to manage aggro carefully, especially while dealing with the adds’ Dominate Mind ability.
DPS
- Abilities: Lucifron’s Curse, Shadow Shock
- Focus on taking down the Flamewaker Protectors first to reduce the chaos from Dominate Mind. Stay aware of your positioning to avoid unnecessary damage from Cleave and Shadow Shock.
Healers
- Abilities: Impending Doom, Lucifron’s Curse, Shadow Shock
- Prioritize dispelling Impending Doom and Lucifron’s Curse quickly, especially on tanks and yourselves. Keep an eye on mind-controlled players to dispel them promptly and manage your mana efficiently.
| Boss Ability | Wipe Potential | Who Must Focus | What to Do | Informal Commentary |
| Impending Doom | High | Healers | Dispel | This shadow bomb ticks hard. Dispel it quick or watch health bars drop! |
| Lucifron’s Curse | High | Healers, DPS | Dispel | Doubling mana costs is a no-go. Cleanse it fast or go OOM like there’s no tomorrow. |
| Shadow Shock | Medium | Melee, Tanks | Dodge | Stay out of range if you can, and tanks, buckle up for some shadowy punches. |
| Cleave | High | Tanks, Melee DPS | Position | Avoid facing these bad boys head-on unless you want to get sliced! |
| Dominate Mind | High | All | Interrupt | When your buddy goes rogue, stop hitting and start helping—quick dispel or CC! |
This setup should help your raid manage Lucifron’s abilities effectively, minimizing chaos and maximizing efficiency as you work your way deeper into Molten Core. Remember, the best way to tackle these challenges is by staying coordinated and keeping communication clear among all raid members.
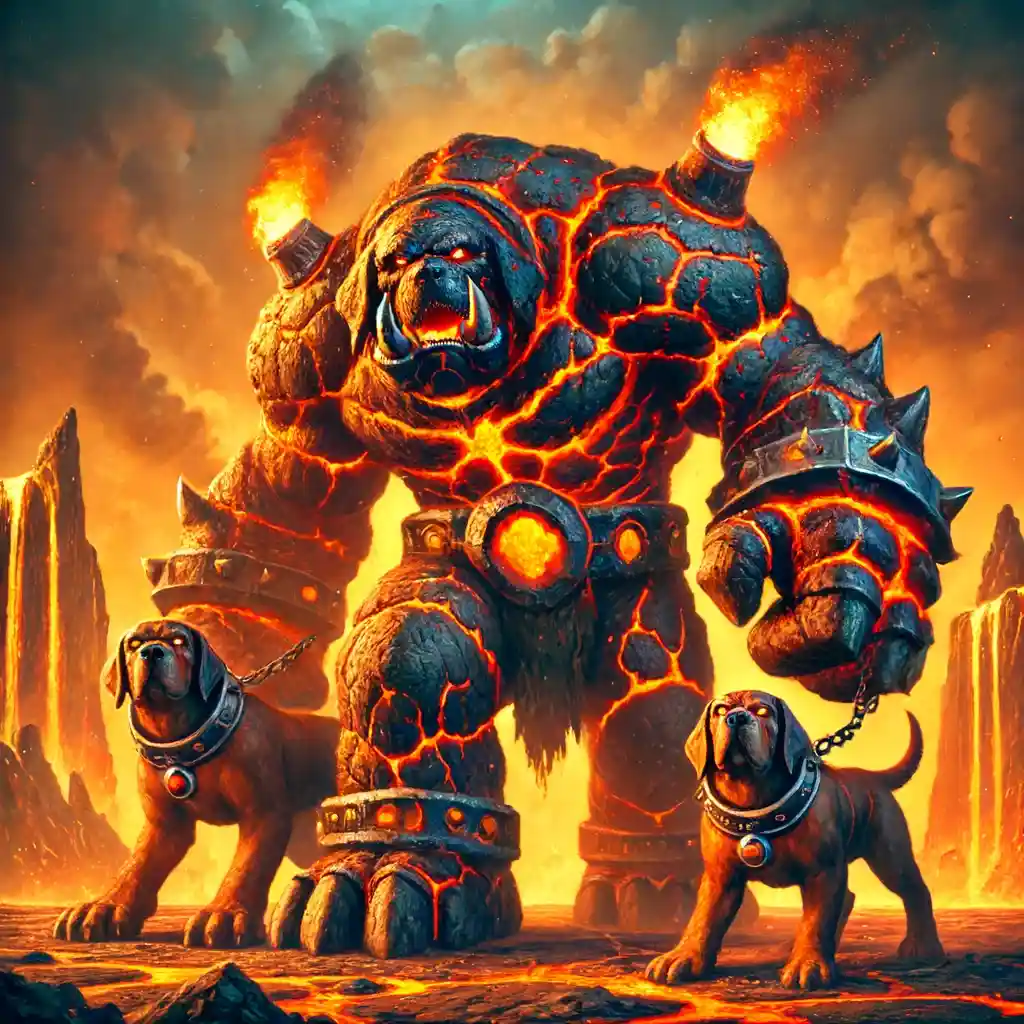
Magmadar Boss tactics & Strategies

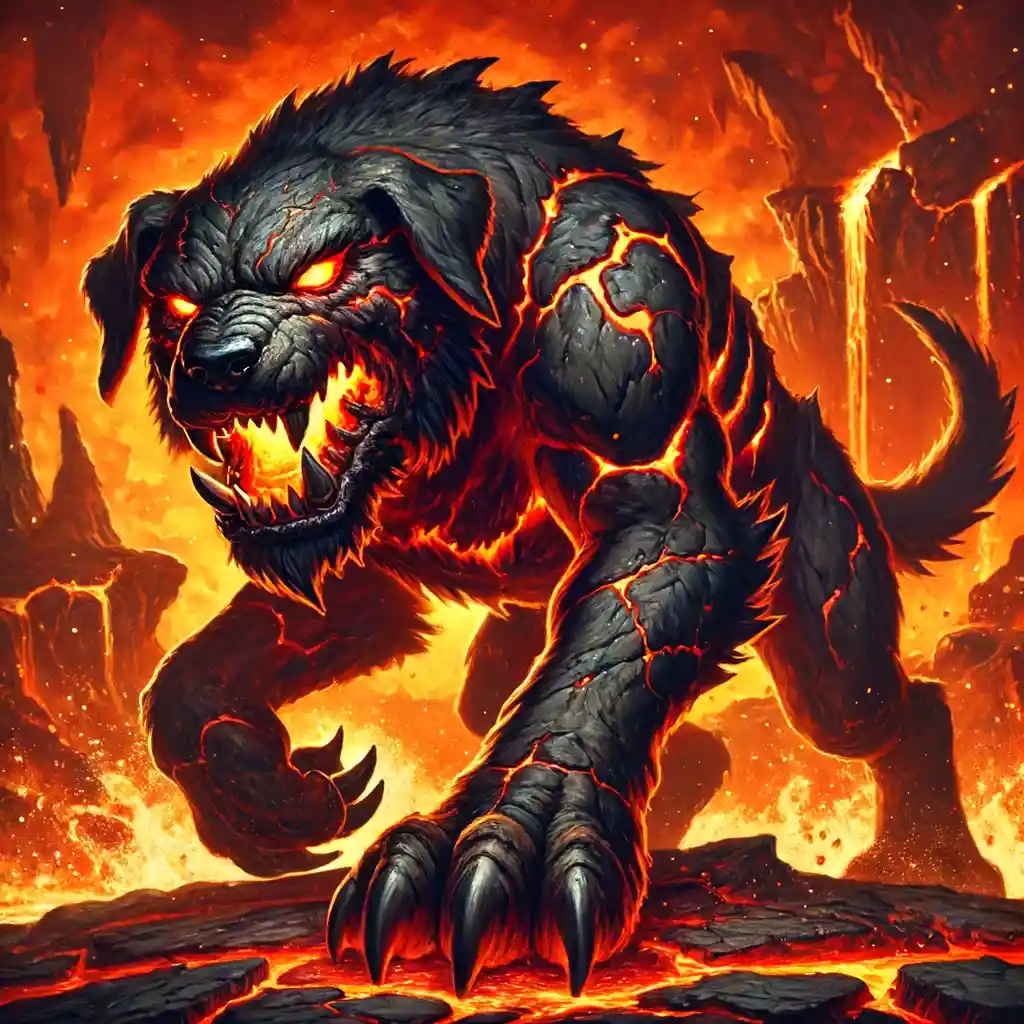
Magmadar, the second boss in Molten Core, is a massive fire-breathing core hound that will test your raid’s ability to manage debuffs and avoid big bursts of damage. Taking him down requires precise coordination, especially when dealing with his Frenzy and Panic abilities.
Tanks
- Abilities: Frenzy, Lava Bomb, Panic, Magma Spit
- Keep Magmadar in place and be ready to move when hit by Lava Bomb. Use Berserker Rage to avoid Panic, and coordinate with Hunters to dispel Frenzy with Tranquilizing Shot.
DPS
- Abilities: Lava Bomb, Panic, Magma Spit
- Focus on avoiding Lava Bomb patches and staying out of Panic range if you’re ranged DPS. Melee DPS should be prepared for constant healing due to Magma Spit.
Healers
- Abilities: Lava Bomb, Panic, Magma Spit
- Keep an eye on the tank’s health, especially during Frenzy. Be ready to heal players who get hit by Lava Bomb or Panic and manage your mana efficiently to handle the constant damage from Magma Spit.
| Boss Ability | Wipe Potential | Who Must Focus | What to Do | Informal Commentary |
| Frenzy | High | Hunters, Tanks | Dispel | Hunters, nail that Tranquilizing Shot or the tank’s toast! |
| Lava Bomb | Medium | All | Move | Get out of the fire patches fast or you’ll be BBQ! |
| Panic | High | Tanks, Healers | Avoid | Tank, use Berserker Rage or you’ll run around like a headless chicken! |
| Magma Spit | Medium | Healers, Melee DPS | Heal | Keep the heals coming for the melee or they’ll melt! |
SoD BiS Gear Boost
Let our experts tackle the dreary work for you!

Quick Tips
- Before the Pull: Clear all Core Hound packs near Magmadar to ensure enough room to fight him.
- Positioning: Keep Magmadar in his spot, but tanks should be ready to move when targeted by Lava Bomb.
- Coordination: Ensure Hunters are ready with Tranquilizing Shot to manage Frenzy, and have a strategy for dealing with Panic using Berserker Rage, Fear Ward, or Tremor Totem.
Gehennas Boss tactics & Strategies
Gehennas, the third boss in Molten Core, is a nasty flamewaker who will test your raid’s ability to move and decurse quickly. Positioned in the center of his room, Gehennas brings fire and curses to the fight, requiring your raid to stay on their toes and manage debuffs efficiently.
Tanks
- Abilities: Rain of Fire, Gehennas’ Curse, Shadow Bolt
- Tank Gehennas in the center of the room and be ready to move him out of Rain of Fire. Make sure to grab the Flamewaker adds and keep them positioned away from the raid.
DPS

- Abilities: Rain of Fire, Gehennas’ Curse, Shadow Bolt
- Focus on killing the Flamewaker adds first. Move out of Rain of Fire immediately. Help decurse Gehennas’ Curse when necessary, especially on the tanks.
Healers & other classes instructions
- Abilities: Rain of Fire, Gehennas’ Curse, Shadow Bolt
- Prioritize healing those hit by Shadow Bolt and decurse Gehennas’ Curse as quickly as possible. Use restorative potions to help manage curses and maintain mana for heavy healing.
| Boss Ability | Wipe Potential | Who Must Focus | What to Do | Informal Commentary |
| Rain of Fire | Medium | All | Move | Get out of the fire ASAP, or you’ll fry! |
| Gehennas’ Curse | High | Healers, Mages, Druids | Decurse | This curse kills healing—remove it fast, especially from tanks! |
| Shadow Bolt | Low | Healers | Heal | Just heal up the random bolts. No biggie. |
| Fist of Ragnaros | Medium | Tanks, Melee DPS | Avoid | Stun incoming! Use Free Action Potions to avoid the stun. |
Quick Tips
- Clear all nearby trash to ensure enough space for the fight.
- Tank Gehennas in the center and keep the Flamewaker adds to the southwest.
- Prioritize killing the adds first, and keep an eye on Gehennas’ Curse. Use Free Action Potions to prevent the stuns from Fist of Ragnaros.
With these strategies in mind, your raid should be able to handle Gehennas and continue forward in the instance. Remember, the key is quick movement and efficient decursing.
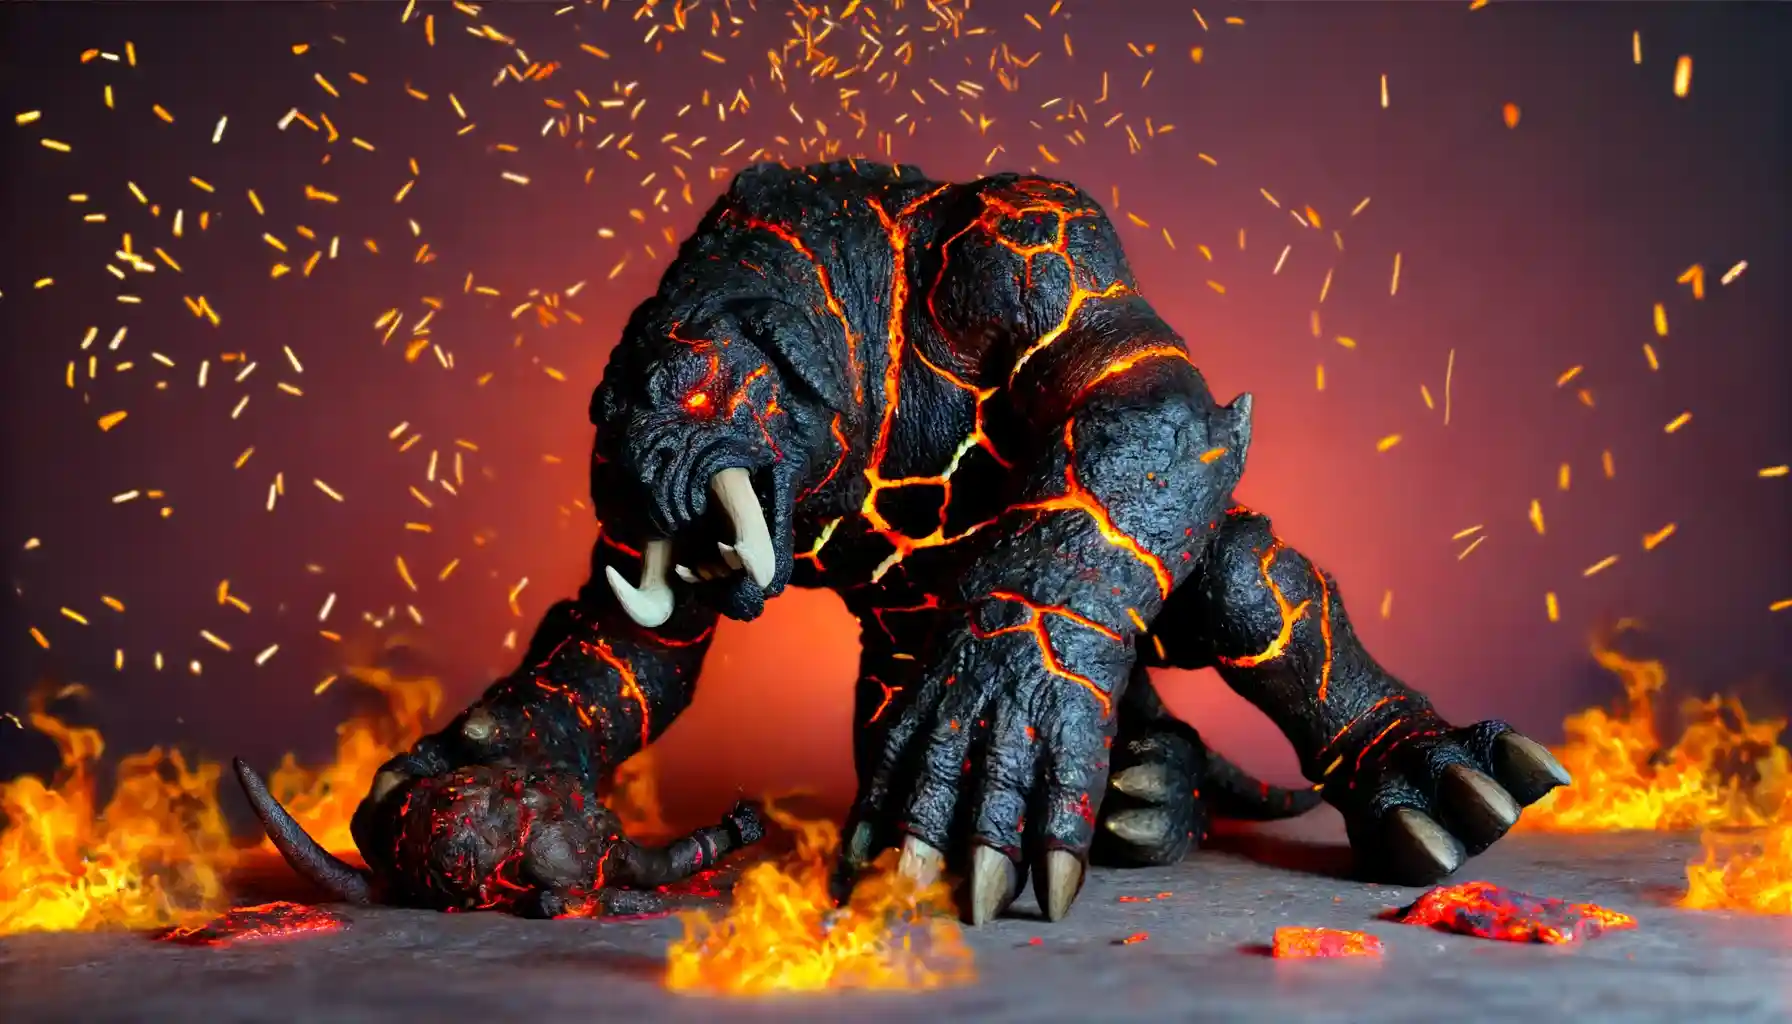
Garr Boss tactics & Strategies
Garr, one of the four bosses in Molten Core, is a hulking lava giant who brings along a swarm of adds called Firesworn. This fight is all about control—handling Garr abilities while keeping his explosive minions in check. Warlocks are key here, using Banish to neutralize the Firesworn and make the encounter more manageable.
Tanks class instructions
- Abilities: Antimagic Pulse, Magma Shackles, Separation Anxiety. Based on original wow data information
- Tank Garr about 15 yards away from the raid, managing his aggro and ensuring he stays close to his adds to avoid Separation Anxiety. Prepare to reposition as necessary to dodge Firesworn explosions.
DPS class instructions
- Abilities: Antimagic Pulse, Magma Shackles, Immolate, Eruption
- Focus on killing the Firesworn one by one. Warlocks should Banish the adds to control them. Move away from adds about to explode, and use Free Action Potions if shackled near an exploding add.
Healers class instructions
- Abilities: Antimagic Pulse, Magma Shackles, Immolate, Eruption
- Keep an eye on the tank and raid members for dispelling Immolate and healing through the constant damage. Be ready to heal those knocked back by Eruption, and manage mana carefully due to Antimagic Pulse.
| Boss Ability | Wipe Potential | Who Must Focus | What to Do | Informal Commentary |
| Antimagic Pulse | Low | All | Ignore | This’ll zap your buffs, but it’s not too bad. Just keep fighting! |
| Magma Shackles | Medium | All | Move | Slows you down. If you’re near an exploding add, get outta there fast! |
| Separation Anxiety | High | Tanks, DPS | Position | Keep the adds close to Garr or they’ll go berserk! |
| Immolate | Medium | Healers | Dispel | Fire DOT on tanks and melee. Healers, dispel it quick! |
| Eruption | High | All | Avoid | Adds explode when they die. Back away before they blow you sky-high! |
Quick Tips
- Clear any nearby Molten Giants and Elementals to prevent accidental aggro during the fight.
- Tank Garr and his adds close together but keep the raid away from the explosion radius.
- Warlocks should Banish as many adds as possible, and the rest of the raid should kill Firesworn one at a time, moving away before they explode.
With these strategies, handling Garr should be straightforward. Remember, it’s all about controlling the adds and managing the space to avoid catastrophic explosions.
Baron Geddon Boss tactics & Strategies

Baron Geddon, a fiery giant in Molten Core, is infamous for turning players into living bombs and draining mana with his powerful spells. This fight requires excellent coordination and quick reactions to avoid deadly explosions and manage intense fire damage.
Tanks class instructions
- Abilities: Inferno, Living Bomb, Ignite Mana. Based on original wow data information
- Tank Geddon in an open area with enough space for melee to run away during Inferno. Be ready to move out quickly when Inferno is cast to avoid massive fire damage.
DPS class instructions
- Abilities: Living Bomb, Ignite Mana
- If you get Living Bomb, run away from the group immediately to avoid damaging others. Casters should be aware of Ignite Mana and get it dispelled quickly. Fire abilities are useless here, so use other spells.
Healers class instructions
- Abilities: Ignite Mana, Living Bomb, Inferno. Based on original wow data information
- Focus on dispelling Ignite Mana from healers and caster DPS to preserve mana. Keep the raid healed during Inferno, and be ready to heal those hit by Living Bomb.
| Boss Ability | Wipe Potential | Who Must Focus | What to Do | Informal Commentary |
| Ignite Mana | High | Healers, Casters | Dispel | This drains mana fast—dispel it ASAP to keep your mana! |
| Inferno | High | All | Move | Run away from Geddon or you’ll get roasted! |
| Living Bomb | High | Affected Player | Run | If you’re the bomb, get away from the group and to the walls! |
| Armageddon | Very High | All | Burn | Near death, burn him down fast or it’s game over for the raid! |
Buy WoW SOD Gold
Dominate the Game: Acquire WoW SOD Gold Today!

Quick Tips
- Clear the area and pull Geddon back to Garr’s room for a safer fight setup.
- Tank Geddon in an open space, and ensure melee can easily move out during Inferno.
- Dispelling Ignite Mana quickly and running away with Living Bomb are crucial. Use the raid’s player power and coordinate to handle Geddon’s abilities efficiently.
With these strategies, your raid size should be well-prepared to handle Baron Geddon and push forward in Molten Core.
Shazzrah Boss tactics & Strategies

Shazzrah, one of the tricky bosses in Molten Core, is a master of Arcane magic and teleportation. This fight revolves around handling his blinks, decursing quickly, and managing the constant threat resets. Get ready to stay on your toes and react fast to his spells!
Tanks class instructions
- Abilities: Blink, Arcane Explosion, Counterspell, Deaden Magic. Based on original wow data information
- Stay alert for Shazzrah’s Blink and quickly re-establish threat. Keep him positioned away from the raid to minimize damage from Arcane Explosion.
DPS class instructions
- Abilities: Arcane Explosion, Shazzrah’s Curse, Counterspell
- Spread out to avoid group damage from Arcane Explosion. Stop DPS when Shazzrah Blinks to let tanks regain aggro. Help decurse Shazzrah’s Curse quickly.
Healers class instructions
- Abilities: Arcane Explosion, Shazzrah’s Curse, Counterspell, Deaden Magic
- Focus on decursing Shazzrah’s Curse immediately, prioritizing tanks and melee. Stop casting just before Counterspell and use instant-cast heals during this time.
| Boss Ability | Wipe Potential | Who Must Focus | What to Do | Informal Commentary |
| Shazzrah’s Curse | High | Mages, Druids | Decurse | Double magic damage hurts! Get rid of that curse quick! |
| Arcane Explosion | Medium | All | Spread | Spread out to avoid the big boom, and move if he Blinks to you! |
| Blink | High | Tanks | Reposition | He’s on the move! Tanks, grab him fast after he blinks! |
| Counterspell | Medium | Casters | Stop Casting | Stop casting before Counterspell or you’ll be locked out! |
| Deaden Magic | Medium | Priests, Shamans | Dispel | Get rid of his magic shield so we can keep burning him down! |
Quick Tips
- Clear trash mobs around Shazzrah’s area or kite him to Garr’s room for more space.
- Keep the raid spread out to minimize Arcane Explosion damage and be ready to move quickly if targeted by Blink.
- Focus on quick decursing and managing threat resets after Blink. Use boss timers to predict and avoid Counterspell.
By handling Shazzrah’s abilities with precise coordination and quick reactions, your raid size will be able to take him down efficiently.
Sulfuron Harbinger Boss tactics & Strategies
Sulfuron Harbinger, one of the fierce bosses in Molten Core, commands four Flamewaker Priests and requires excellent coordination and tanking. This fight is all about managing his adds before focusing on Sulfuron himself, making it a true test of your raid’s ability to handle multiple threats simultaneously.
Tanks
- Abilities: Hand of Ragnaros, Inspire
- The main tank should hold Sulfuron at the back of the room, while other tanks manage the Flamewaker Priests away from Sulfuron to prevent them from getting buffed by Inspire. Be ready to reposition as necessary to avoid knockbacks from Hand of Ragnaros.
DPS
- Abilities: Dark Mending, Dark Strike, Immolate, Shadow Word: Pain
- Focus on interrupting Dark Mending from the Flamewaker Priests. Take down the adds first before switching to Sulfuron. Use abilities to mitigate damage from Immolate and Shadow Word: Pain, and be prepared to reposition if affected by Hand of Ragnaros.
Healers
- Abilities: Immolate, Shadow Word: Pain, Dark Strike
- Prioritize dispelling Immolate and Shadow Word: Pain from the raid. Keep tanks and melee healed through Dark Strike and be prepared to manage increased healing needs due to the spread-out nature of the fight.
| Boss Ability | Wipe Potential | Who Must Focus | What to Do | Informal Commentary |
| Hand of Ragnaros | Medium | Tanks, Melee DPS | Move | Get out of the way to avoid the knockback and stun! |
| Inspire | High | Tanks | Separate | Keep the adds away from Sulfuron or they’ll hit like trucks! |
| Dark Mending | High | Interrupt DPS | Interrupt | Stop those heals or the fight will drag on forever! |
| Dark Strike | Medium | Healers | Heal | Keep healing through the extra damage on tanks. |
| Immolate | Low | Healers | Dispel | Get rid of that burning DOT on your buddies! |
| Shadow Word: Pain | Low | Healers | Dispel | Clear the shadowy DOT to keep everyone healthy! |
Buy WoW Discovery Level Boost
Expert Leveling Boost, Choose Speed Over Grind

Quick Tips
- Clear the surrounding area and be prepared with at least 5 tanks to control Sulfuron and his adds.
- Tanks should spread out the Flamewaker Priests and keep them away from Sulfuron to avoid the Inspire buff.
- Assign specific players to interrupt Dark Mending and prioritize dispels for Immolate and Shadow Word: Pain.
With these strategies, your raid size should be well-prepared to handle Sulfuron Harbinger and his priests. Remember, the key is managing the adds efficiently before focusing on Sulfuron to secure a successful kill.
Golemagg the Incinerator Boss tactics & Strategies

Golemagg the Incinerator, a massive molten giant, is one of the tougher fights in Molten Core, requiring precise tank swaps and careful handling of his Core Rager pets. This fight is all about managing Fire Resistance and positioning to avoid Golemagg’s Trust buff on his pets.
Tanks
- Abilities: Magma Splash, Pyroblast, Earthquake, Golemagg’s Trust
- Main tanks need to swap Golemagg to manage Magma Splash stacks. Off-tanks handle the Core Ragers away from Golemagg to avoid the Trust buff but not too far to avoid resets.
DPS
- Abilities: Magma Splash, Pyroblast, Earthquake
- Focus on Golemagg until he’s almost dead, then switch to Core Ragers. Be mindful of your Fire Resistance and move away if your Magma Splash stacks get too high.
Healers
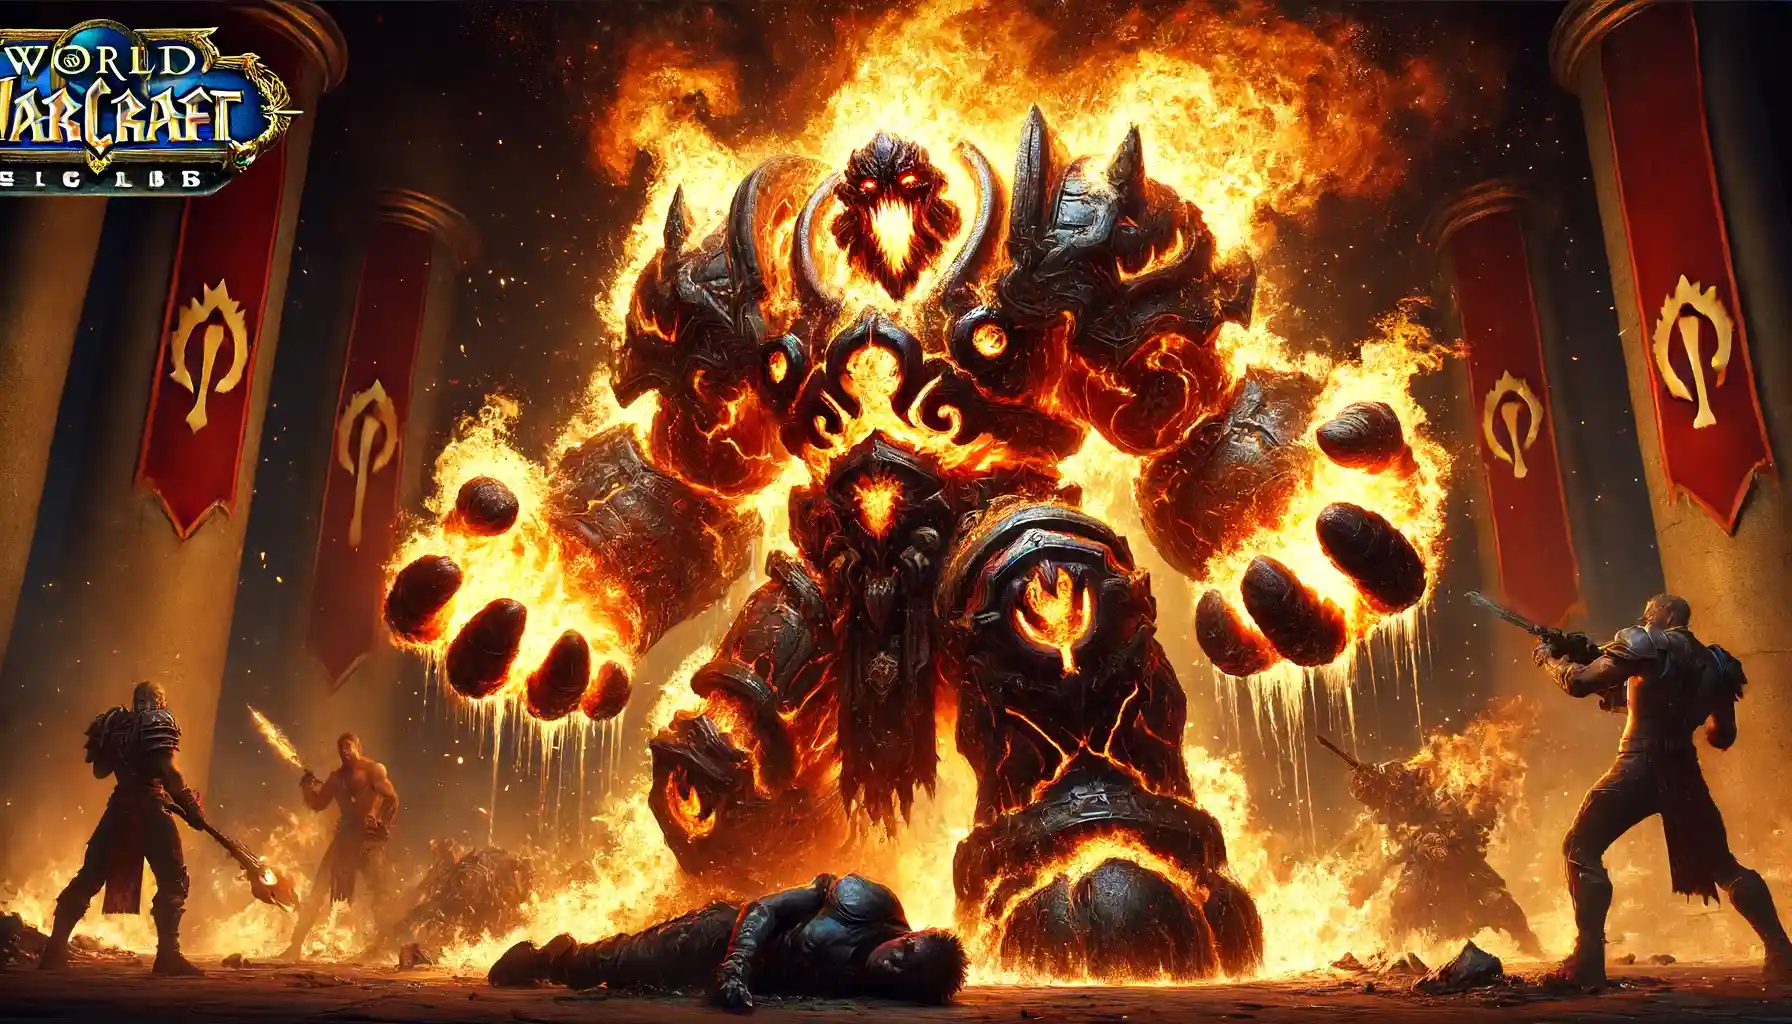
- Abilities: Magma Splash, Pyroblast, Earthquake
- Heal through the Pyroblast DOT on random players and manage the high damage during Earthquake when Golemagg hits 10% health. Keep an eye on tank health to manage Magma Splash stacks.
| Boss Ability brief overview | Wipe Potential | Who Must Focus | What to Do | Informal Commentary |
| Magma Splash | High | Tanks, Melee DPS | Swap | Tank swap and back off if stacks get too high! Even if you’re not in the easter plaguelands, you can get killed by this boss |
| Pyroblast | Medium | Healers | Heal | Find and heal the Pyroblast target fast! |
| Earthquake | High | All | Burn | Push through and burn him down quickly during the quake! |
| Golemagg’s Trust | High | Off-Tanks | Position | Keep Core Ragers away but not too far, or it’s reset city! |
| Mangle | Medium | Healers, Off-Tanks | Heal | Heal through the Mangle’s DOT and slowed movement. |
Buy WoW SOD Gold
Dominate the Game: Acquire WoW SOD Gold Today!

Quick Tips
- Ensure you have enough tanks and high Fire Resistance. Position Golemagg and his Core Ragers carefully.
- Keep Core Ragers just far enough to avoid the Trust buff but close enough to prevent resets.
- Tanks must swap to manage Magma Splash, and DPS should focus on Golemagg until he’s nearly dead.
And remember, about the poisoned elementals is not your big problem, with upper Blackrock spire, dot component of this boss, with other features, become a real butt pain!
Majordomo Executus Boss tactics & Strategies
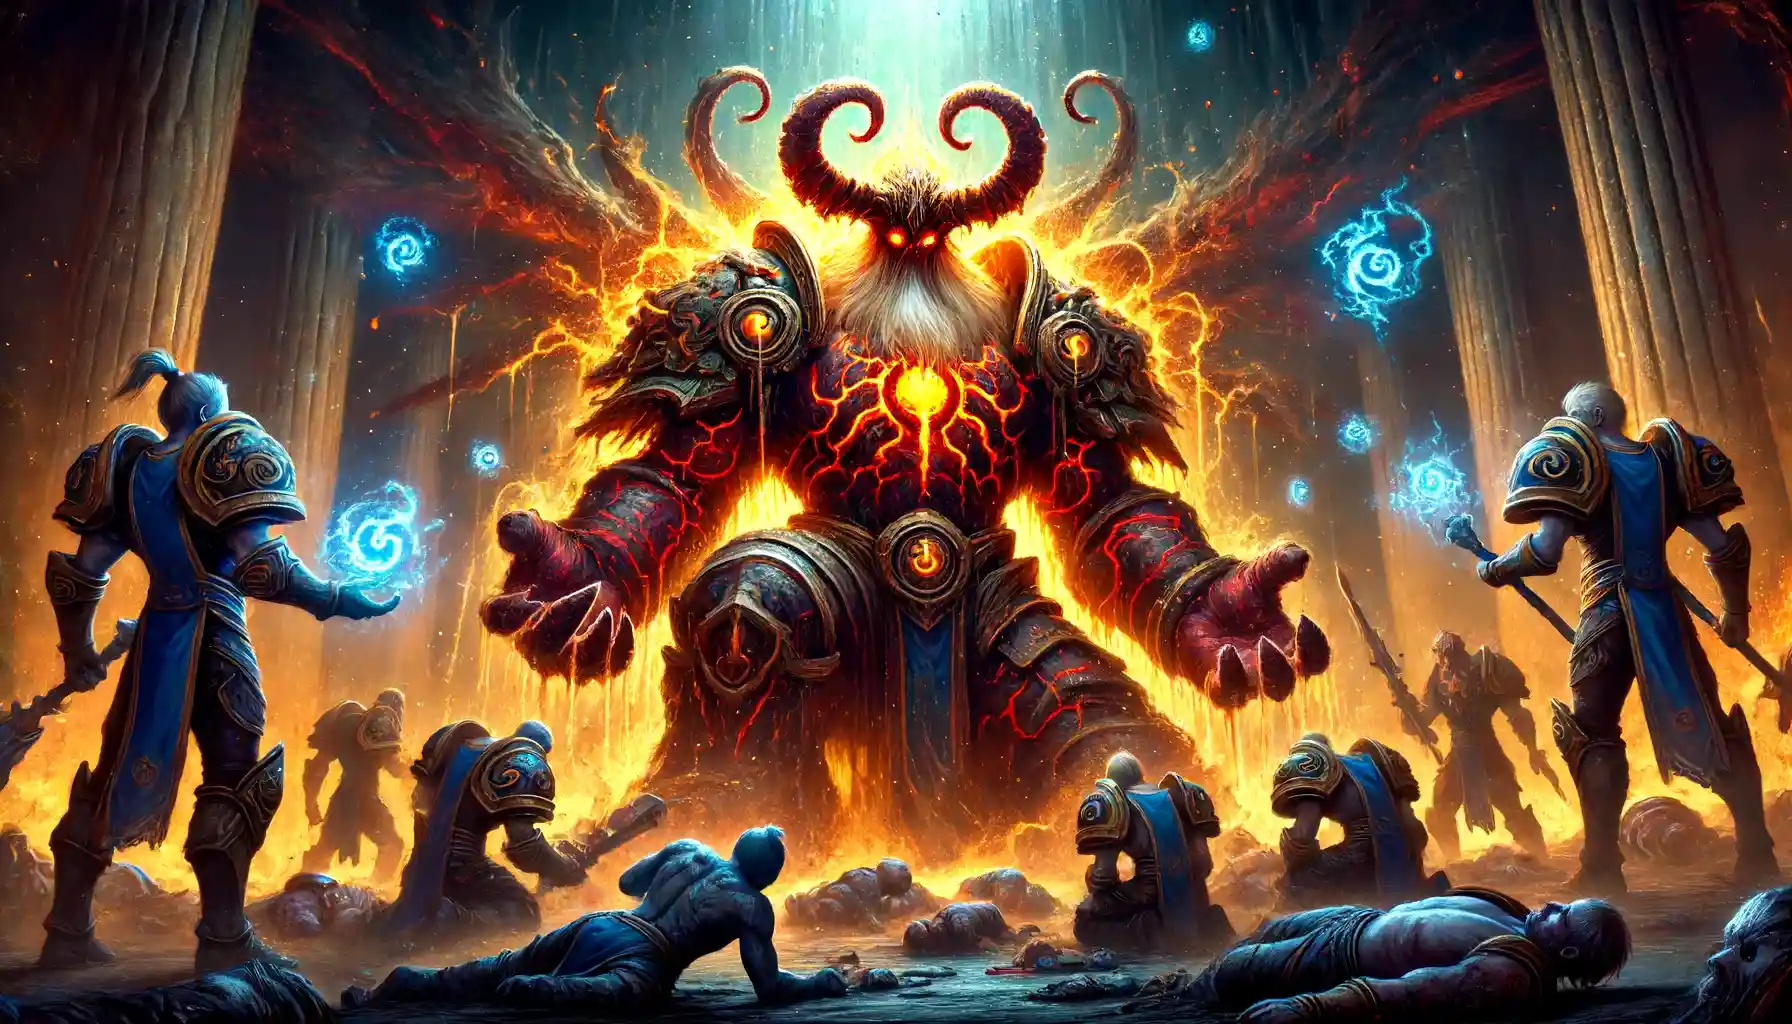
Majordomo Executus, the penultimate boss in Molten Core, brings along 8 Flamewaker allies—4 Elites and 4 Healers. You don’t defeat Majordomo directly; instead, you need to take down his companions while managing his various shield abilities and keeping him occupied.
Tanks
- Abilities: Teleport, Damage Shield
- Tank Majordomo on the far side of the coal pit. Be ready to quickly pick him back up after being teleported into the coals. Manage aggro on the Flamewaker Elites as they are immune to CC and need to be either tanked or kited.
DPS
- Abilities: Aegis of Ragnaros, Damage Shield, Magic Reflection
- Focus on the Flamewaker Elites first, then switch to the Healers. Avoid attacking into the Aegis of Ragnaros shield as melee, and be cautious of Magic Reflection as casters to prevent self-inflicted damage.
Healers
- Abilities: Aegis of Ragnaros, Damage Shield
- Heal through the damage from the shields and keep an eye on the tank for quick recovery after Teleport. Dispel any debuffs and be ready to support the team during heavy damage phases.
| Boss Ability | Wipe Potential | Who Must Focus | What to Do | Informal Commentary |
| Aegis of Ragnaros | Medium | Melee DPS | Avoid | Watch out melee, don’t hit the shield or you’ll hurt yourself! |
| Damage Shield | Low | Healers, All DPS | Heal | Healers, just patch up the damage from this shield. |
| Magic Reflection | High | Casters | Stop Casting | Casters, pause your spells or you’ll nuke yourself! |
| Teleport | Medium | Tanks | Recover | Tanks, be ready to pick him up after you get ported. |
Quick Tips
- Ensure all 8 bosses in Molten Core are defeated and the runes extinguished. Position Majordomo away from the coal pit for easier tank management.
- Tanks should keep Majordomo on the opposite side of the coals, and CC the Flamewaker Healers at the start of the fight.
- Assign specific DPS to interrupt and manage the Flamewaker Healers’ Dark Mending. Focus on killing the Elites first before moving to the Healers.
By managing Majordomo’s shields and keeping his adds under control, your raid should be able to handle this encounter and move forward to face the final challenge in Molten Core
Ragnaros Boss tactics & Strategies
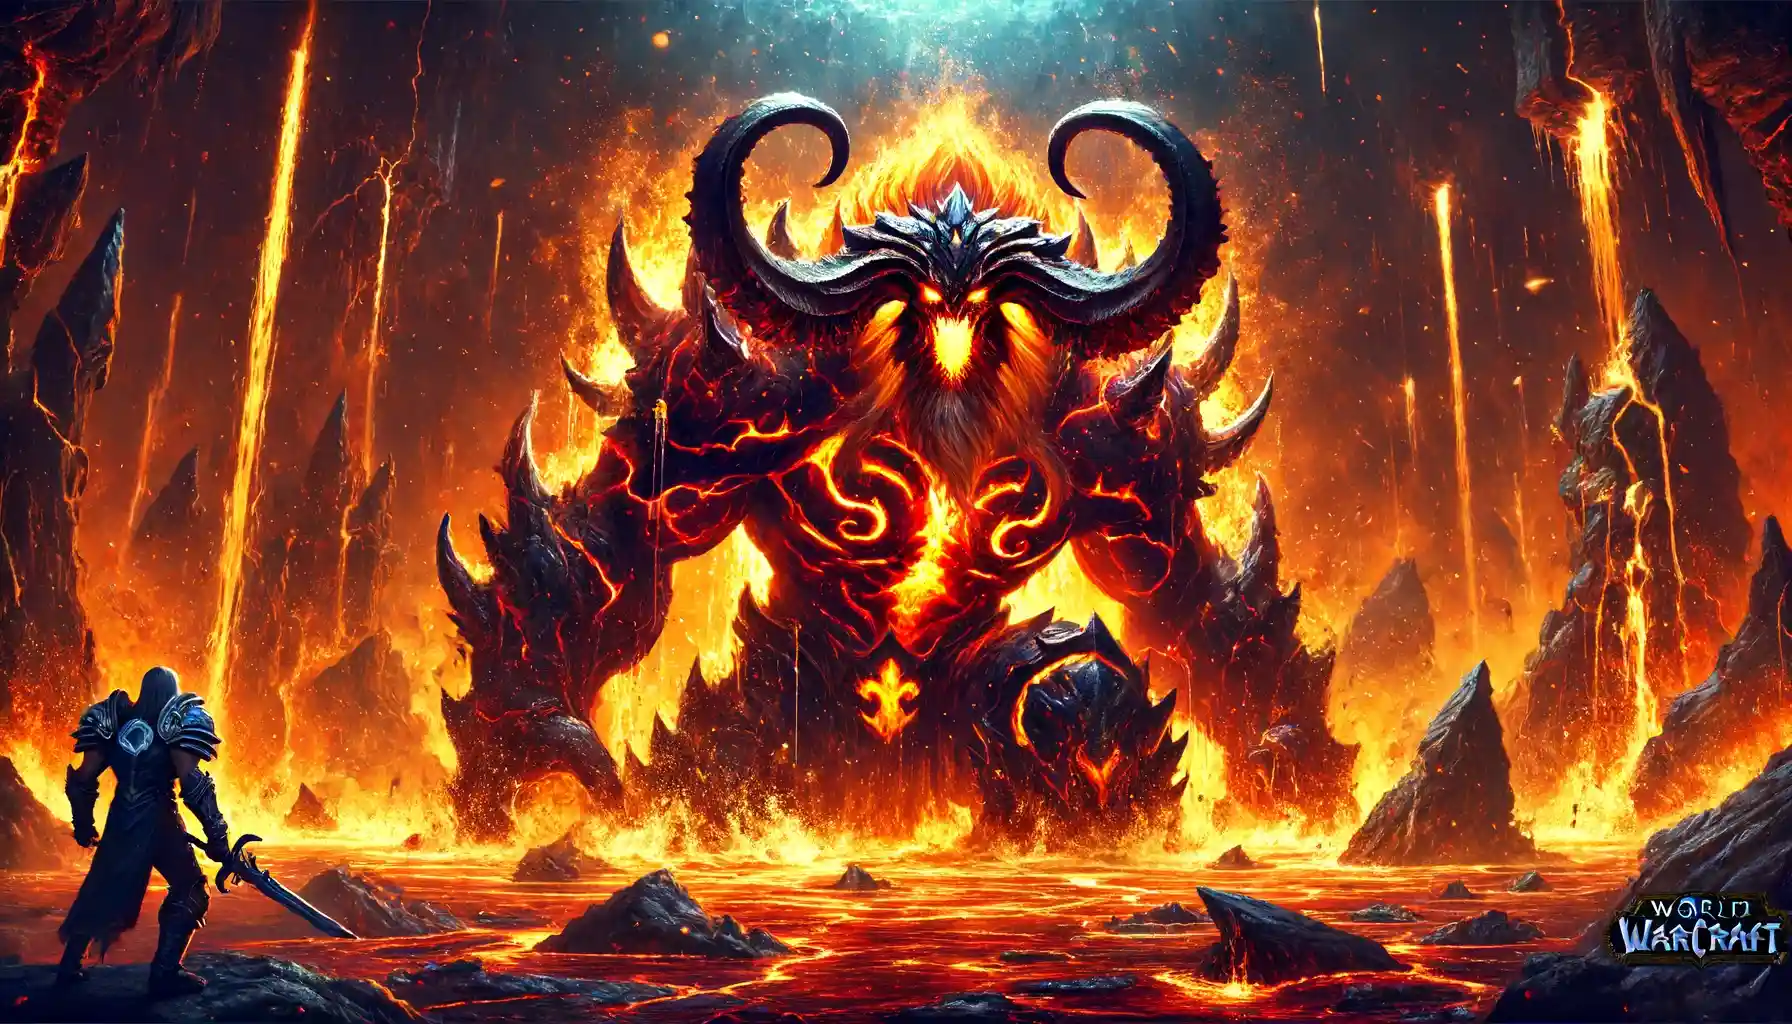
Ragnaros, the final boss of Molten Core, is a fiery giant who challenges your raid with powerful fire-based abilities and a two-phase fight. This encounter demands excellent coordination, fire resistance, and quick handling of summoned adds.
Tanks
- Abilities: Wrath of Ragnaros, Submerge
- Tank Ragnaros in the center and be ready to swap when Wrath of Ragnaros hits. Use high fire resistance gear to mitigate damage and resist knockbacks.
DPS
- Abilities: Lava Burst, Submerge
- Ranged DPS should spread out in pairs to minimize damage from Lava Burst. During Submerge, focus on crowd-controlling and killing the Sons of Flame quickly.
Healers
- Abilities: Lava Burst, Wrath of Ragnaros
- Keep the raid topped off, especially those hit by Lava Burst. Be prepared for heavy healing during Wrath of Ragnaros and the Submerge phase.
| Boss Ability | Wipe Potential | Who Must Focus | What to Do | Informal Commentary |
| Wrath of Ragnaros | High | Tanks, Melee DPS | Move | Tanks, be ready to swap and melee, run out when it’s about to hit! |
| Lava Burst | Medium | Ranged DPS, Healers | Spread | Ranged, spread out in pairs to minimize blast damage! |
| Submerge | High | All | CC/Kill | Handle those Sons of Flame fast! CC and burn them down! |
Quick Tips
- Ensure everyone has high fire resistance and pre-pot Greater Fire Protection Potion. Position melee behind Ragnaros and ranged in pairs around the room.
- Tanks should keep Ragnaros centered and be ready for tank swaps. Ranged DPS should maintain distance to avoid group damage from Lava Burst.
- During Submerge, quickly crowd control and kill the Sons of Flame using Frost Traps and Frost Nova. Regroup and prepare for Ragnaros to re-emerge.
By managing Ragnaros’ abilities effectively and maintaining proper positioning, your raid can conquer the Firelord and complete the Molten Core raid.
SOD Molten Core Raid | Quests
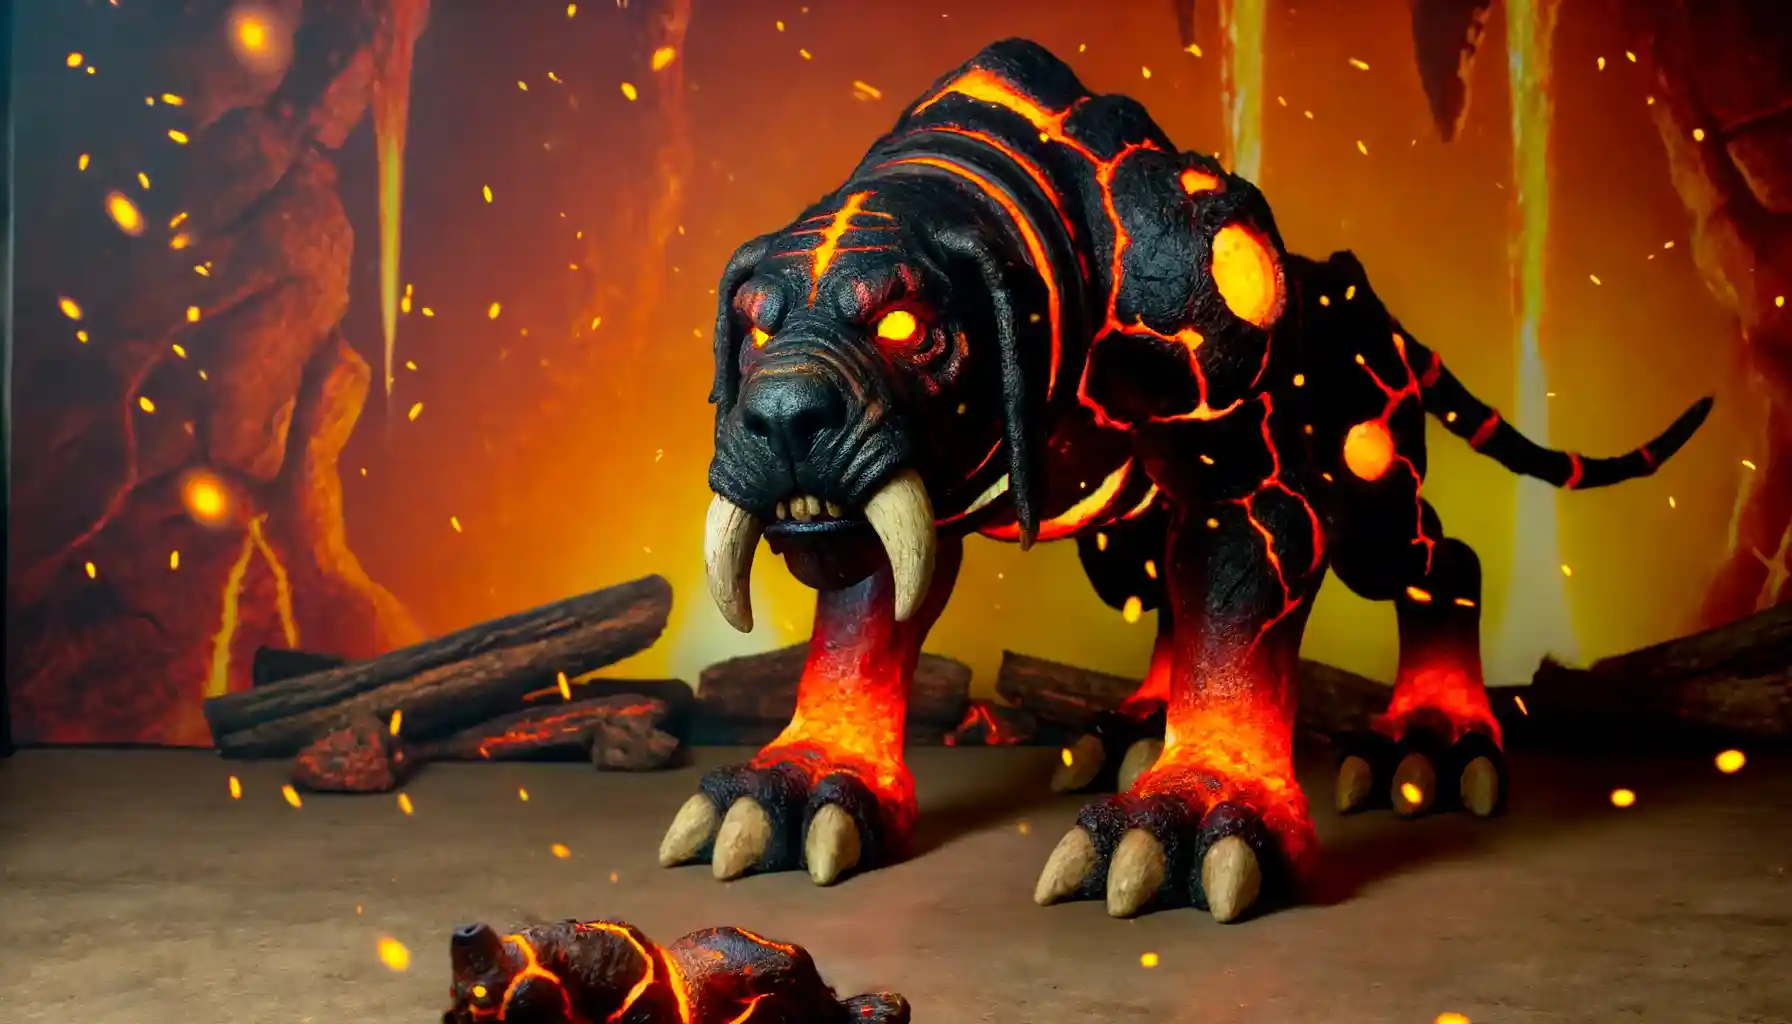
When you head into the Molten Core, not only are you up against some fiery bosses, but there are also some cool quests to grab that can boost your rewards and gear. These quests are all about collecting rare items, helping out your guild, or even just getting yourself some shiny new equipment. Here’s a breakdown of what quests you can find in the Molten Core and what they’re all about.
| Quest Name | Informal Description |
| Attunement to the Core | Basically, your VIP pass to Molten Core. Fall deep into Blackrock Depths to grab a Core Fragment. |
| Favor Amongst the Brotherhood, Blood of the Mountain | Collect Blood of the Mountain for rep. It’s like fetching coffee but way hotter. |
| Favor Amongst the Brotherhood, Core Leather | Get Core Leather, because everyone loves a tough guy in leather, right? |
| Favor Amongst the Brotherhood, Dark Iron Ore | Mine some Dark Iron Ore inside. Feels a bit like work, but it pays in guild rep and street cred. |
| Favor Amongst the Brotherhood, Fiery Core | Snag a Fiery Core; it’s hot property in there. |
| Favor Amongst the Brotherhood, Lava Core | Grab a Lava Core, because who doesn’t want a piece of a volcano? |
| Scrying Goggles? No Problem! | Find some lost goggles using your raid’s keen eyes. Get potions as a reward because, hey, you’ll need ‘em! |
| The Ancient Leaf | Only for Hunters. Find a mystical leaf that kicks off a quest for an epic bow. Hunters’ treasure hunt! |
SoD BiS Gear Boost
Let our experts tackle the dreary work for you!

SOD Molten Core Raid | Loot Table

In the fiery pits of Molten Core, the loot table is seriously stacked. From the Tier 1 and Tier 2 armor pieces dropped by the bosses to legendary items like Thunderfury and Sulfuras, there’s plenty to gear up your character. Each boss has a chance to drop epic items that are pivotal for most players looking to beef up their abilities and tackle more prohibitively difficult encounters in later tiers and other raids like Blackwing Lair. So, whether you’re an off tank needing that extra durability or a DPS aiming to pump out additional damage, Molten Core’s loot table caters to all classes and roles, making every raid week a chance to score some of the best gear in the original world of Warcraft Classic.
SOD Molten Core Raid | Plot

Back in the day, the Dark Iron dwarves, led by Emperor Thaurissan, messed up big time during a war with other dwarven clans. Thaurissan tried to summon a strong ally but accidentally called forth Ragnaros the Firelord instead. This fiery guy popped up, took over, and made the Molten Core his home, enslaving the dwarves.
Now, Ragnaros and his crew of giants, elementals, and flamewakers are chilling in the core, wreaking havoc. The Hydraxian Waterlords, some cool water elementals, want adventurers to head into the Molten Core, beat up Ragnaros’ minions, and take down Ragnaros himself.

It’s a hot mess down there with bosses like Lucifron, Magmadar, and others standing in your way. But if you can handle the heat, fall into Molten Core, smack some bosses around, and try to douse Ragnaros’ flames for good. Grab your gear, rally your friends, and get ready for some fiery fun!
Conclusion

The Molten Core in the Season of Discovery Phase 4 is finally here, and it’s an entirely new experience compared to the classic version. With the level cap reached and all talents unlocked, players are ready to face this iconic raid.
To enter Molten Core, players need to complete a quest for attunement. This involves grabbing a Core Fragment in Blackrock Depths and returning it to Lothos Riftwaker. Once attuned, players can use a portal to skip some of the tougher parts of the dungeon.
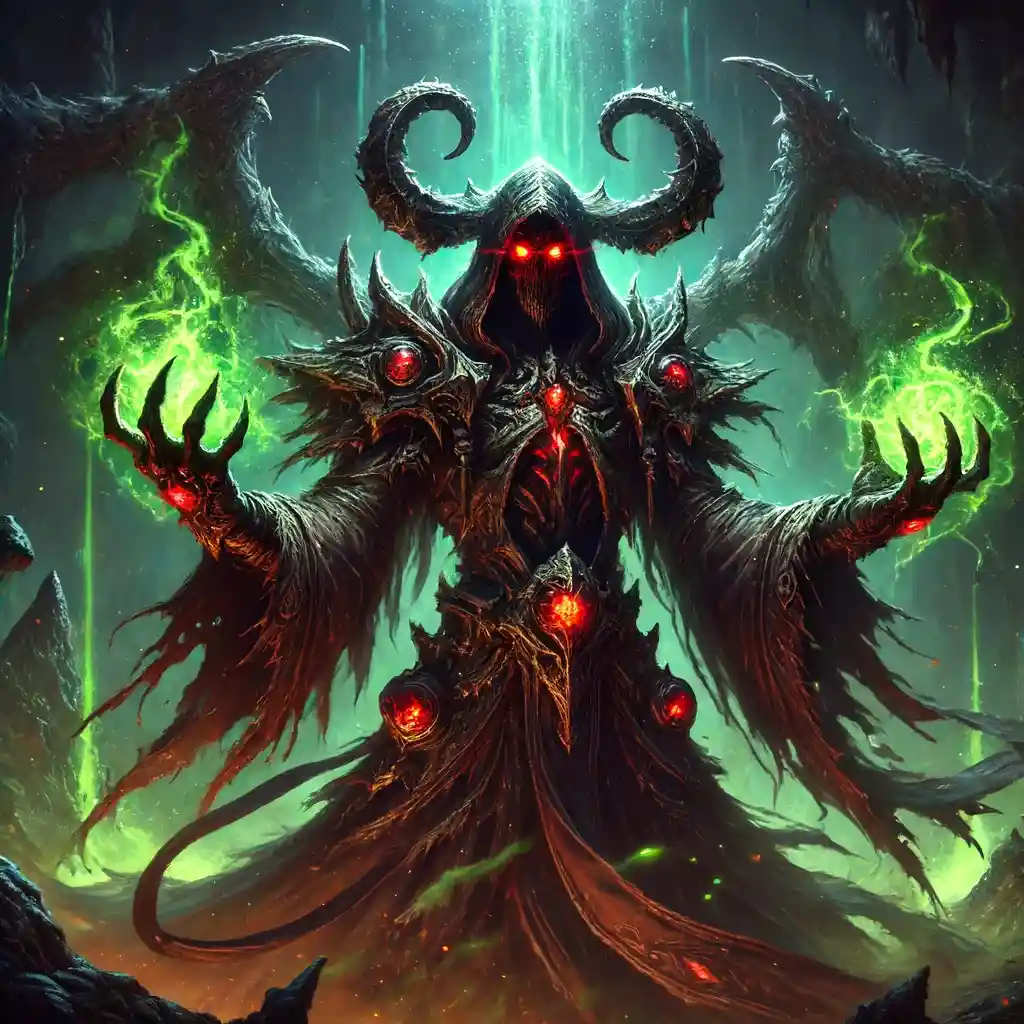
The raid features intense battles with iconic bosses like Lucifron, Magmadar, and Gehennas. Each boss has unique abilities and requires specific tactics. From handling Lucifron’s curses to avoiding Magmadar’s lava bombs, each encounter tests your raid’s coordination and skill.
The loot in Molten Core includes Tier 1 and Tier 2 armor pieces and legendary items like Thunderfury and Sulfuras. Completing quests within the raid can boost your rewards and help you gear up for even more challenging encounters.
The ultimate goal is to defeat Ragnaros, the Firelord. This fight requires high fire resistance, quick reflexes, and excellent coordination. Surviving his powerful fire-based attacks and managing the summoned Sons of Flame is crucial to victory.
Overall, the SoD Molten Core is a thrilling raid that offers new experiences, intense battles, and epic loot. Prepare well, coordinate with your team, and fall into the fiery depths to take down Ragnaros and his minions. Good luck, adventurers, and may your loot be legendary!
Epiccarry: best wow boost and coaching services
Frequently Asked Questions
What is Molten Core in the Season of Discovery Phase 4?
Molten Core in SoD Phase 4 is a reworked version of the classic WoW raid, offering new challenges, mechanics, and loot.
How do I enter Molten Core?
You need to complete the Attunement to the Core quest from Lothos Riftwaker by retrieving a Core Fragment from Blackrock Depths.
What is the level cap for Molten Core in SoD Phase 4?
The level cap for this raid is 60.
How many players can participate in the raid?
Molten Core can accommodate up to 40 players in a raid group.
What are the notable areas in Molten Core?
Key areas include The Fiery Depths, home to fire elementals and molten giants.
Who is the final boss of Molten Core?
Ragnaros, the Firelord, is the final boss.
What kind of loot can I expect?
Loot includes Tier 1 and Tier 2 armor pieces and legendary items like Thunderfury and Sulfuras.
What are some key strategies for the bosses?
Each boss requires specific tactics, such as avoiding Lucifron’s curses, dodging Magmadar’s lava bombs, and handling Ragnaros’ fire attacks.
How do I deal with the trash mobs in Molten Core?
Trash mobs have unique abilities; managing them involves crowd control, interrupting spells, and proper positioning.
What classes are particularly useful in Molten Core?
Classes like Paladins and Shamans for fire resistance, Mages and Hunters for slowing adds, and Warlocks for controlling minions are very useful.
How do I stay prepared during the raid?
Ensure high fire resistance, keep communication clear, and use boss timers for abilities. Pre-potting Greater Fire Protection Potions can also help.
What should I focus on during the Submerge phase of the Ragnaros fight?
Focus on crowd-controlling and killing the Sons of Flame quickly to prevent mana burns and regroup efficiently.
Are there any special quests in Molten Core?
Yes, quests like Attunement to the Core and those collecting rare items boost rewards and gear.
What’s the best way to handle Majordomo Executus?
Focus on killing his Flamewaker Elites and Healers while managing Majordomo’s shield abilities and keeping him occupied.
Why is fire resistance important in Molten Core?
High fire resistance helps mitigate damage from many of the raid’s fire-based attacks and abilities.
