So, it’s happened — the 3rd phase of Season of Discovery in the World of Warcraft Classic started. And it’s meant the simple things, like the new raid, new dungeons, new runes… But to be honest, the more Soda comes to end, the more it looks like a common classical season of mastery in the world of Warcraft… Oh, so we move far away from thread… So, the Sunken temple – the really new raid, which is required Sunken temple raid guide. Right here, just now you’ll learn:
- What changed in the Sunken Temple, as in the Raid in comparison to previous incarnations?
- Should you learn new tactics? Or it’s just enough to get the more powerful gear?
- Which runes are important for new raid in the Season of Discovery – part 3?
- How many bosses are in the new Sunken Temple?
Of course, it’s not all we’re also put important information like the Entrance, mob’s abilities, plot, skills, tactics, strategies, and tricks for the Sunken temple. And we’re ready to start our classic wow guide about Sunken temple for the Season of Discovery: phase 3.
Also, we’re must note you, about this guide is not a standalone. It’s a part of our compendium about World of Warcraft: Season of discovery – part 3.
And we’re move towards!
Buy WoW Discovery Level Boost
Expert Leveling Boost, Choose Speed Over Grind

What is Sunken Temple?

In the Season of Discovery Phase 3, the Sunken Temple, also known as the Temple of Atal’Hakkar, transforms into a groundbreaking 20-player level-up raid. This update revitalizes the entire instance with a rich quest chain that threads through the murky corridors and shadowy rooms, enticing party members with the promise of completing important quests, like those starting with Witch Doctor Uzer’i or involving the ancient egg. As adventurers delve into the left corner and upper levels, they face off against mini-bosses, green dragons, and the high-stakes final boss, requiring keen strategy over brute force to manage hit points, knockback abilities, and the mana pool effectively.
| Feature | Classic WoW Sunken Temple | Season of Discovery Sunken Temple Raid |
| Instance Type | Dungeon | 20-player Raid |
| Location | Swamp of Sorrows, large lake, commonly referred | Same location, but revamped for raid experience |
| Bosses | Several mini-bosses, final boss Shade of Eranikus | 8 total boss fights, including new and returning bosses like Atal’alarion and Shade of Eranikus |
| Loot | Unique loot table with items like Embrace of the Wind Serpent, commonly referred to gear for leveling up | Revamped loot table with hundreds of new items, set pieces, and revamped epic items. Bosses share loot but with added Tier Tokens |
| Quests | Level 50 class quests, important quests like summoning Hakkar | Continued importance of class quests with upleveled rewards to remain relevant |
| Difficulty and Mechanics | Traditional mechanics, crowd control important, several drops for pre-raid gear | New mechanics introduced, same abilities revamped for 20-player coordination, emphasis on raid strategy |
| Access | Climb stairs after swimming across lake, enter through instance portal | Same access but with updated raid entry requirements |
| Notable Features | Ancient blood god lore, iconic for its complexity and layout, XP gains | Introduction of new raid mechanics, enhanced lore, and updated rewards system to accommodate 20-player groups |
Buy WoW SOD Gold
Dominate the Game: Acquire WoW SOD Gold Today!

Where’s the enter to the Sunken temple in World of Warcraft: Season of Discovery phase 3
The entrance to The Sunken Temple, formally known as the Temple of Atal’Hakkar, can be found at coordinates (69, 53) in the Swamp of Sorrows.
Route from the Closest Location:
- From Stonard (Horde): Start in Stonard, located in the central part of Swamp of Sorrows. Travel east across the main road until you reach the Pool of Tears. The temple is nestled in the northern part of this large lake. Look for a small path leading up to the entrance on the eastern side of the lake. You’ll see the foreboding steps that mark the entry into the temple’s depths.
- From Nethergarde Keep (Alliance): Leave Nethergarde Keep and head west towards the Swamp of Sorrows. Continue westward until you intersect with the road that loops around the Pool of Tears. Follow this road northward, keeping the lake to your left until you reach the northeastern edge of the water. Here, the entrance to The Sunken Temple is hidden among the trees, waiting to be explored.
Boss tactics for the Sunken Temple in the Season of Discovery phase 3
Heading into the Sunken Temple, or the Temple of Atal’Hakkar if you’re feeling fancy, is like diving into a maze full of gnarly bosses that’ll test your skills. Here’s the lowdown on the big baddies waiting to dance:
- Avatar of Hakkar: Think of this guy as Hakkar the Soulflayer’s less-friendly shadow. You gotta kick off a whole event to get him to show up. It’s like the ultimate chain quest party crasher.
- Jammal’an the Prophet: This dude’s the head honcho of the Atal’ai fan club, trying to dial up Hakkar into our world. Taking him down is key, and it feels like nailing an important quest in your quest line.
- Dreamscythe and Weaver: The dynamic dragon duo chilling in the temple’s VIP section. They’re like the bouncers you gotta get past to see the main show.
- Hazzas and Morphaz: Another pair of dragon troublemakers. Each one’s got a bag of tricks that’ll keep your party on its toes.
- Shade of Eranikus: Imagine a mighty green dragon got grounded and turned into a temple’s haunting ex. That’s this guy. Big loot if you can wake him up from his eternal timeout.
- Ogom the Wretched: Jammal’an’s right-hand man, helping stir up the dark pot. Squashing him is part of cleaning up the temple’s act.
- Atal’alarion: A stone giant that’s more puzzle than punch. Solve the temple’s brain teaser to get him to pop up.
- The Spawn of Hakkar: Mini Hakkar alert! Not as chill as you’d hope, but defeating him gives you major bragging rights.
- Morphaz: He’s part of the Hazzas tag team, but with enough unique moves to deserve his own spotlight.
Tackling these bosses isn’t just about brawling; it’s about knowing the dance steps – from melee range tango to dodging the deadly disco of fall damage
Atal’ai Defenders

Atal’ai Defenders in the Sunken Temple, or as I like to call it, the mini-boss buffet. These guys are part of your classic WoW dungeon crawl, where you’re ticking off all the quests on your chain quest list and hoping for some sweet loot drops.
Key Features of Boss: These defenders are scattered around, chilling in their own spots waiting for some action. Each has its unique flair but generally, they’re here to test your party’s mojo before you get to the main gigs.
SoD BiS Gear Boost
Let our experts tackle the dreary work for you!

Strategy:
- Heal: Keep those heals steady and be ready to patch up any party member who’s taking a beating. Watch out for the defenders’ AoE attacks that can quickly turn your party’s health bars red.
- Tank: Grab their attention and keep them focused on you. These defenders can pack a punch, so use your damage mitigation abilities wisely to reduce the incoming hurt.
- DPS: Unleash everything you’ve got but in a cool, calculated manner. Focus fire as directed by your tank or raid leader to take them down one by one efficiently.
Atal’alarion

Atal’alarion in the Sunken Temple, this boss is like the bouncer at the club of ancient mysteries. Positioned in the heart of the dungeon, he’s not just any regular Joe; you’ve got to solve a circle quest puzzle to even get a chance to face him. He’s that first big challenge that says, Welcome to the big leagues, kiddo.
Key Features of Boss: Atal’alarion is a stone guardian with a penchant for slamming the ground hard enough to make you think twice about your life choices in WoW Classic. He’s like that first major roadblock in your raiding career that makes you go, Oh, so this is what they meant by tough.
Strategy:
- Heal: Be on your toes. When Atal’alarion decides to throw his weight around, you’ll need quick reflexes to patch up the party.
- Tank: Keep him facing away from the rest of your crew. His moves can pack a wallop, and it’s your job to be the wall that stands firm.
- DPS: Dance around him, but not too close. When he goes for the big moves, make sure you’re not in the splash zone.
| Ability | Wipe Potential | Informal Commentary |
| Sweeping Slam | High | This’ll send you flying faster than a goblin rocket. Stick the landing, or it’s curtains. |
| Ground Tremor | Medium | Feels like the whole room’s got the jitters. Don’t let it shake you up too much, or it’s game over. |
Facing Atal’alarion is like the ultimate test of whether you’re ready to dive deeper into the Sunken Temple’s secrets. Solve his puzzle, stand your ground, and you might just walk away with some of the best loot this side of Molten Core. Plus, it’s a chance to strut those cloth legs or leather legs with pride. Get it right, and you’re golden; mess up, and you’ll be seeing screecher spirits. Keep your wits about you, and you may just earn your place in the WoW Classic hall of fame.
Dreamscythe

Dreamscythe is one of those bosses in the Sunken Temple that makes you glad you paid attention to your raid guide. Nestled in the upper levels of this ancient temple, Dreamscythe doesn’t play around. With wings flapping and claws ready, this dragon’s set to turn your raid into a playing field for his aerial antics.
Key Features of Boss: Dreamscythe is all about that aerial superiority, swooping down with precision strikes and making the whole room his playground. His skills and abilities make him a formidable foe, turning the encounter into a dance of dodging and striking at just the right moment.
Strategy:
- Heal: Keep those heals agile. Dreamscythe’s attacks can come fast and furious, so be ready to patch up the party in a pinch.
- Tank: It’s all about positioning. Keep him angled away from the rest of the party to minimize the damage his sweeping attacks do.
- DPS: Stick and move. His attacks have a wide range, so staying mobile while dishing out damage is key.
| Ability | Wipe Potential | Informal Commentary |
| Wing Buffet | Medium | Like getting hit by a hurricane. Brace yourself or get blown away. |
| Tail Sweep | High | Tail whip faster than you can say ‘ouch.’ Don’t get caught or it’s lights out. |
Taking on Dreamscythe is a true test of your raid’s ability to adapt on the fly—literally. With the right mix of quick heals, strategic positioning, and DPS agility, you’ll ground this dragon and lay claim to some of the Season of Discovery’s coveted loot. Nail the encounter, and you’re one step closer to becoming a legend in the raiding world of WoW SoD. Keep your wits about you, and Dreamscythe’s downfall will be another feather in your cap—or, more fittingly, another scale on your armor.
Weaver

Weaver, the next big challenge in the Sunken Temple, swoops in with its own brand of terror. This dragon isn’t just another mob to clear; it’s a test of your raid’s ability to handle what the SoD guide throws at you. With its place in the raid lineup, Weaver’s set to make an impression with its unique set of skills and aerial supremacy.
Key Features of Boss: Weaver is all about that control of the skies, raining down chaos from above. It’s got a toolkit designed to disrupt and damage, making it crucial for your party to stay sharp and responsive.
Strategy:
- Heal: Be ready to move. Aerial attacks mean damage can come from any direction, and it’ll be on you to keep everyone in fighting shape.
- Tank: Positioning is everything. You need to anchor this fight, keeping Weaver’s attention while dodging whatever it throws your way.
- DPS: Focus and firepower. Weaver’s not the type to go down without a proper fight, so keep the pressure up and avoid getting caught off-guard.
| Ability | Wipe Potential | Informal Commentary |
| Acid Breath | High | This’ll melt your armor quicker than butter on a hot pan. Spread out or prepare for a gear check. |
| Wing Gust | Medium | Got wings? No? Then you might want to watch out for that gust or find yourself flying—minus the landing gear. |
Weaver’s down but not without teaching you a thing or two about aerial combat in WoW SoD. This dragon’s defeat not only adds to your raid’s growing legend but also gets you closer to the juicy loot Season of Discovery has in store. Handle Weaver correctly, and you’re setting the stage for what’s to come, proving once more that in the playing world of SoD, it’s not just about the loot, but how you earn it. Keep this momentum, and who knows? Maybe the next raid will be your smoothest yet.
Jammal’an the Prophet

Jammal’an the Prophet is like that main event in the Sunken Temple everyone’s been waiting for. As the head honcho of the Atal’ai, this guy’s all about bringing back Hakkar and has some tricks up his sleeve to make sure he keeps your raid on its toes. In the world of classic WoW, taking down Jammal’an isn’t just a fight; it’s a rite of passage.
Key Features of Boss: Jammal’an is your classic spellcaster boss, loaded with abilities that can mess with your raid big time. He’s guarded by mini-bosses and surrounded by green dragons and other mobs, making the fight to him as memorable as the encounter itself.
Strategy:
WoW Classic Discovery Boost & Carry
LGold, Leveling boosts? Pro team’s got you covered!!

- Heal: Be ready to cleanse and heal through some hefty damage. Jammal’an isn’t shy about throwing around curses and AoE damage.
- Tank: This one’s all about add control. Keep the mini-bosses and other threats in check so the DPS can focus on taking Jammal’an down.
- DPS: Prioritize targets as called by your raid leader. Jammal’an should be your main focus, but those adds need to go down fast to reduce overall raid damage.
| Ability | Wipe Potential | Informal Commentary |
| Hex of Jammal’an | High | Get hexed, and you’re a frog. Ribbit. Keep those dispels ready unless you fancy hopping. |
| Summon Spirits | Medium | He calls in his ghostly buddies to crash the party. AOE them down or they’ll overwhelm you. |
Knocking out Jammal’an the Prophet isn’t just about bragging rights; it’s about proving your raid’s got what it takes to handle the big leagues in the SoD guide. Get past him, and you’re well on your way to facing off against the avatar of Hakkar himself. Plus, Jammal’an’s stash of loot is nothing to sneeze at, often dropping some of the best gear before the next raid. Take him down, and you’re a step closer to becoming legends in the Temple of Atal’Hakkar.
Ogom the Wretched

Ogom the Wretched serves as Jammal’an the Prophet’s right-hand man in the Sunken Temple, making him a key figure in the quest line to thwart the Atal’ai’s dark plans. Situated in the temple’s upper levels, this boss might not have the flash of green dragons, but his dark magic packs a punch, setting him apart from your run-of-the-mill mini bosses in classic WoW.
Key Features of Boss: Ogom’s skill set is a cocktail of dark magic and curses, designed to wear down a raid group through attrition. His abilities can disrupt even the most seasoned raid teams, making him a formidable gatekeeper in the temple of Atal’Hakkar.
Strategy:
- Heal: Stay on your toes for quick dispels and healing through Ogom’s damage-over-time spells. His curses can quickly turn the tide of the battle if not addressed promptly.
- Tank: Keep Ogom locked down and away from the rest of the party. His damage isn’t to be underestimated, and proper positioning can mitigate some of his more devastating effects.
- DPS: Consistent pressure is key. Ogom might not be the tankiest of foes, but underestimating his ability to heal and mitigate damage can drag the fight out longer than necessary.
| Ability | Wipe Potential | Informal Commentary |
| Dark Offering | Medium | Feeds his buddies to keep them fighting. Interrupt or watch the fight drag on forever. |
| Shadow Bolt | High | A rain of shadowy doom. Spread out or get ready for a group hug at the respawn point. |
Taking down Ogom the Wretched clears a significant hurdle in your raid’s journey through the Sunken Temple, bringing you one step closer to confronting the avatar of Hakkar. His defeat not only signals your readiness for the challenges ahead but also drops a hint of the best loot waiting deeper within. Keep the momentum going, and soon you’ll be recounting tales of victory at Steamwheedle Port, with Ogom’s head as the crowning anecdote.
Morphaz

Morphaz, gliding through the upper levels of the Sunken Temple, is more than just a checkpoint on your way to god Hakkar. As one half of the notorious two dragons duo, this winged terror brings a splash of icy fear into the main room, reminding everyone why he’s considered a top-tier threat in the SOD guide. His presence is a strong clue that you’re getting close to the heart of darkness within the temple.
Key Features of Boss: Morphaz’s arsenal is chilly to the bone, focusing on frost-based attacks that can freeze a party in their tracks. This dragon isn’t just about brute force; his skills in controlling the battlefield make him a slippery foe.
Strategy:
- Heal: Frost damage means a lot of quick, intense healing to keep party members from becoming dragon snacks. Watch for the debuffs and keep everyone thawed out.
- Tank: Grabbing Morphaz’s attention is one thing, keeping it amidst his icy onslaught is another. Position him in a way that minimizes his ability to blanket the party with frost.
- DPS: Time to turn up the heat. DPS needs to be relentless to break through Morphaz’s cold exterior, focusing down this frosty foe before the fight drags on too long and resources run thin.
| Ability | Wipe Potential | Informal Commentary |
| Frost Breath | High | Think of the coldest winter you’ve ever had, then multiply it. Don’t stand in front, or you’ll be a popsicle. |
| Wing Buffet | Medium | This buffet doesn’t serve food; it serves pain. Brace yourself or get knocked back to last Tuesday. |
SoD BiS Gear Boost
Let our experts tackle the dreary work for you!

Bringing down Morphaz is like passing a trial by ice, a chilling prelude to the ultimate showdown with god Hakkar. It’s a battle that tests not just your brawn but your ability to adapt and overcome. Killing Morphaz provides more than just a notch on your raid belt; it gives a clear signal: you’re ready to face whatever else lurks in the depths, including the quest for Hakkar’s head. Make sure your lock ID is ready; you’re going to need it for what comes next.
Hazzas
Hazzas swirls through the upper levels of the Sunken Temple, another guardian between you and the ultimate prize, Hakkar’s head. Not just any first boss, Hazzas challenges raid teams to rethink their strategy at an average level of play, where the right moves mean victory, and mistakes could lead to a chilly defeat.
Key Features of Boss: Hazzas, like its counterpart Morphaz, brings a storm of abilities that can disrupt even the most seasoned teams. With attacks that can sweep through the upper levels with ease, this dragon poses the highest threat to unprepared parties, especially those seeking to complete the quest that starts with killing Jammal’an.
Strategy:
- Heal: Staying above low health is crucial. Hazzas’ attacks can drop the health of the entire party in a heartbeat, requiring quick, efficient healing to keep everyone in fighting shape.
- Tank: Positioning Hazzas immediately right or left, depending on the encounter’s layout, minimizes the raid’s exposure to its deadliest abilities. Keeping the dragon’s attention is paramount, as its gaze brings nothing but destruction.
- DPS: Damage dealers face the task of maintaining high output while navigating the hazardous environment Hazzas creates. Striking in the correct order, focusing on Hazzas when its health drops to low levels, ensures the dragon’s swift demise.
| Ability | Wipe Potential | Informal Commentary |
| Poison Cloud | High | Breathing in green is generally a bad sign. Stay out of the clouds unless you fancy a trip back from the graveyard. |
| Tail Lash | Medium | Getting smacked by a dragon tail? Expect to fly. Positioning is key unless you want to test the upper level’s air resistance twice. |
Hazzas stands as a formidable barrier on your path, with the correct order of attacks and strategies being the difference between victory and defeat. Overcoming this dragon is a testament to your raid’s ability to handle the highest threats, bringing you one step closer to the ultimate goal: Hakkar’s head. In this quest that starts with ambitions of killing Jammal’an and ends in the pursuit of godly blood, ensuring Hazzas reaches low health quickly is crucial for those looking to conquer the upper levels of the Sunken Temple of the upper level instead of hacker head near to the Hakkari blood. Also focus on things where the quest starts from immediate right point to start the battle with hazes.
Avatar of Hakkar
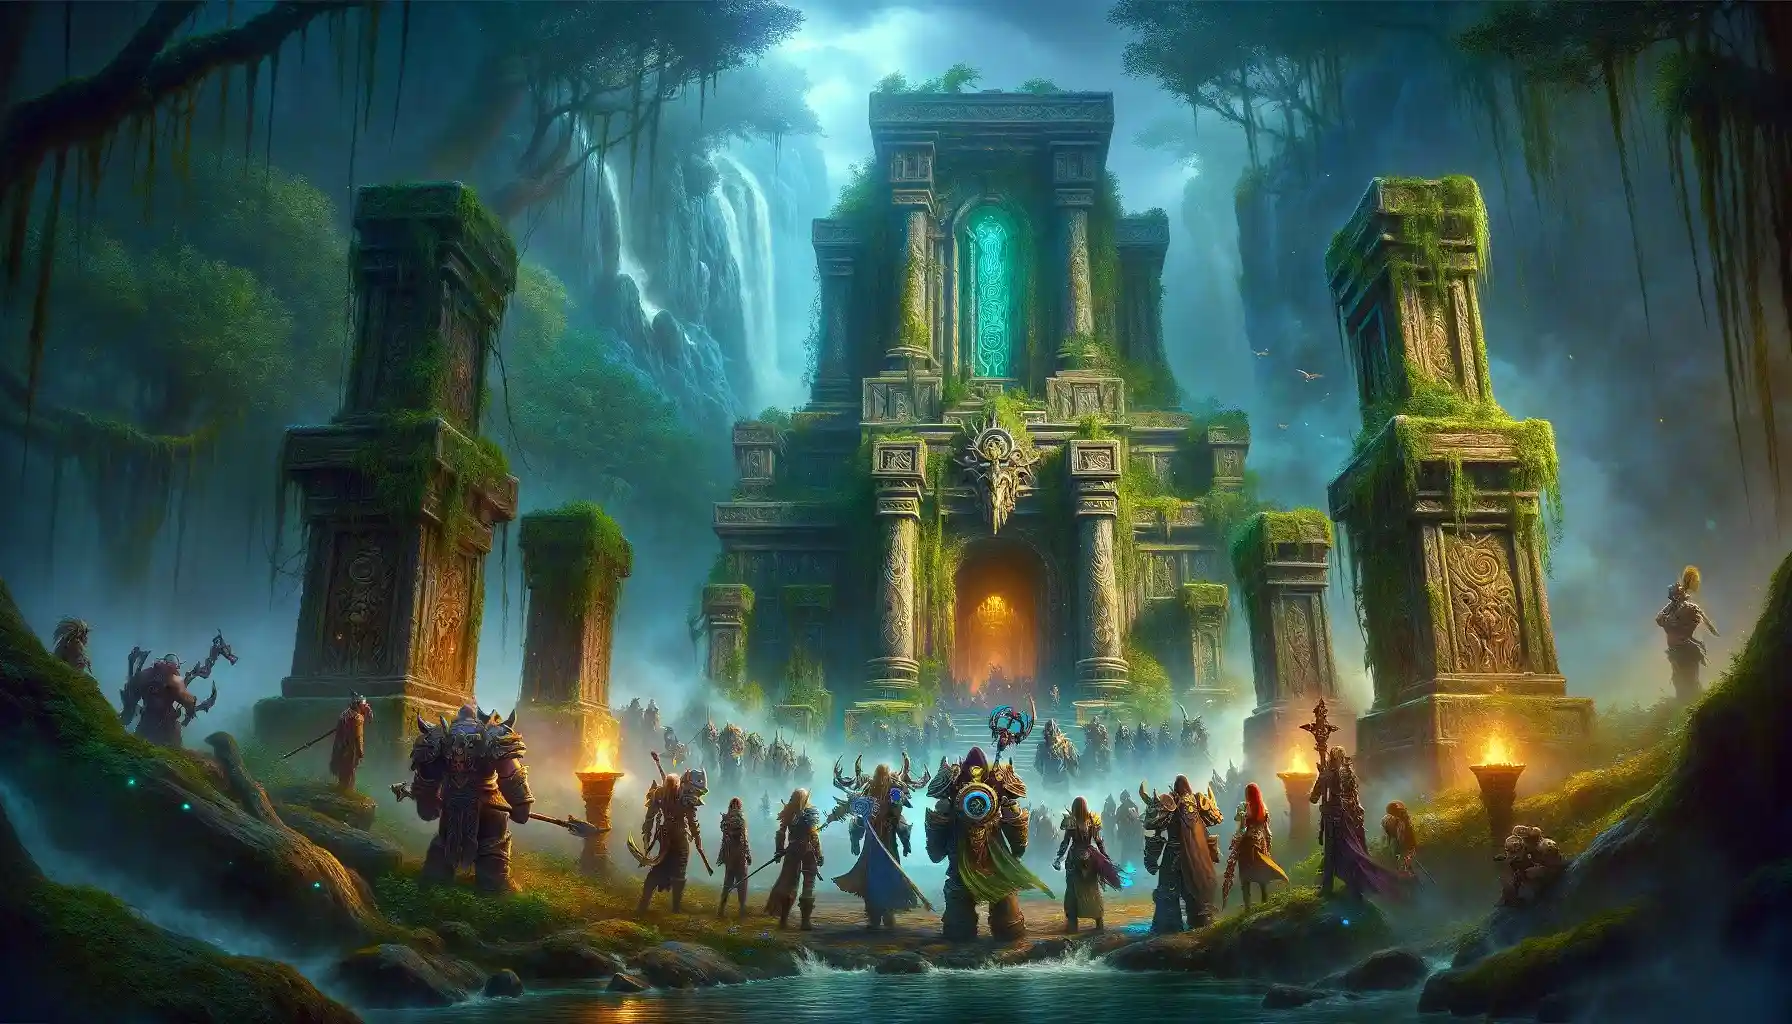
In the depths of the Sunken Temple, or the Temple of Atal’Hakkar as the scholars call it, lies the Avatar of Hakkar. This spectral figure isn’t just another boss; it’s the centerpiece of a quest that tests the mettle of every party member brave enough to face it. As outlined in every Sunken Temple raid guide, summoning and then defeating the Avatar is a rite of passage in WoW’s Season of Discovery, promising both challenge and coveted loot.
Key Features of Boss: The Avatar of Hakkar brings a unique blend of abilities to the fight, distinguishing him from other bosses within the instance. His spectral form and ability to manipulate the very essence of life make him a formidable foe, demanding attention from every raid role.
Strategy:
- Heal: This fight is a marathon, not a sprint. Healers need to manage their mana efficiently while keeping the party above water through the Avatar’s sustained damage phases.
- Tank: Although the Avatar might not adhere to traditional tank-and-spank mechanics, maintaining control over the encounter space and any additional threats is crucial.
- DPS: Patience and persistence are key. DPS members must balance between damaging the Avatar and managing any mechanics or adds the boss introduces.
| Ability | Wipe Potential | Informal Commentary |
| Cause Insanity | High | Mind control with a twist. Keep your friends close but your MC’ed friends at arm’s length. |
| Summon Spectral Swarms | Medium | Bug spray won’t help here. AOE these down before you’re overwhelmed. |
Facing the Avatar of Hakkar is a testament to a raid’s cohesion and skill, a true highlight in the Season of Discovery’s Sunken Temple raid guide. Triumph here offers not just bragging rights but access to some of the most sought-after loot tables in the game. Perfect your roles, respect the mechanics, and the Avatar’s defeat could mark your party as legends in WoW SoD’s raiding chronicles.
Shade of Eranikus
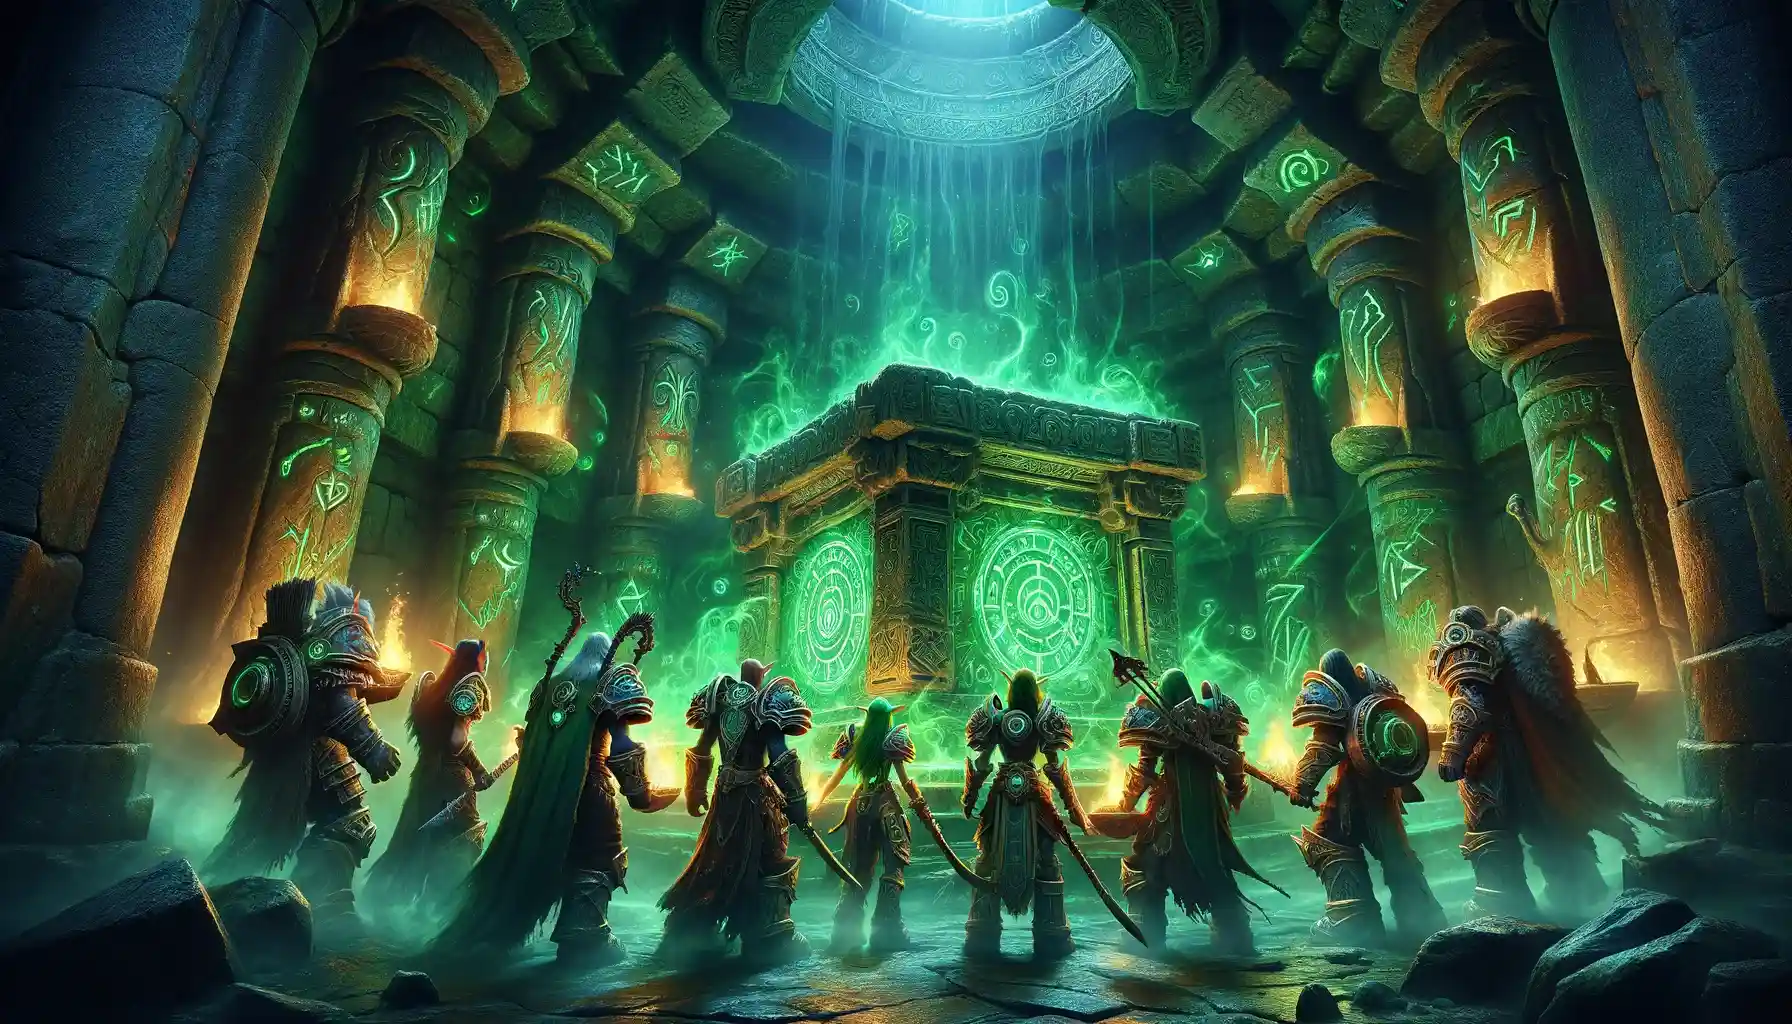
The Shade of Eranikus looms as a formidable guardian within the Temple of Atal’Hakkar, marking a climactic battle as detailed in every Sunken Temple raid guide. This spectral dragon, steeped in the lore of the Season of Discovery, challenges raid parties with its ancient power. The encounter is not just a test of strength but of strategy, positioning, and teamwork, as outlined in the WoW SoD The Sunken Temple guide.
Key Features of Boss: The Shade of Eranikus embodies the essence of dragon might, wielding abilities that can decimate unprepared groups. Its attacks are a mix of physical prowess and mystical energy, making it one of the highest threats in the temple.
Strategy:
- Heal: The raid’s survival hinges on the healers’ ability to counteract Eranikus’ potent magical and physical onslaught.
- Tank: Holding Eranikus’ attention is crucial. Tanks must navigate the room’s terrain to minimize the impact of his area-of-effect abilities on the rest of the party.
- DPS: Damage dealers need to deliver a consistent output while staying vigilant to Eranikus’ abilities, moving swiftly to avoid area attacks and focusing on whittling down the dragon’s substantial health pool.
| Ability | Wipe Potential | Informal Commentary |
| Deep Slumber | High | Naptime’s lethal here. Getting caught means sitting out the fight, maybe permanently. |
| Acid Breath | Medium | This breath’s worse than its bite. Avoid the front to keep your armor from dissolving. |
Buy WoW SOD Gold
Dominate the Game: Acquire WoW SOD Gold Today!

Conquering the Shade of Eranikus stands as a pinnacle achievement within the Sunken Temple, encapsulating the essence of raiding in the Season of Discovery. Successful parties will find themselves richly rewarded, not just with the Sunken Temple raid loot but with the satisfaction of having overcome one of the most challenging bosses the instance has to offer. Mastery of this encounter is a testament to a raid’s capability and earns a place in the annals of WoW SoD raiding lore.
Sunken temple – Same loot table Season of Discovery
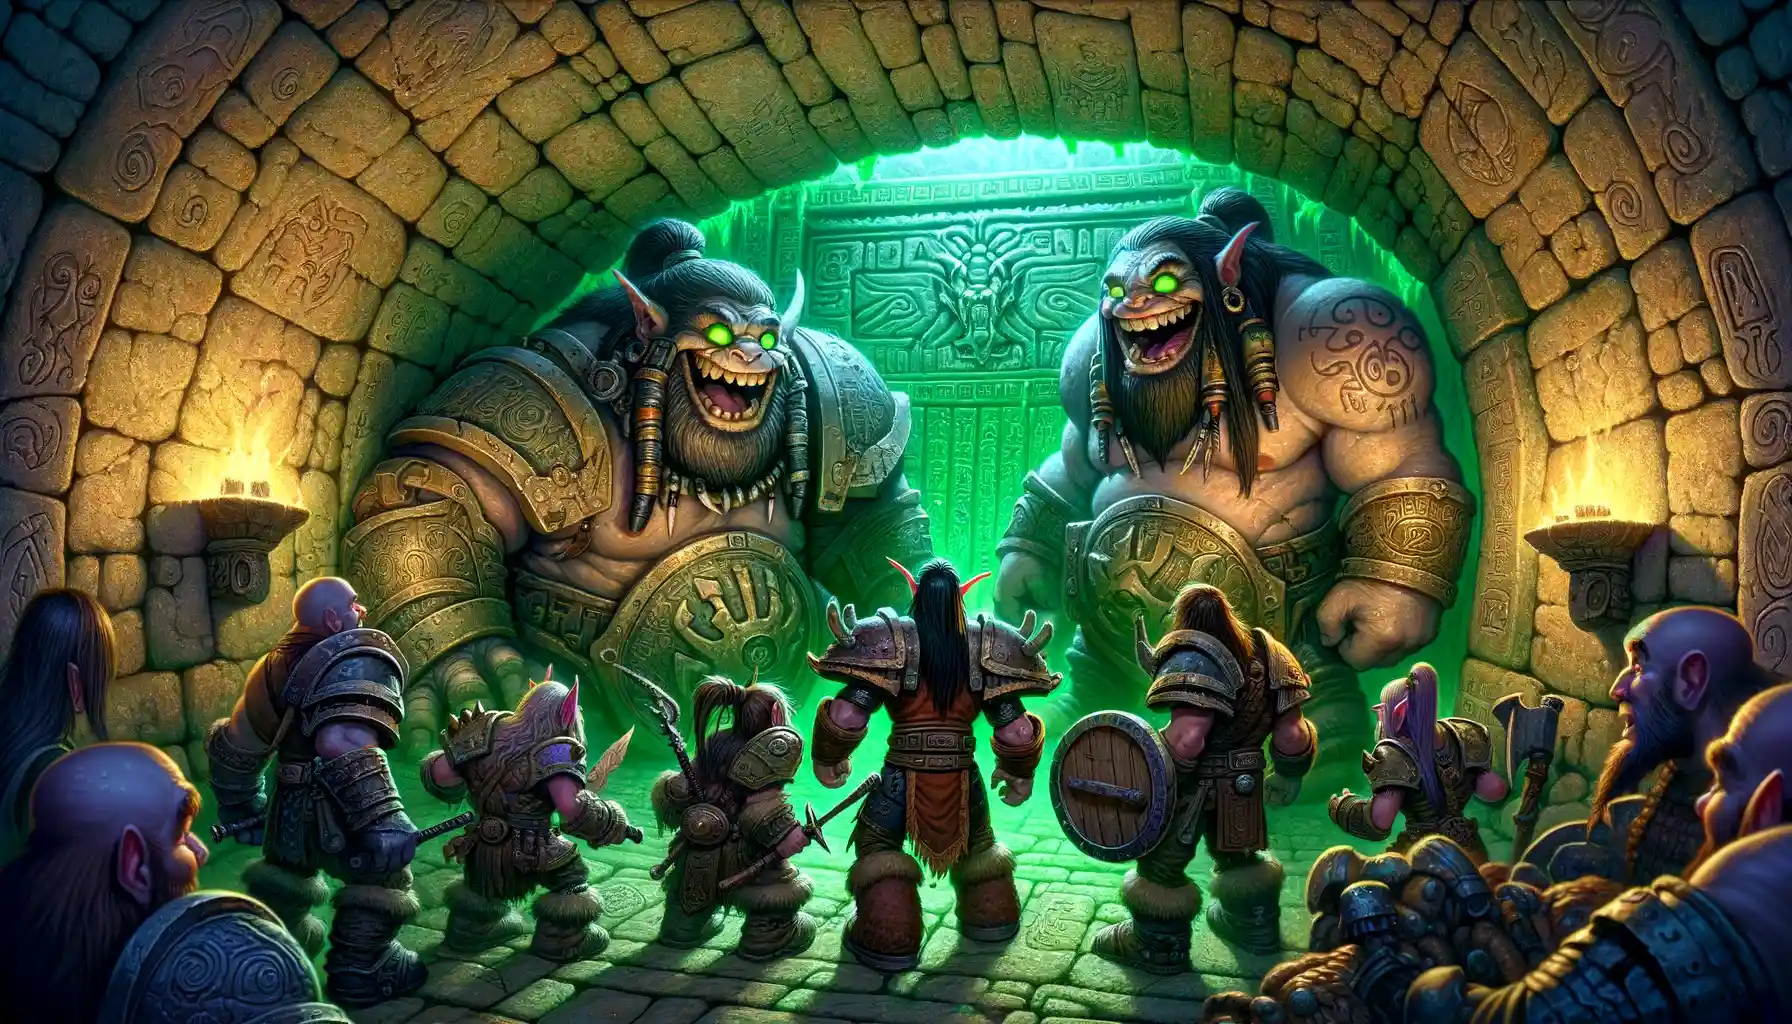
In the heart of the Season of Discovery with the Sunken Temple raid loot table—a treasure chest overflowing with rewards that’ll make any raider’s heart beat faster. This isn’t just any loot; it’s the culmination of every challenge faced within the ancient walls of the Temple of Atal’Hakkar, as detailed in the essential WoW SoD The Sunken Temple raid guide. From the Mantle of the Thresher Slayer to the Perfect Blackfathom Pearl, each piece of The Sunken Temple raid loot symbolizes mastery over the dungeon’s darkest corners.
Quests for Sunken temple in WoW Season of Discovery

quests awaiting in the Temple of Atal’Hakkar, each with its own slice of adventure and treasure. Starting with The Shriveled Heart, where you’re off to snatch a heart and bag some cool stuff. Then, take on Eranikus, Tyrant of the Dream to beat the big dragon and earn XP and pride. Into the Depths has you diving deep for a nice chunk of XP, while Into The Temple of Atal’Hakkar kicks off your adventure with a Guardian Talisman and XP in tow. Jammal’an the Prophet challenges you to take out Jammal’an for some sweet gear and XP.
| Quest Name | What to Do | What’s Rewarded |
| The Shriveled Heart | Take down some baddies, snatch a heart | Cool stuff, but ?? |
| Eranikus, Tyrant of the Dream | Beat the big dragon dream guy | Experience and pride |
| Into the Depths | Dive deep into the temple’s belly | A good chunk of XP |
| Into The Temple of Atal’Hakkar | Get into the temple, start your adventure | Guardian Talisman & XP boost |
| Jammal’an the Prophet | Take out Jammal’an, the big boss | Choice of gear & decent XP |
| Secret of the Circle | Solve the temple puzzle | Hakkari Urn & some XP |
| Starsong the Elder | Special Lunar Festival quest | Coin of Ancestry (Festival loot) |
| The Essence of Eranikus | Defeat Eranikus’ shade | Chained Essence of Eranikus & a bit of XP |
| The God Hakkar | Summon and defeat Hakkar | Pick your reward & Essence of Hakkar + some cash & XP |
| The Sunken Temple | General temple run-through | A nice XP bump |
| The Temple of Atal’Hakkar | Another entrance quest, get ready for fun | Guardian Talisman & some XP |
Buy WoW Discovery Level Boost
Expert Leveling Boost, Choose Speed Over Grind

Don’t miss Secret of the Circle, solving puzzles for a Hakkari Urn and XP. Starsong the Elder mixes things up with a Lunar Festival task, rewarding you with a Coin of Ancestry. Battle The Essence of Eranikus to defeat Eranikus’ shade and grab the Chained Essence and XP. The God Hakkar awaits to test your might, offering a choice of reward, Essence of Hakkar, cash, and XP. For a general temple run-through, The Sunken Temple quest boosts your XP. Lastly, The Temple of Atal’Hakkar gets you ready for fun, rewarding a Guardian Talisman and XP.
Each quest not only propels your journey through the temple but also decks you out with rewards that are worth the hustle. Whether it’s for the loot, XP, or just the thrill of the encounter, these quests are your tickets to mastering the Temple of Atal’Hakkar.
Conclusion about Sunken Temple
Season of Discovery’s Sunken Temple, it’s clear that this isn’t just any raid—it’s an adventure that tests every facet of your raiding skills, from crowd control to boss mechanics. Whether you’re deciphering the mysteries behind Atal’alarion, dodging Dreamscythe’s deadly aerial assaults, or facing the haunting wrath of the Shade of Eranikus, each encounter offers its own unique challenges and rewards.
The Sunken Temple raid guide has led us through murky corridors and against formidable foes, showing that with the right strategy, coordination, and a bit of raid loot luck, any party can emerge victorious. The revamped loot table ensures that each victory feels rewarding, making every boss fight worth the effort.
Buy WoW SOD Gold
Dominate the Game: Acquire WoW SOD Gold Today!

Remember, the key to conquering the Temple of Atal’Hakkar lies in understanding each boss’s abilities, executing the correct order of attacks, and making the most of the loot table to gear up for future challenges. As you collect hakkari blood and face the highest threats within these ancient walls, know that each step brings you closer to mastering the new raid and carving your name into the legends of WoW’s Season of Discovery.
So, whether you’re here for the loot, the lore, or just the thrill of the fight, the Sunken Temple stands as a testament to the ever-evolving world of classic WoW. Dive in, give it your all, and may the spirits of Atal’Hakkar guide you to victory.
Epiccarry: best wow boost and coaching services
Frequently Asked Questions
What’s new in the Sunken Temple for the Season of Discovery?
The Sunken Temple has transformed into a 20-player raid with revamped mechanics, new and returning bosses, and an updated loot table that includes hundreds of items and set pieces tailored for this season.
Do I need to learn new tactics for the Sunken Temple raid?
Yes, while some classic strategies still apply, the introduction of new mechanics and the 20-player format require updated tactics and coordination.
What are the key runes for the Sunken Temple raid?
Runes play a crucial role in enhancing your character’s abilities for the raid. The guide includes specific runes important for tackling the challenges within the Sunken Temple.
How many bosses are in the new Sunken Temple?
There are 8 total boss fights, including both new faces and familiar foes like Atal’alarion and the Shade of Eranikus, each offering unique challenges.
Where is the entrance to the Sunken Temple in WoW SoD Phase 3?
The entrance is located at coordinates (69, 53) in the Swamp of Sorrows. Horde players can approach from Stonard, while Alliance players can start from Nethergarde Keep.
What’s new with the Sunken Temple in Season of Discovery (SoD)?
It’s been revamped into a 20-player raid with fresh mechanics, quests, and a beefed-up loot table.
Do I need to learn new tactics for the Sunken Temple raid?
Yes, new mechanics and boss strategies require more than just better gear.
How many bosses are there?
There are 8 bosses, including some new faces and the return of Shade of Eranikus.
Where’s the entrance to the Sunken Temple?
In the Swamp of Sorrows, coordinates (69, 53). Horde starts from Stonard, Alliance from Nethergarde Keep.
Any cool loot I should know about?
Loads, from the Essence of Eranikus to the Atal’ai collection and unique weapons. Expect revamped epic items and tier tokens too.
What are the main challenges inside?
Apart from the bosses, you’ll face puzzles, mini-bosses like the Atal’ai Defenders, and need to manage raid positioning and strategies.
Are there any notable quests?
Definitely! From class quests with upleveled rewards to “The God Hakkar” for a chunk of XP and unique rewards.
What loot can I expect from the Sunken Temple raid?
The loot table has been significantly expanded to include hundreds of new items, set pieces, and revamped epic items. Expect gear that will be relevant and beneficial for your character’s progression.
